This post contains affiliate links, please read our disclosure policy.
How to paint buffalo check pattern using your Cricut.
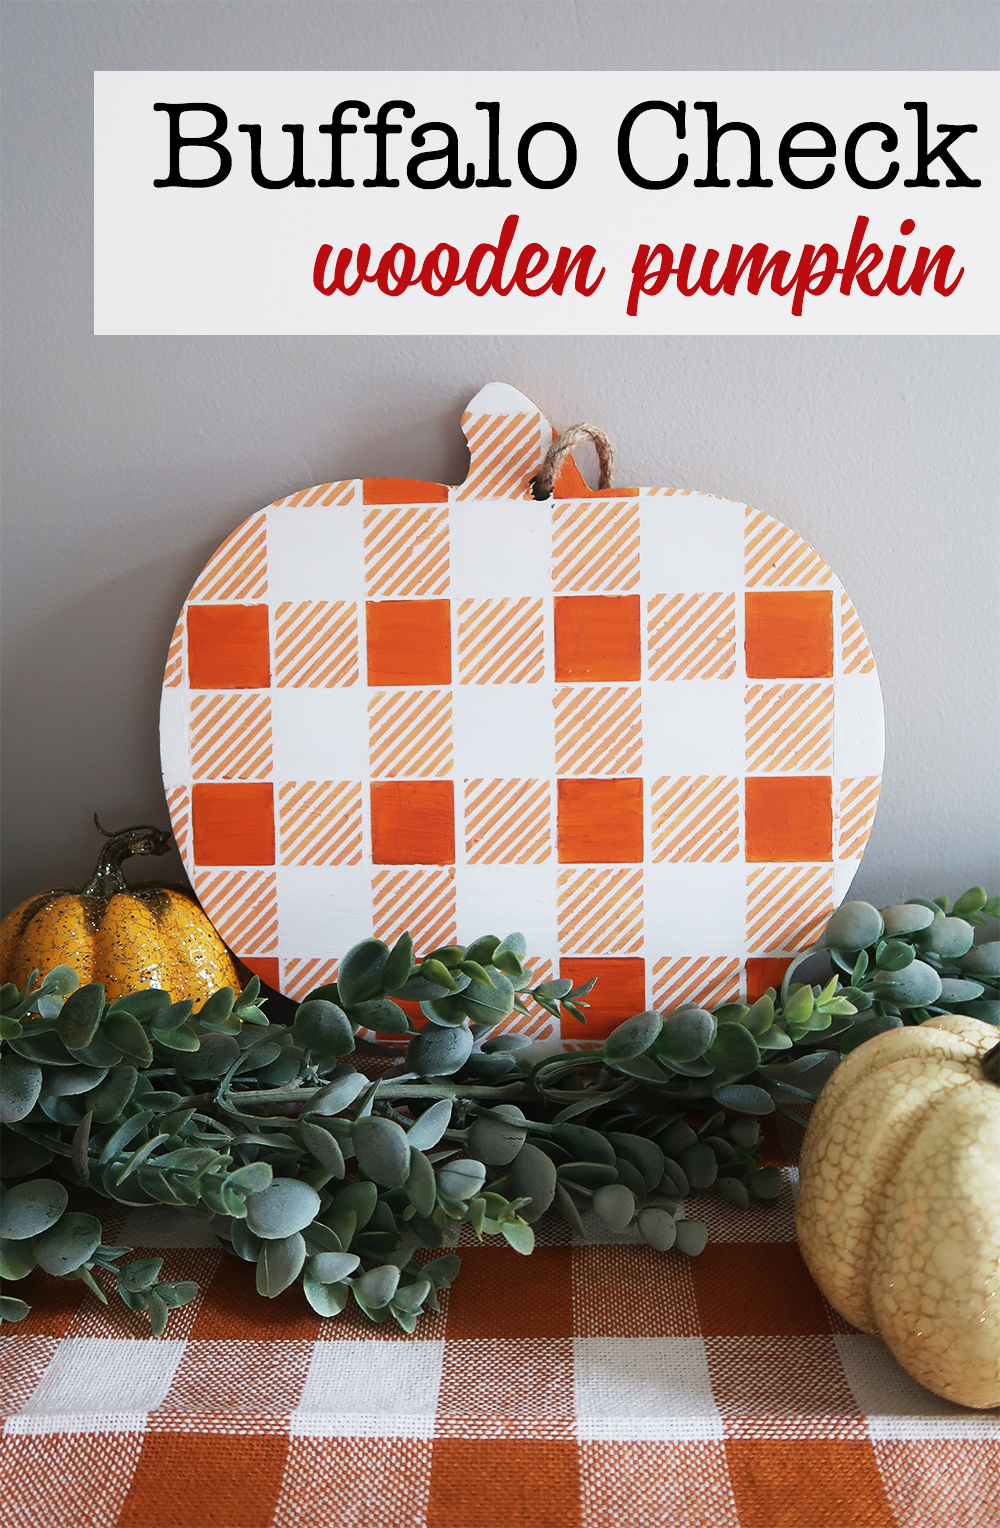
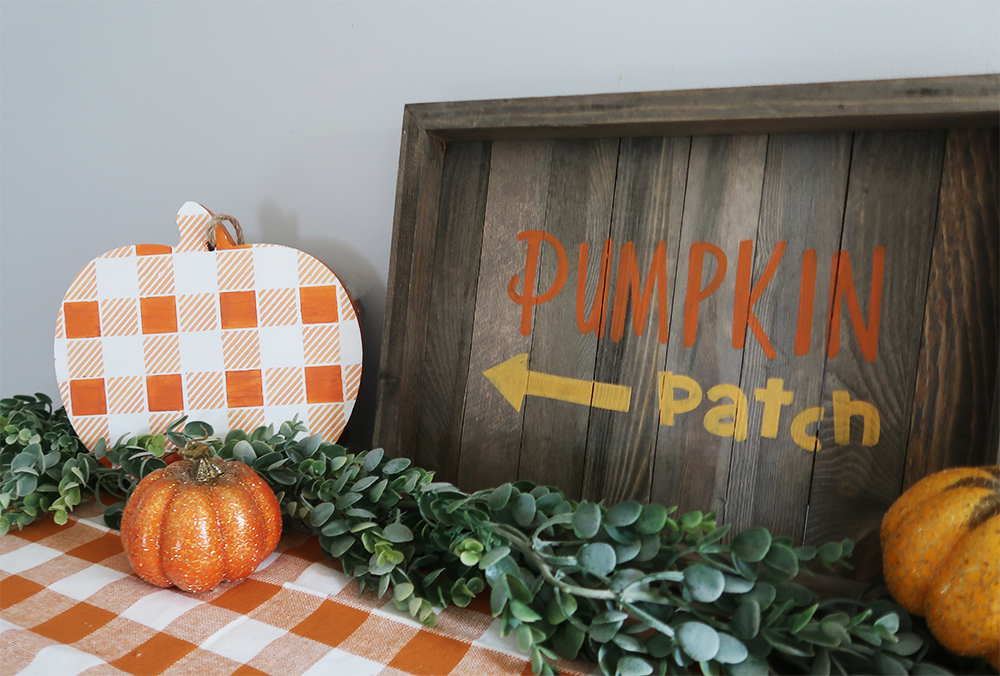
It may only be the beginning of the second week of September but I am in full swing for decorating for Fall. In my living room I am using traditional fall colors and making everything pop with orange buffalo check. I hand painted some buffalo check mason jars a few weeks ago. They came out great but I wanted to find a way to make a more accurate pattern. I knew that I had to make a stencil.
You’ll love this buffalo check mason jar, Fall embroidery hoop wreath and this rustic pumpkin patch sign. If you are looking for more neutral or non traditional color scheme for Fall check out my decor from last year.
This post contains affiliate links
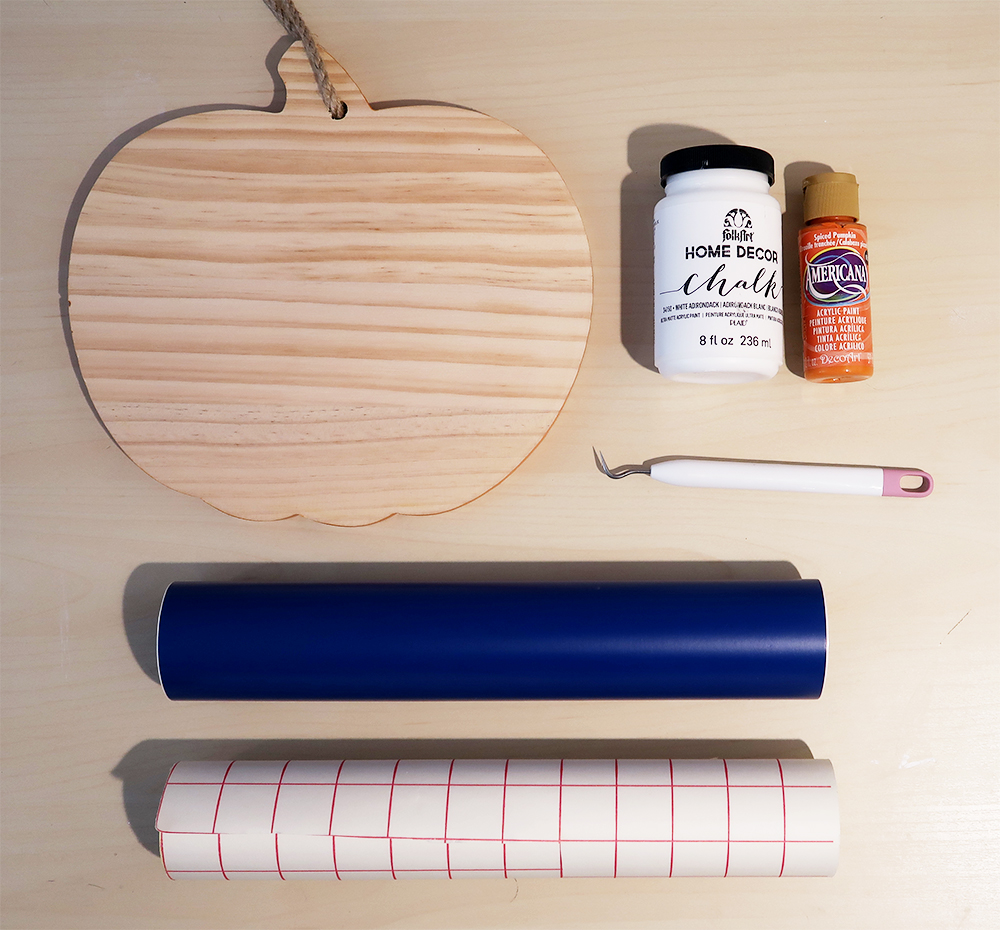
What you’ll need
-
Wooden pumpkin (I found this at Target)
-
White chalk paint
-
Orange and White Acrylic paint
-
Buffalo Check stencil file. Purchase below.
You will find step by step instructions on how to make a buffalo check stencil here. 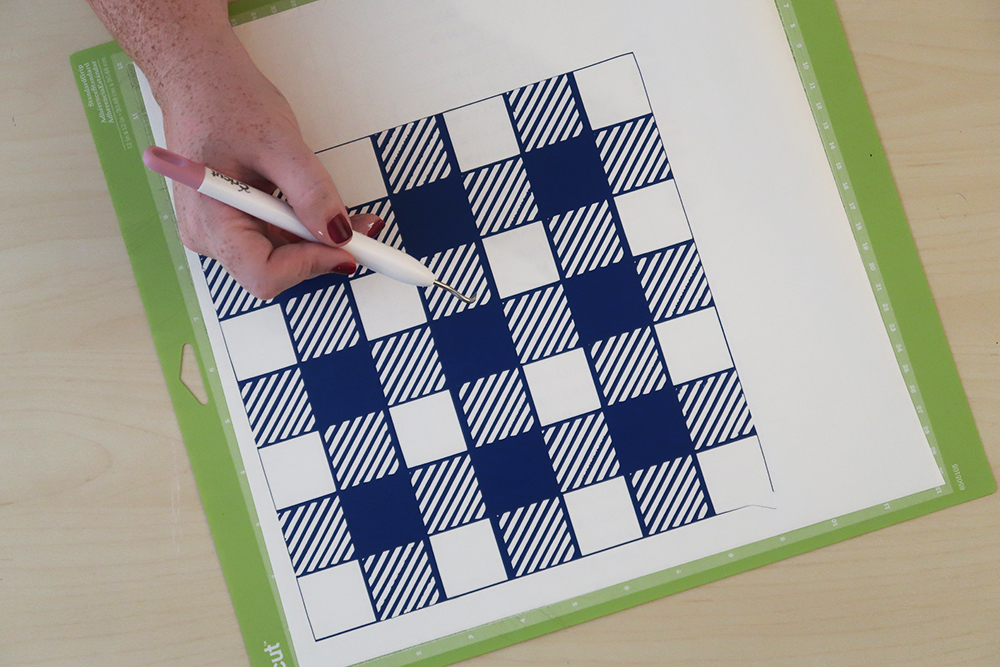
Weed the vinyl
After you cut your vinyl with your Cricut you will want to weed your vinyl. Now this design is intricate so this will take some time. I actually find weeding therapeutic so I don’t mind the more difficult patterns. I know I am crazy but maybe its because it forces me to sit. My family jokes that none of us can actually sit still without doing something. I really do believe this is why I love crafting and why I became a blogger… my inability to sit still.
You know the saying measure twice cut once…. well I didn’t do that. I actually cut this a bit short but I made it work. Make sure you resize it to your surface. I am also going to add a thicker border to the cut file.
Please note I painted my pumpkin first with white chalk paint.
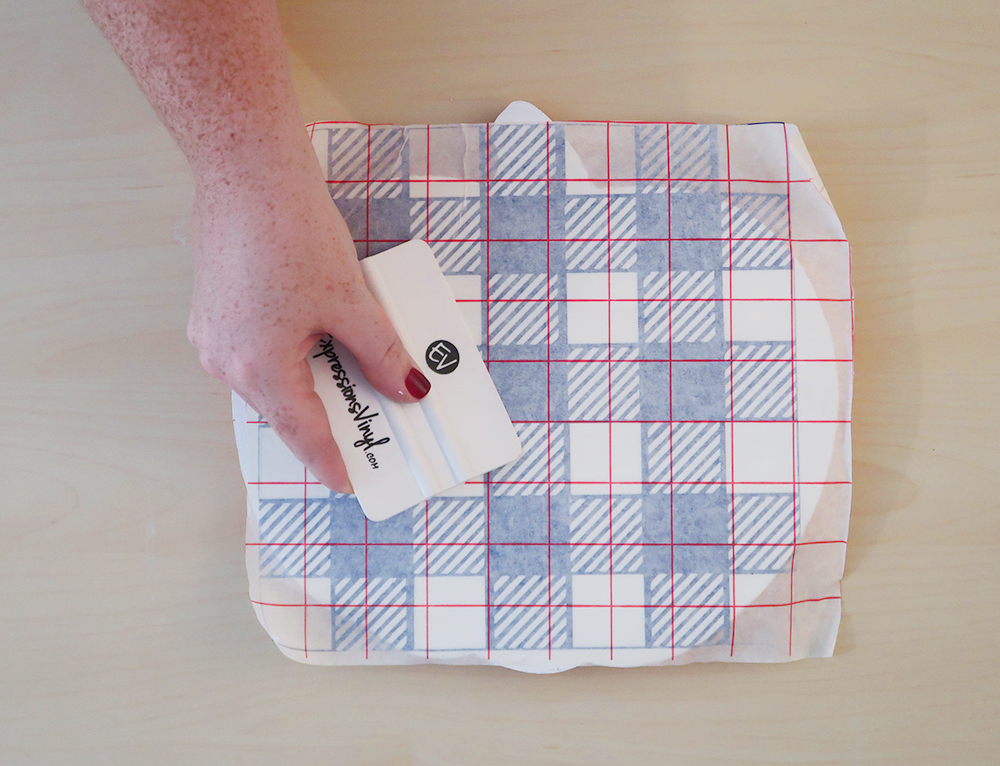
Transfer your stencil
Cut your transfer tape to size and place it over your vinyl stencil. The transfer tape keeps everything together making it easier to transfer the vinyl on to your wooden sign. I always like to buy transfer tape that has grid lines. This makes lining the stencil up straight easier. Make sure to apply the transfer tape straight.
How to paint crisp lines when stenciling
The answer to this is always the modge podge trick check out how to paint crisp lines here.
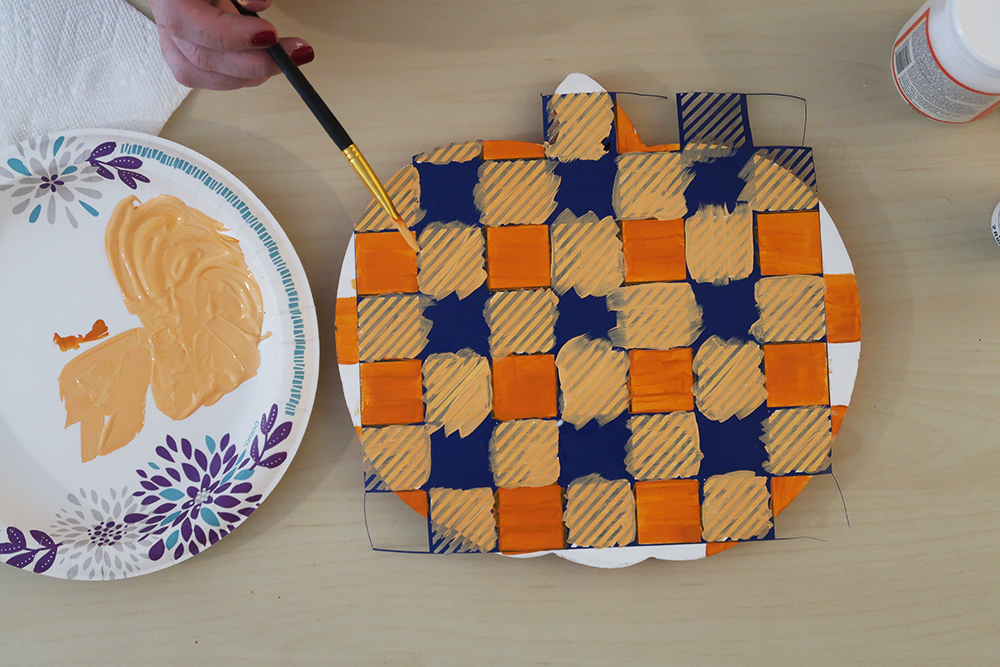
Painting the stencil
Now its time to paint! I used two colors to paint the stencil orange spiced pumpkin and a mix or orange spiced pumpkin and white. I used the mixture and a detail brush to paint the stripes. Using a lighter color gives it more dimension. I used just the spiced pumpkin for the more prominent squares.
Now this is a difficult stencil to peel up. Normally I would pull it up when it was still wet but because of the intricacies of the pattern I waited until it was dry. I also used my weeding tool to help peel the vinyl off.
Video on how to stencil a buffalo check pattern
Craft & Create with Cricut
Today is the second Sunday of the month which means myself and 13 of my favorite crafty bloggers are crafting together with our Cricuts! Check out 14 Cricut Home Decor Projects below.

Buffalo Check Wooden Pumpkin from Weekend Craft • Inspirational Candles from Happy Go Lucky • Rustic Wooden Sign from Refresh Restyle • Paper Pumpkins from Create & Babble • Charting Embroidery with the Cricut from The Kim Six Fix • Rainbow Bookends from SeeLINDSAY • Dollar Tree Sign Upcycled For Fall from Daily DIY Life • Coco Inspired Pillows from Upright and Caffeinated • Pumpkin Spice Latte Towel with the Cricut EasyPress from Cookies, Coffee and Crafts • Fall Inspired Sign from Every’s Creations • Quick and Easy Home Decor with Your Cricut: One Cricut SVG File 12 Ways! from Happily Ever After, Etc • DIY Clipboard Wall Art from Real Girls Realm • Welcome Fall Cricut Shadow Box from the Inspiration Vault • Fall Wreath from Our Crafty Mom


16 Comments