This post contains affiliate links, please read our disclosure policy.
How to create a fall wreath with an embroidery hoop and your Cricut using fabric and heat transfer vinyl.
Fall wreaths are always one of my favorite things to make. I have been wanting to make an unconventional wreath for awhile now and I thought it would be fun to us an embroidery hoop or a quilters hoop. I was actually inspired by one of the heirloom challenges on the new show Making it with Amy Poehler and Nick Offerman. One of the contestants used embroidery hoops for an unconventional quilt.
If you are getting in the mood for Fall crafting like me you may also want to check out this pumpkin patch sign and this DIY Fall Wreath.
Now it is the second Sunday of the month which means its Craft and Create with Cricut! Myself and some of my favorite craft bloggers are all sharing Fall crafts using our Cricuts! Make sure you stick around to the end of the post and see all their fall Cricut crafts.
This post may contain affiliate links.
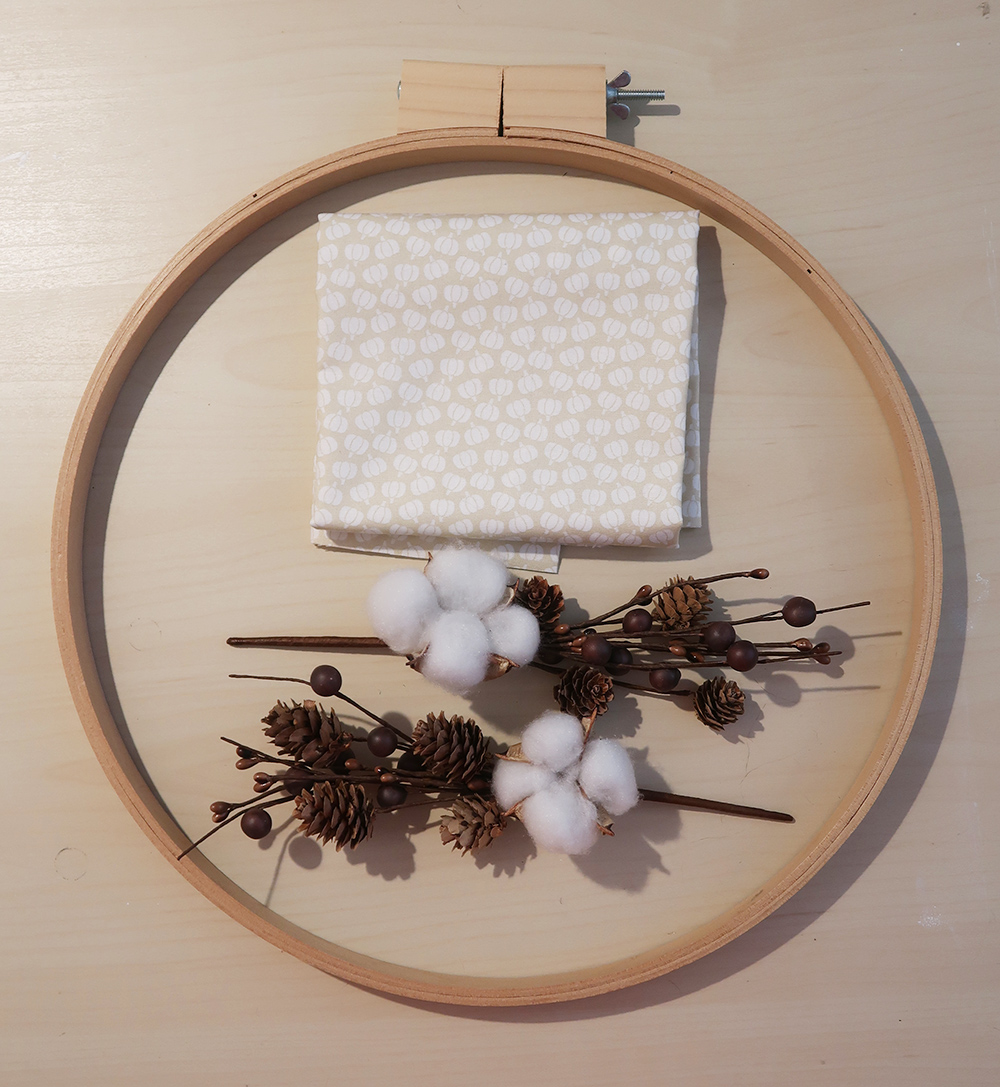
What you’ll need
-
Embroidery Hoop or Quilters Hoop
-
Fabric
-
Easy Press or Iron
-
Fall floral
-
Hot Glue Gun
Watch how I made it below
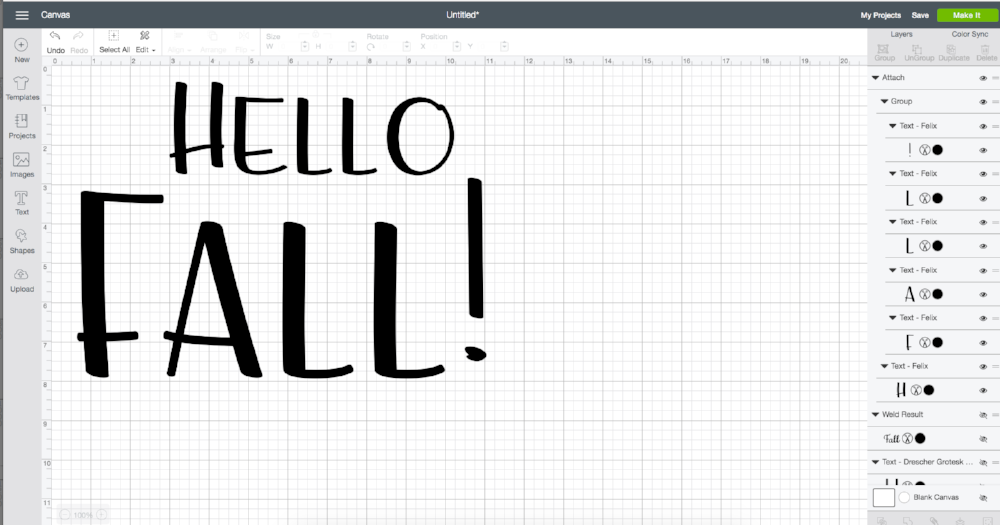
Now you will want to create a design in the Cricut design space. I just used the words Hello Fall and played around with the sizes of the words. You can create this yourself or to get this design sign up to be a Weekend Craft VIP member. You will have access to all of my printables and cut files for free!
Cut it out
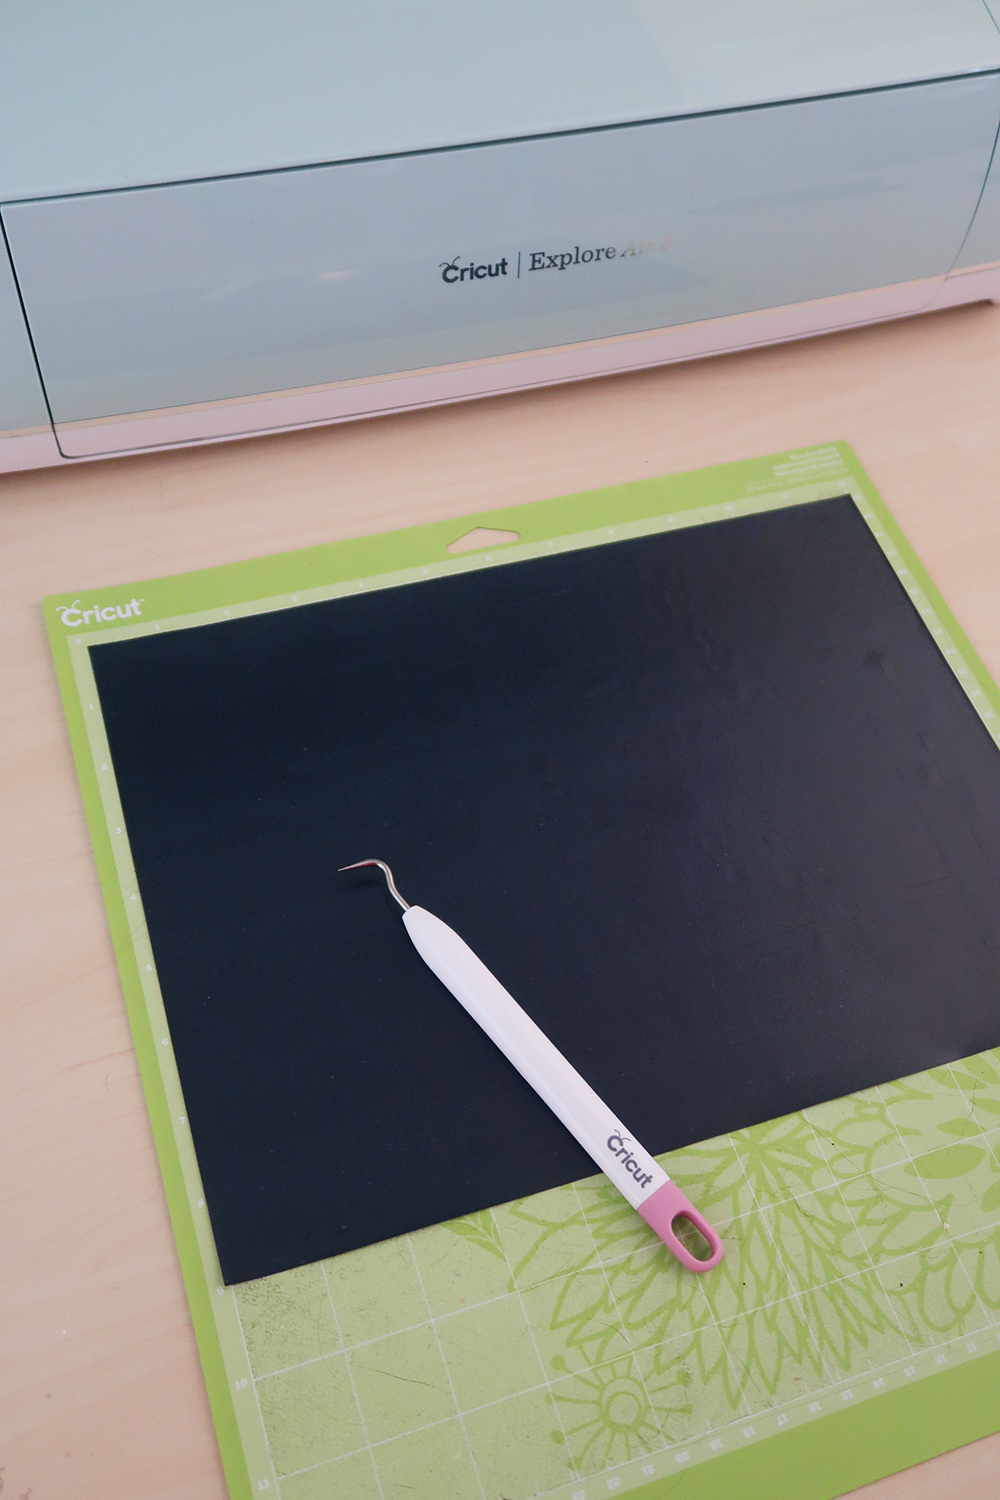
Once you have your design space file you are ready to create. Click make it in design space. IMPORTANT when you are using HTV or Iron On always remember to mirror your design before cutting. Add your heat transfer vinyl or Cricut Iron on to your mat. Load your mat into your Cricut and begin cutting.
Weed your design
Once your design is cut weed the excess htv (heat transfer vinyl) just leaving your lettering. I use both my finger nails and my hook (weeding tool) to do this. What I love about HTV is that it is so much easier to weed since it is not sticky.

Heat Press
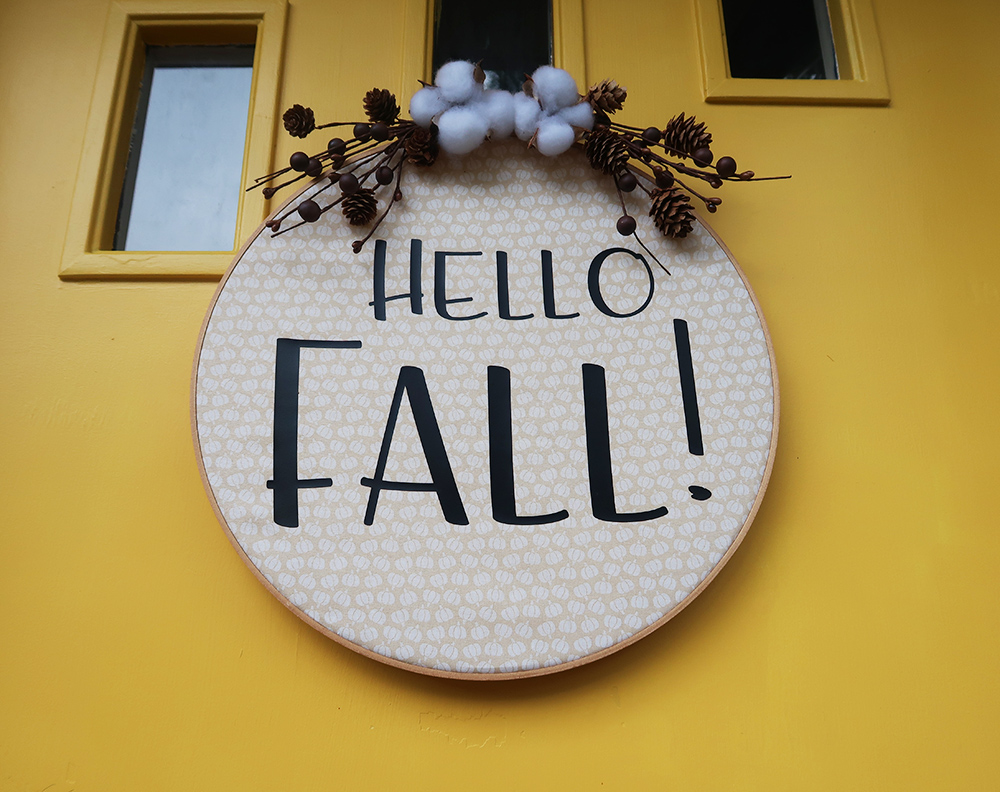
We are going the apply the HTV to our fabric. Now I wanted to choose a fall fabric but still something subtle enough that the lettering would shine through. I went with this simple pumpkin pattern from Joanns. I placed my hoop on the fabric to get a sense of where the wording should be placed.
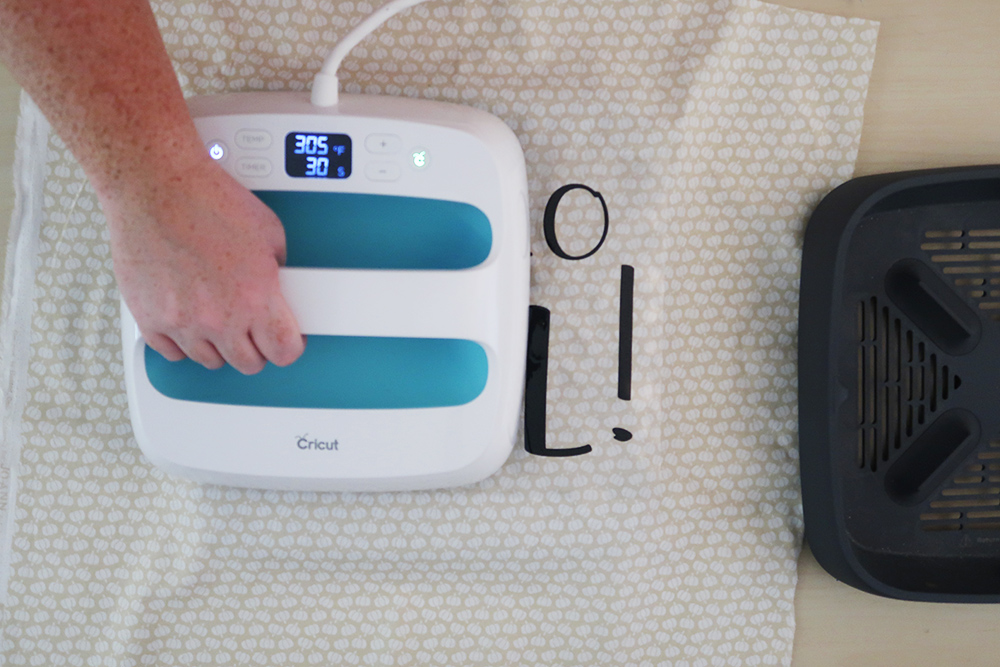
Since I was using 100% cotton fabric I set my Cricut Easy Press to 305 degrees for 30 seconds and let it heat up. Once it was to temperature I placed it over my design for 30 seconds. I had to do this twice since my design was large.
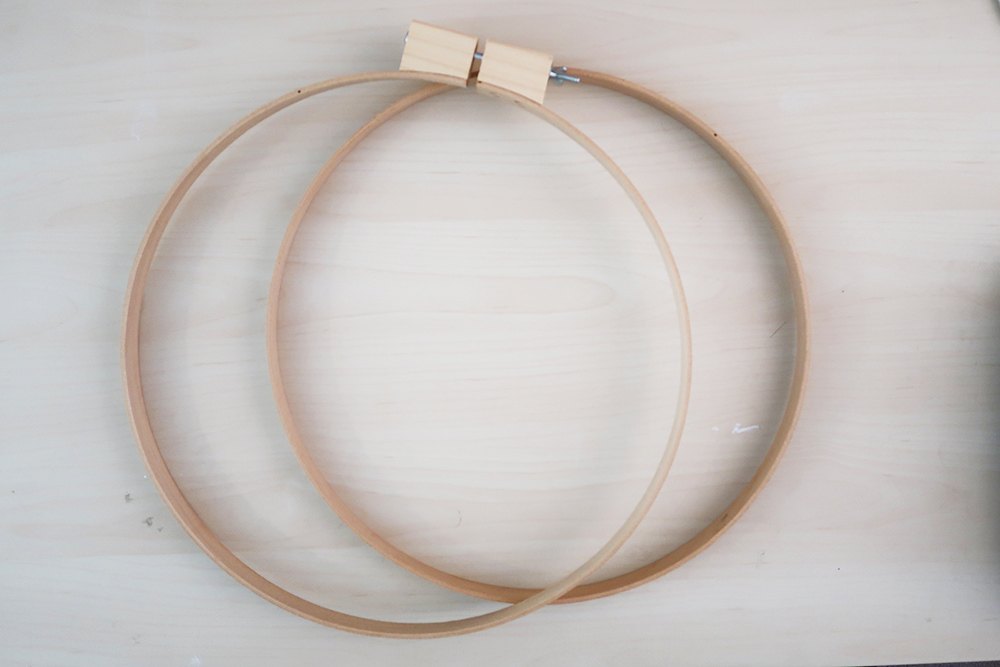
Embroidery Hoop
I unscrewed the top of the embroidery hoop loosening it just so you could remove the inner circle. I placed my design on top of the smaller hoop once it was in position I placed the larger hoop over it. Make sure to pull the fabric tight and screw the top back into place.
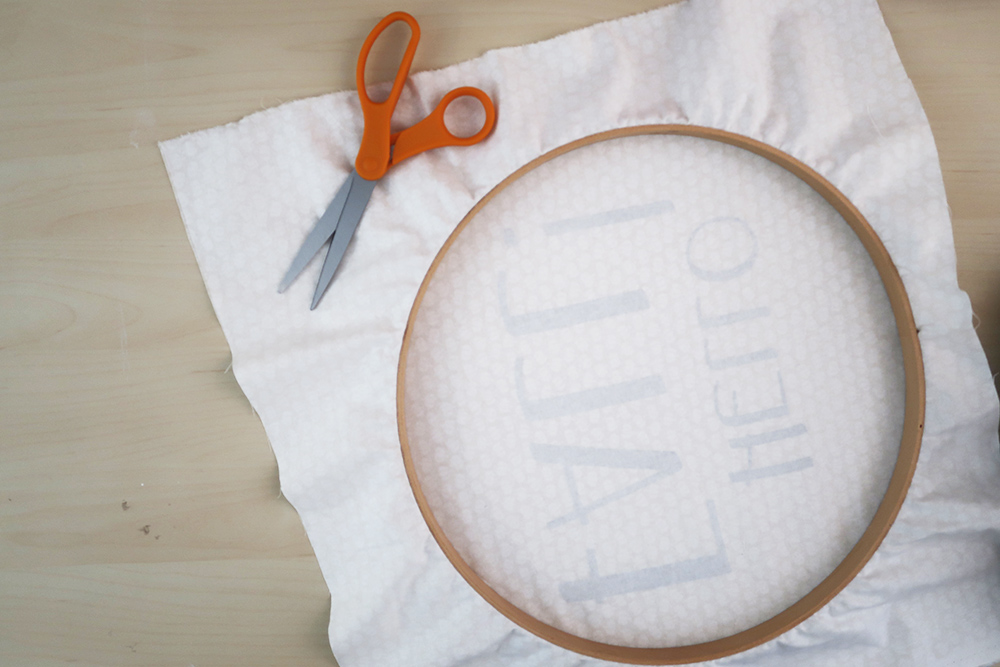
Trim
Once your fabric is in place cut the excess fabric on the back of the hoop.
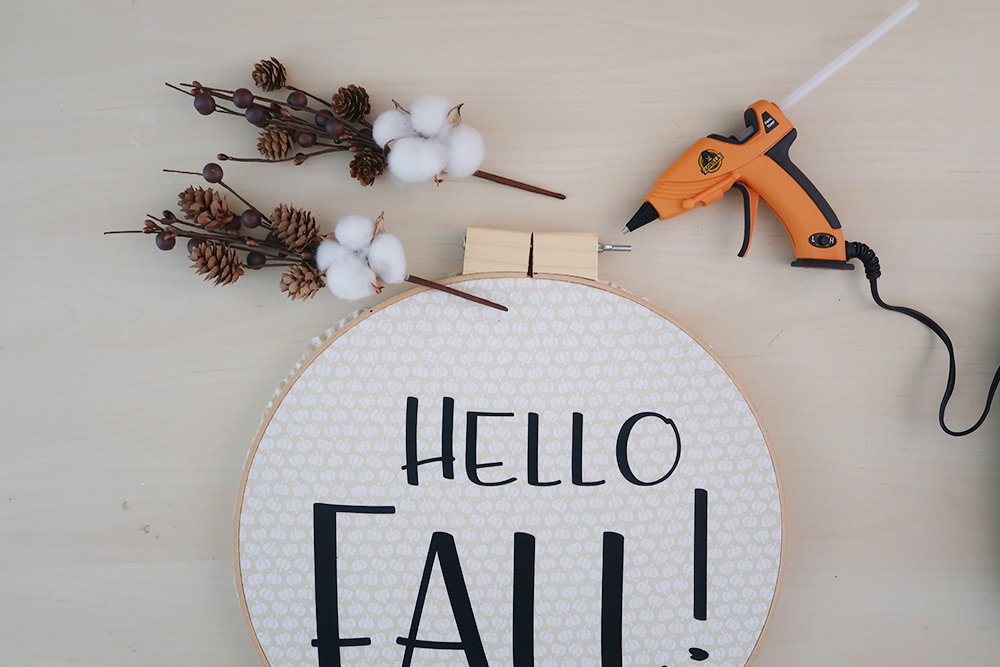
Glue on accents
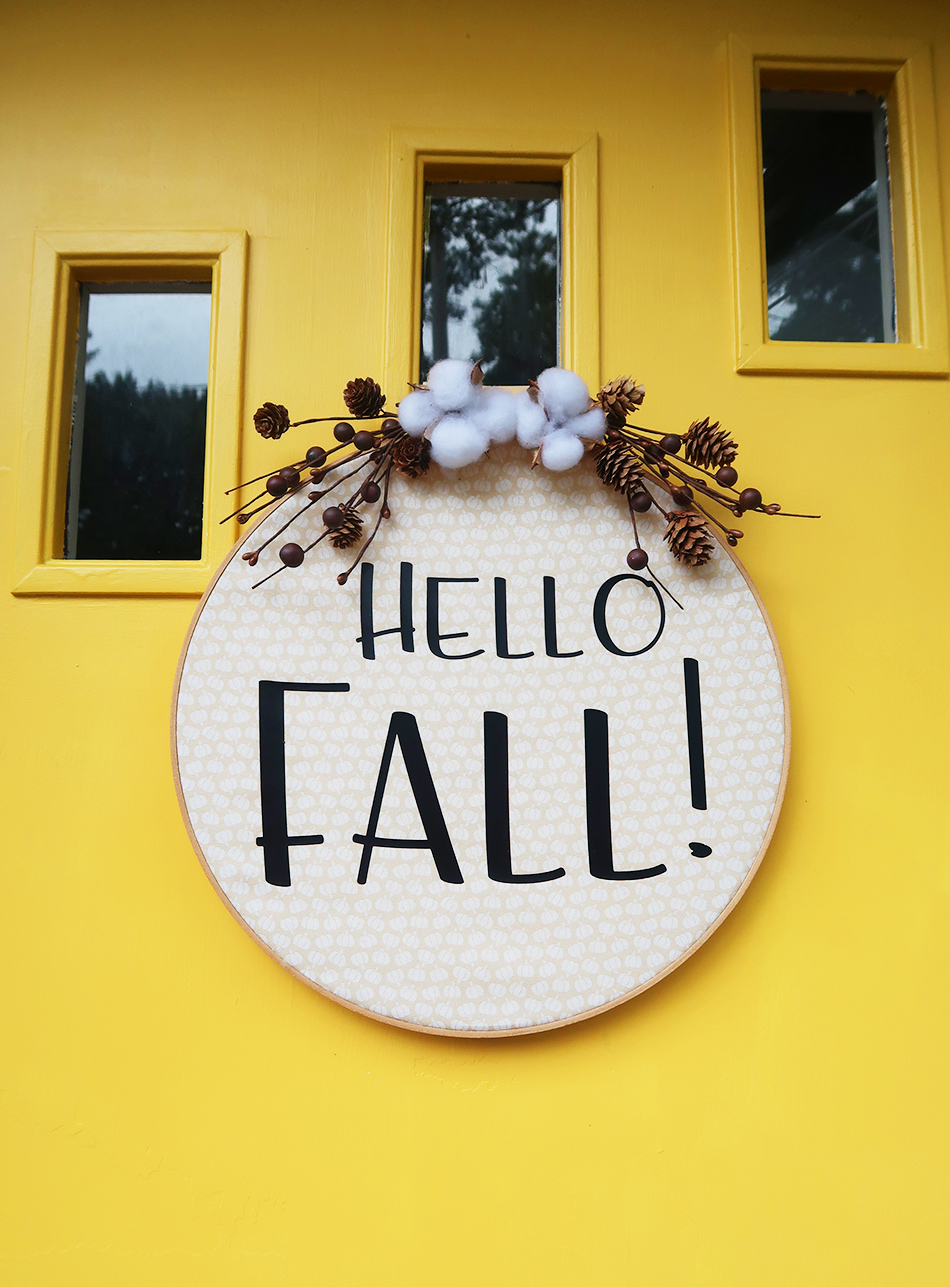
I felt that the hoop need a little something to make it feel more like a wreath. I found these pine cones and cotton blossoms at Joanns and knew they would be perfect to finish off the wreath. Using a high heat glue gun I added the floral pieces to the top of the embroidery hoop.
I am so pleased with how this came out! really beyond my expectations and the natural color just jumps off of my yellow front door.
Check out 7 Fall Cricut Crafts
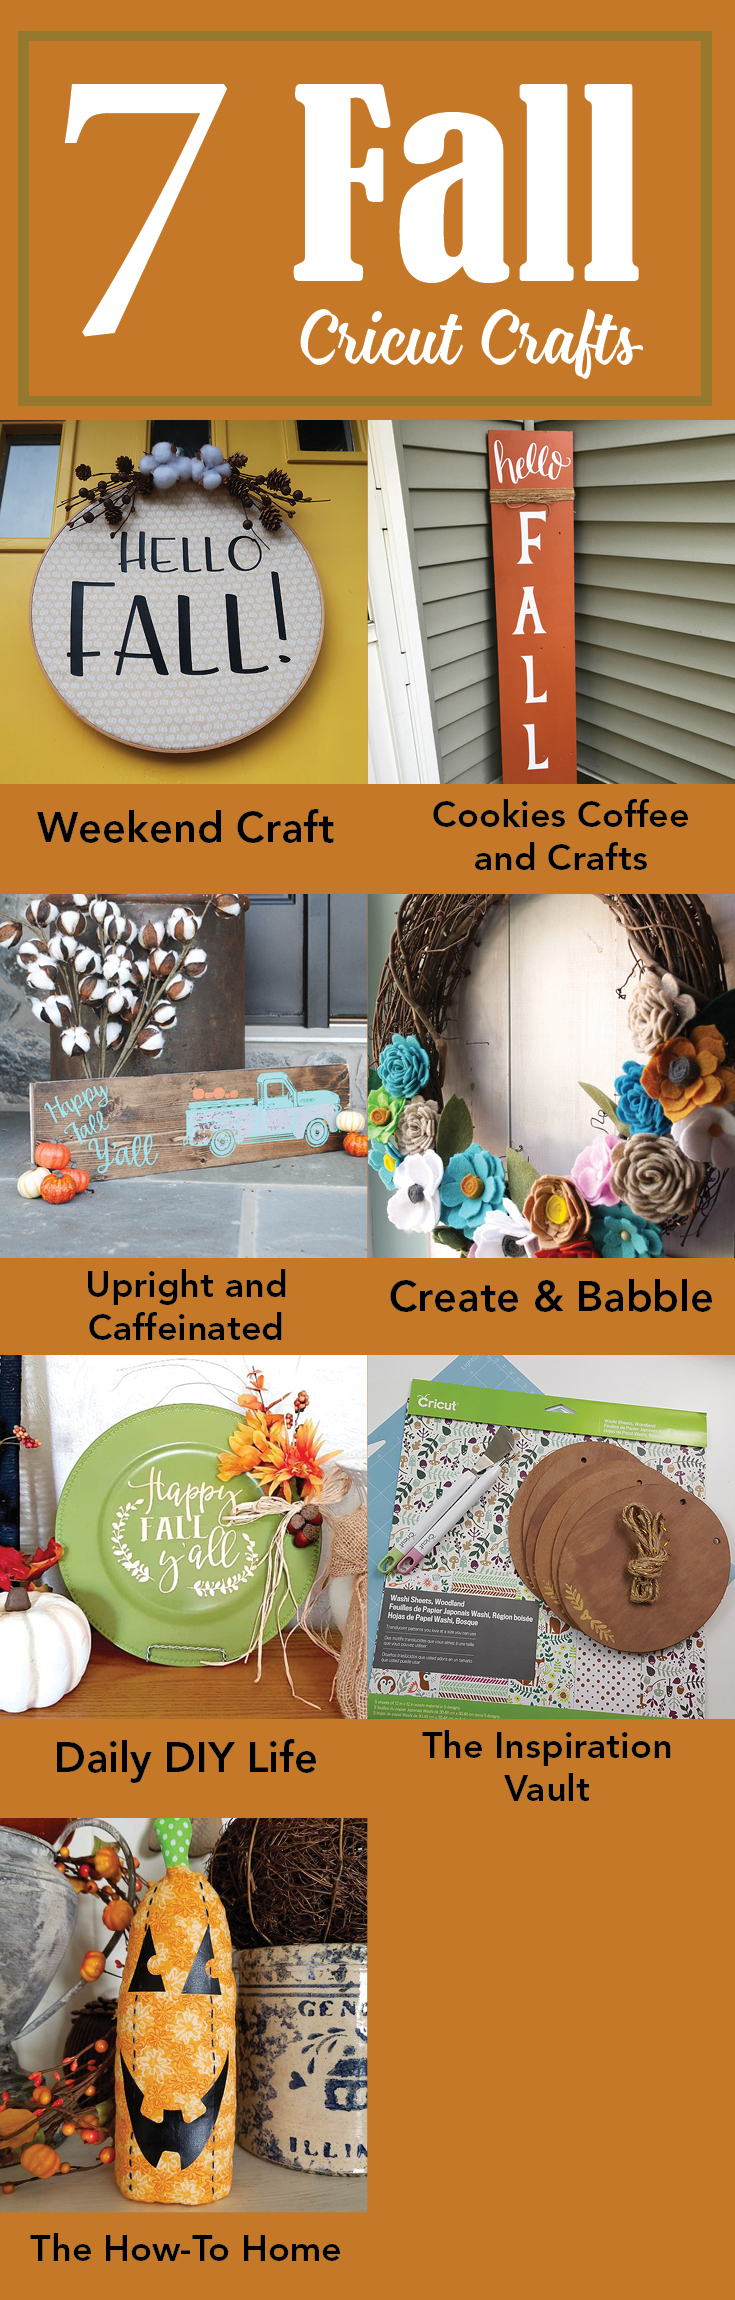
Fall Embroidery Hoop Wreath from Weekend Craft • DIY Fall Porch Sign from Cookies Coffee and Crafts • Easy DIY Fall Sign Upright and Caffeinated • Felt Flower Fall Wreath from Create & Babble • Easy Fall Decor from Daily DIY Life • Autumn Wood Banner from the Inspiration Vault • Pumpkin Stuffie from The How-To Home


Using the wing-men on your team can exploit the sides.