This post contains affiliate links, please read our disclosure policy.
Learn how to stencil wood without paint bleeding. Get crisp lines on your sign every time.
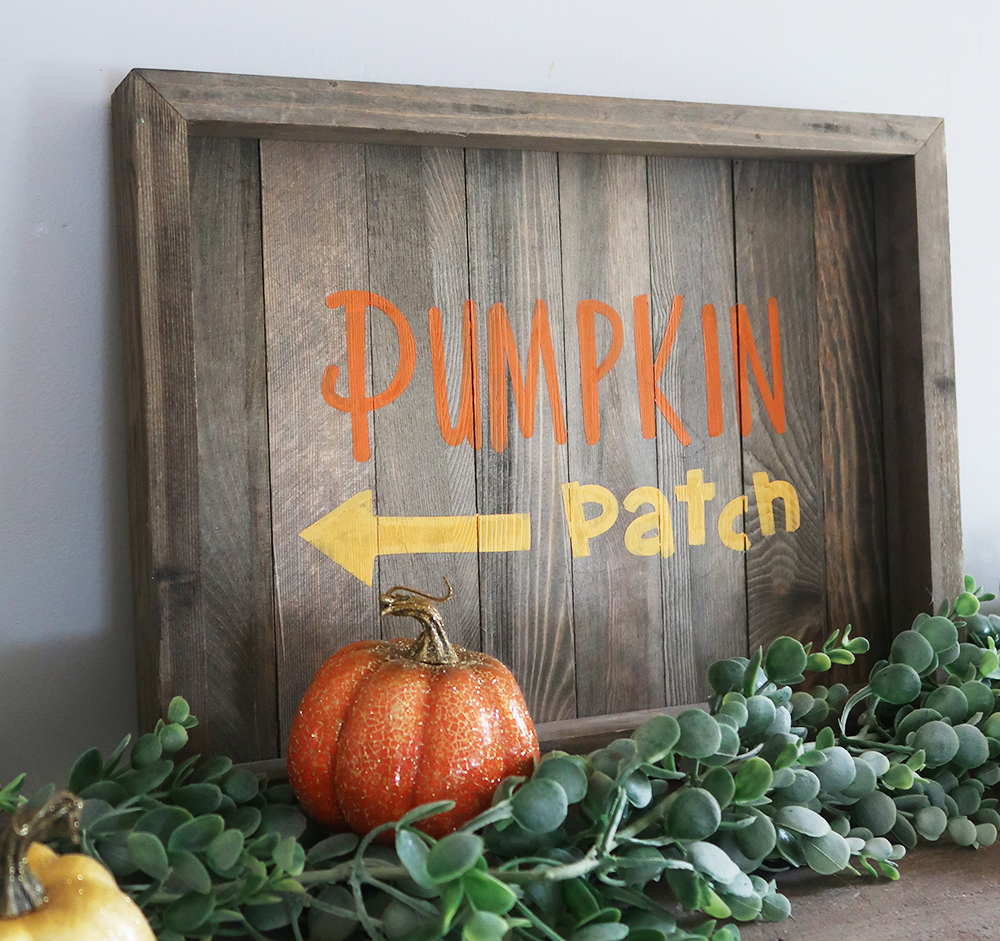
I have to admit it I am counting down the days until it is Fall! I want to feel the cool autumn air, throw on a sweatshirt while apple picking and sipping pumpkin spice lattes. Well it is still 90 degrees here but I am going to crank the AC and pretend its Fall while I do some fall crafting. I love to make signs and work with pallets so today I thought I would make a wooden Fall sign and teach you guys how I make stencils for wooden signs and the paining technique I use so to get crisp lines.
Now I purchased this blank sign at the craft store but if you want to make your own you can follow these instructions here.
This is a sponsored post from CraftBundles.com but all opinions are my own. This post may contain affiliate links.
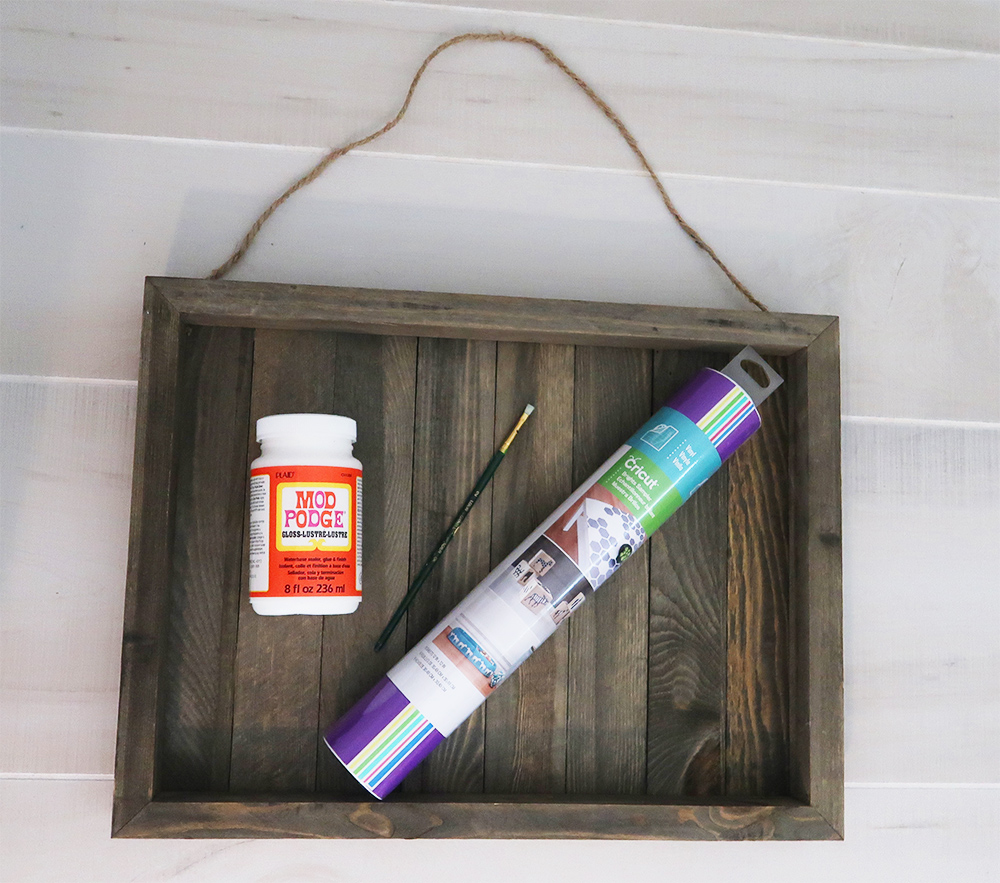
What you will need
-
Paint brush

As a graphic designer I absolutely am addicted to fonts. I was thrilled when CraftBundles.com told me that they were curating the Ultimate Font Collection. Whats great about CraftBundles.com is that they bundle the fonts together and give you a discount for buying them together. With this bundle you save almost $180. The bundle comes with 67 crafty fonts and they can be used with Silhouette, SCAL, Brothers and Cricut software. Suitable for scrapbooking, handmade gifts, decorations, and all your DIY projects for only $22.
One of my favorite things to do with new fonts is to create signs or tshirts using fun typography. Check out this Tshirt I made last christmas with Font bundles. See the tshirt here. Today I decided to make a Fall sign that will fit in with my decor.

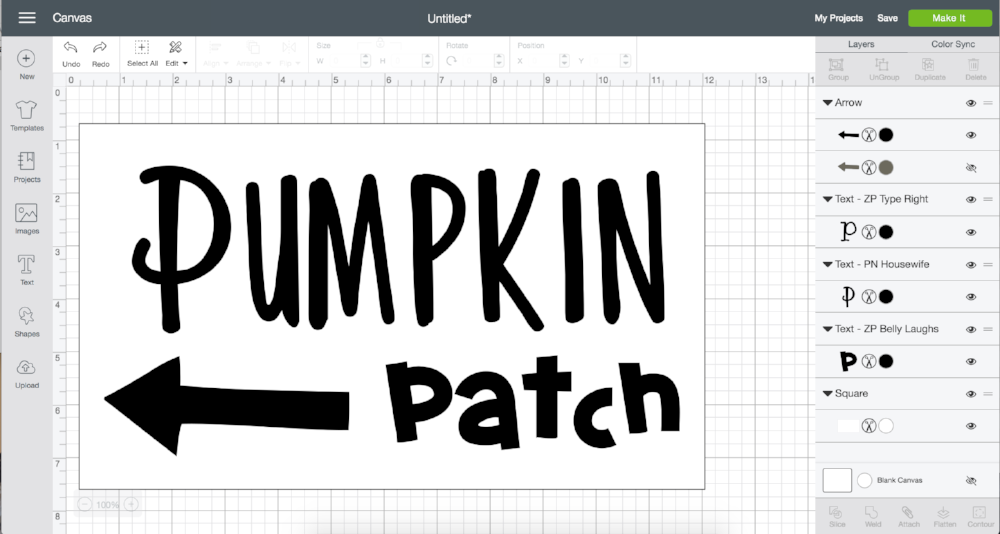
How to design your stencil
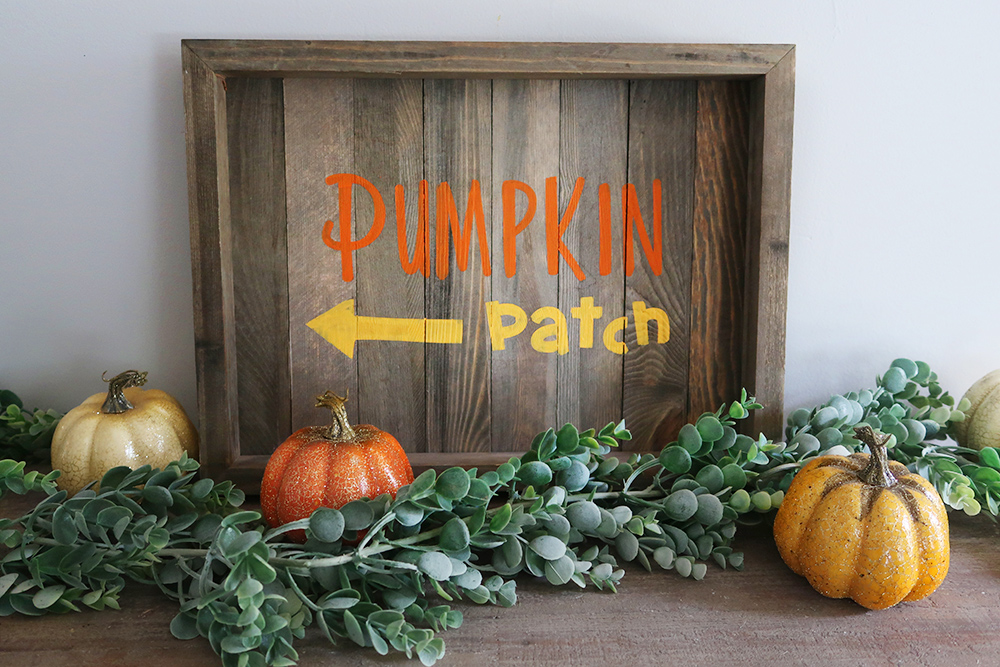
The secret when it comes to my designs I always like to use more than one font. I do this with almost every sign that I make. It just gives it something a bit more eye catching than everything being uniform. For this sign I used “Housewife” for the word pumpkin and “Belly Laughs” for the word patch.
Now I designed this straight in Cricut Design Space. Once I had “Pumpkin Patch” and the arrow I added a rectangle shape around the words. This is important since we are going to be using the vinyl as a stencil cutting out and removing the letters in order to paint. I drew the rectangle by selecting the square shape and unlocking the restraints on it.
Watch below how stencil wood without paint bleeding through.
Cutting your stencil
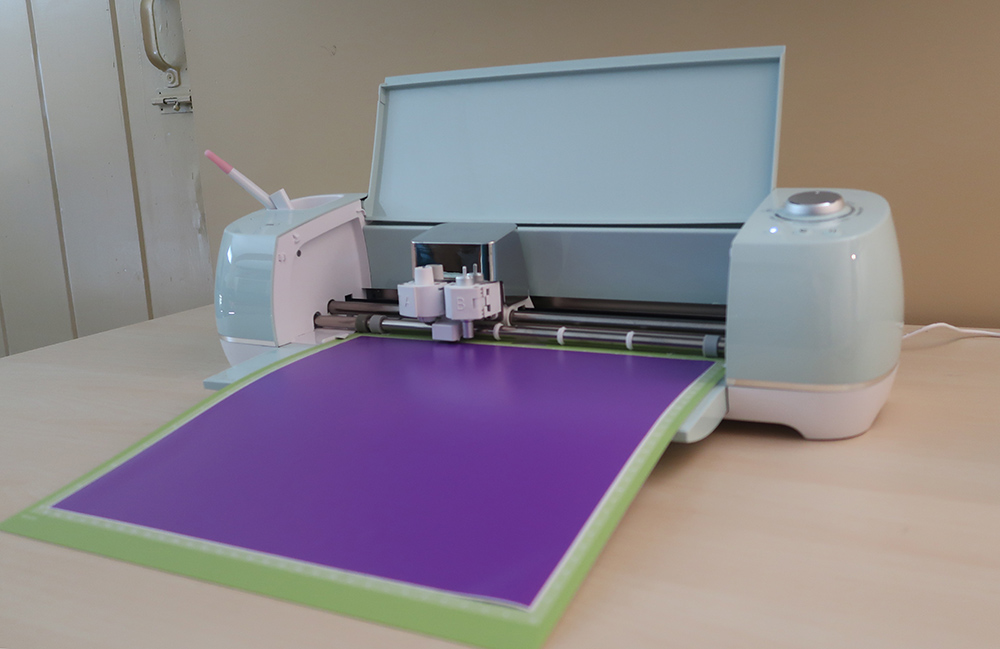
Place your vinyl on your cutting mat and load it into your machine. Before you hit the Cricut make button you are going to want to turn the dial to vinyl. This will ensure your blade is on the right cutting selection.
Once the vinyl is done cutting unload your mat. Using your hook tool start to weed out the letters of your stencil and remove the vinyl on the outside of your triangle.
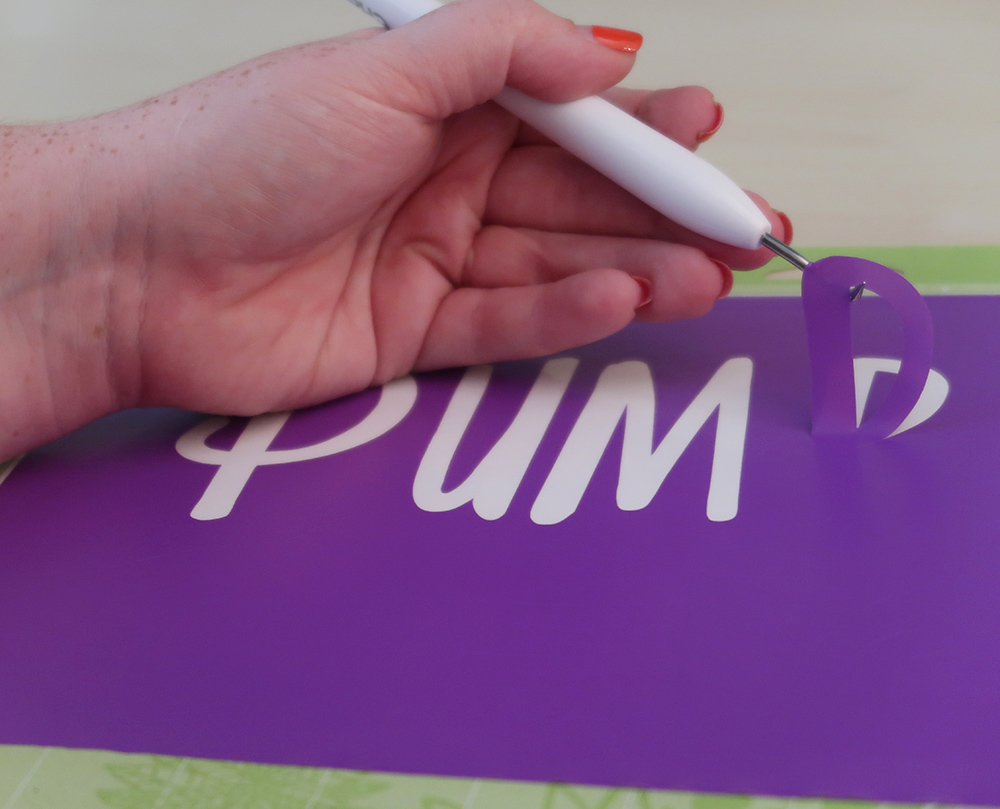
Cut your transfer tape to size and place it over your vinyl stencil. The transfer tape keeps everything together making it easier to transfer the vinyl on to your wooden sign. I always like to buy transfer tape that has grid lines. This makes lining the stencil up straight easier. Make sure to apply the transfer tape straight.
![]()
Using your scraper tool rub your vinyl and transfer tape on to the wood. Peel back the tape slowly. After the transfer is removed use your scraper tool again to make sure your vinyl is snug on your wood. Look for any air pockets and rub until they have smoothed out.
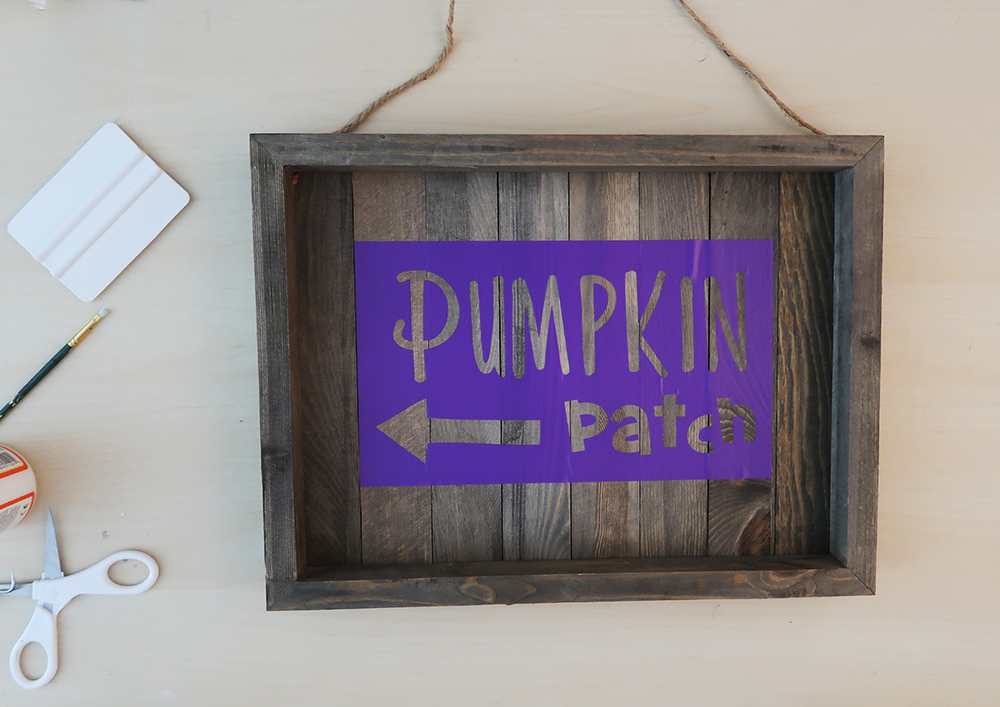
How to stop your paint from bleeding through a stencil
Now this is a trick I have been using for years. Before I paint I use a thin coat of mod podge and paint the edges of my letters. This creates a seal between the vinyl and the wood. Let the mod podge dry before painting over it.
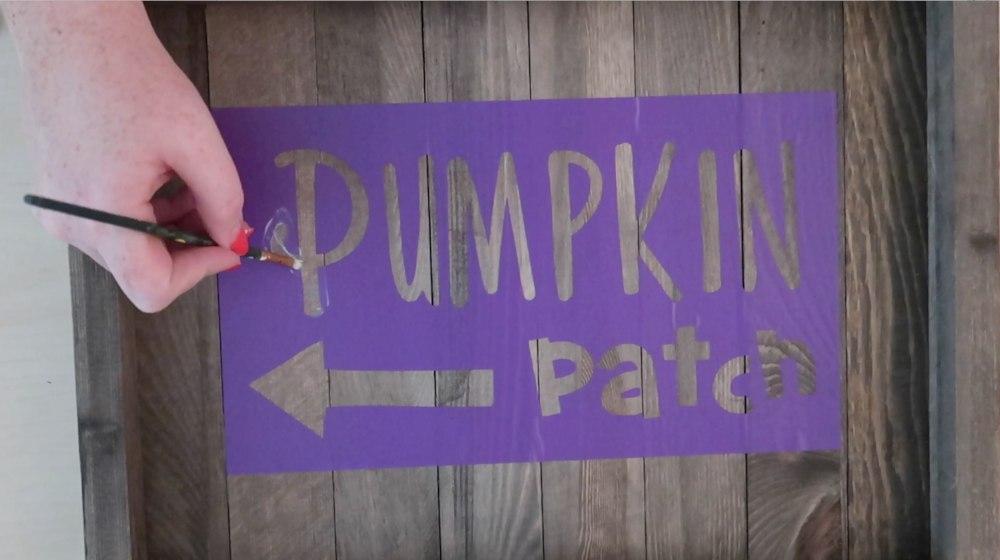
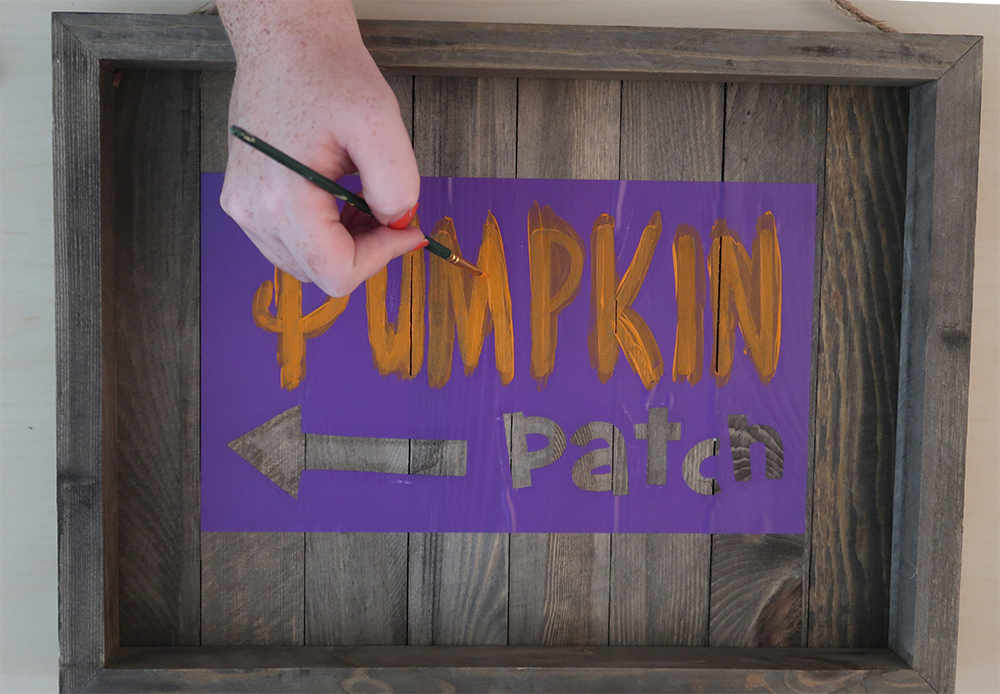
Using a small detail brush and acrylic paint start painting your stencil. Now I still like to do thin coats this also helps to prevent bleeding paint. After your first coat is starting to dry come back through and paint a second thin coat. Let it be for a few minutes but before it is completely dry pull back your vinyl stencil.
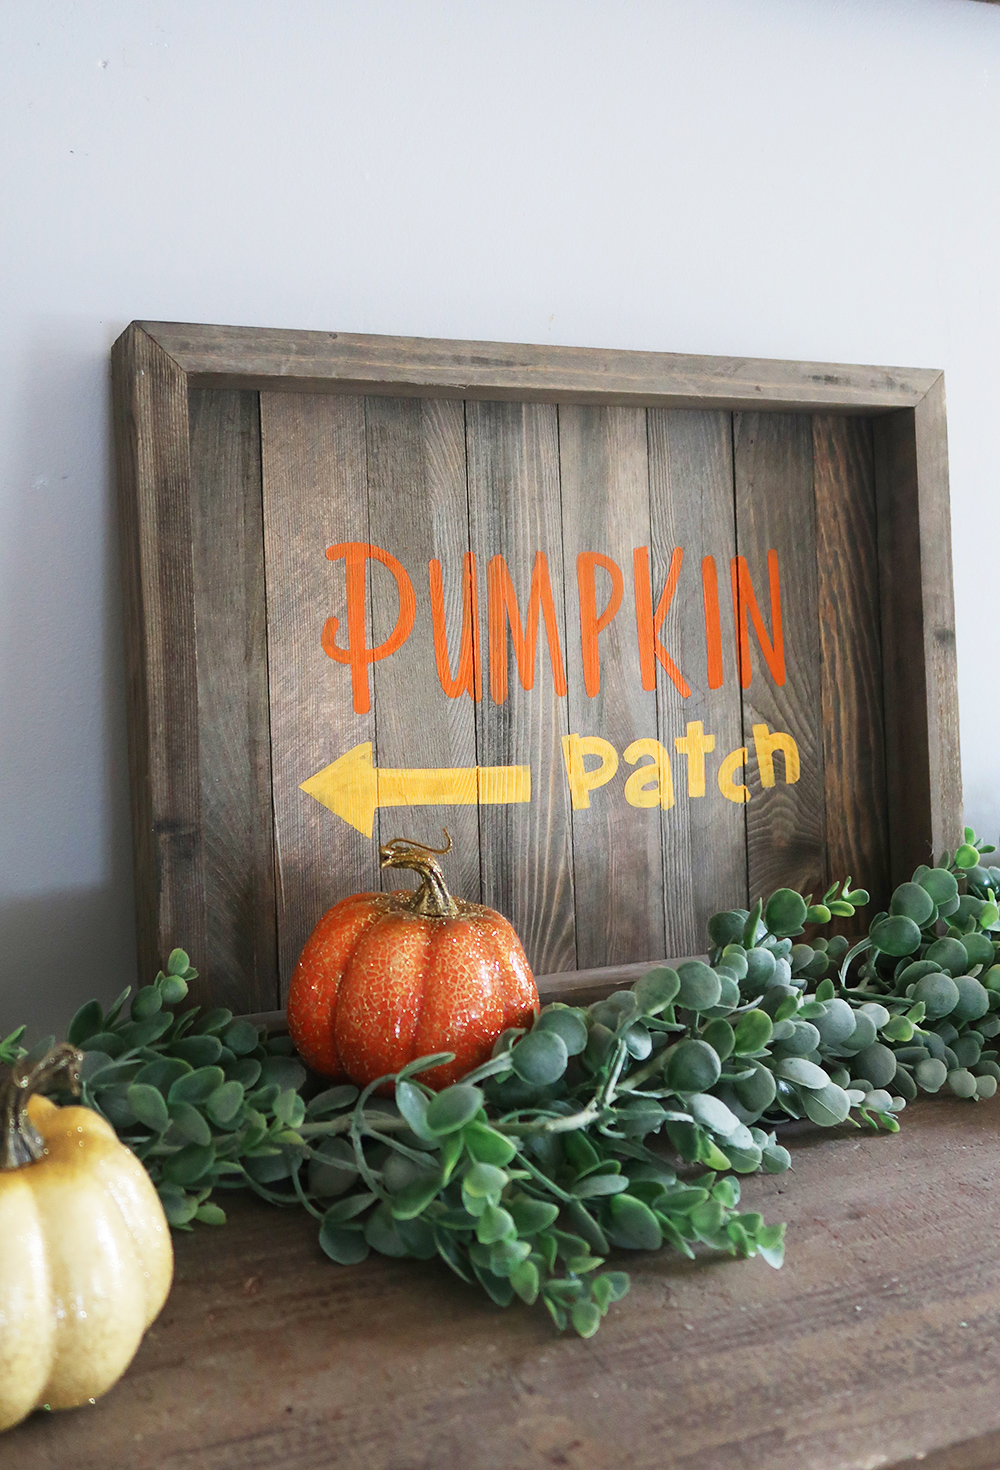
I love how the sign came out. I love how playful the fonts are. It almost gives the hand lettered effect like I hand painted the lettering. I think how different the fonts are gives it character. Is it fall yet?! I am ready.
If you want to make this sign or signs like this check out the Ultimate Font Collection from CraftBundles.com


This is so stinkin’ cute! I love the colors.
Thank you Amy! I am ready for Fall!
That is so awesome. I need one
Do you have to use removable vinyl or can you just cut into transfer tape itself?
Have you ever tried to stain without bleeding using the mod podge trick
Hey Meg! I always used the modge podge trick every time I stencil.