This post contains affiliate links, please read our disclosure policy.
I paint a lot of pallet signs and I share a lot of them on Weekend Craft but I have recently realized that I haven’t shared my technique for how to paint crisp lines when stenciling a pallet. It’s such a simple trick that can save hours of either touch up or completely redoing a sign. Nothing is worse than cutting the wood, assembling the sign, cutting the vinyl, and painting only to pull off the stencil and see that the paint had bled through the stencil.
Have you made a pallet sign before or is this your first? If so I have some helpful tutorials to get you started.
Learn how to disassemble a pallet without power tools here.
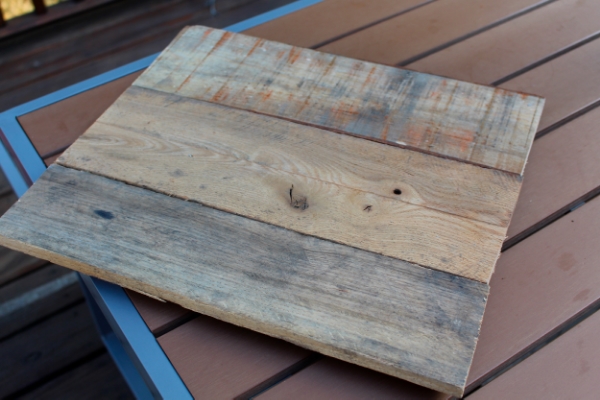
Learn how to build the pallet sign base and stencil it here.
Just need some inspiration here are 15 Pallet Projects here.

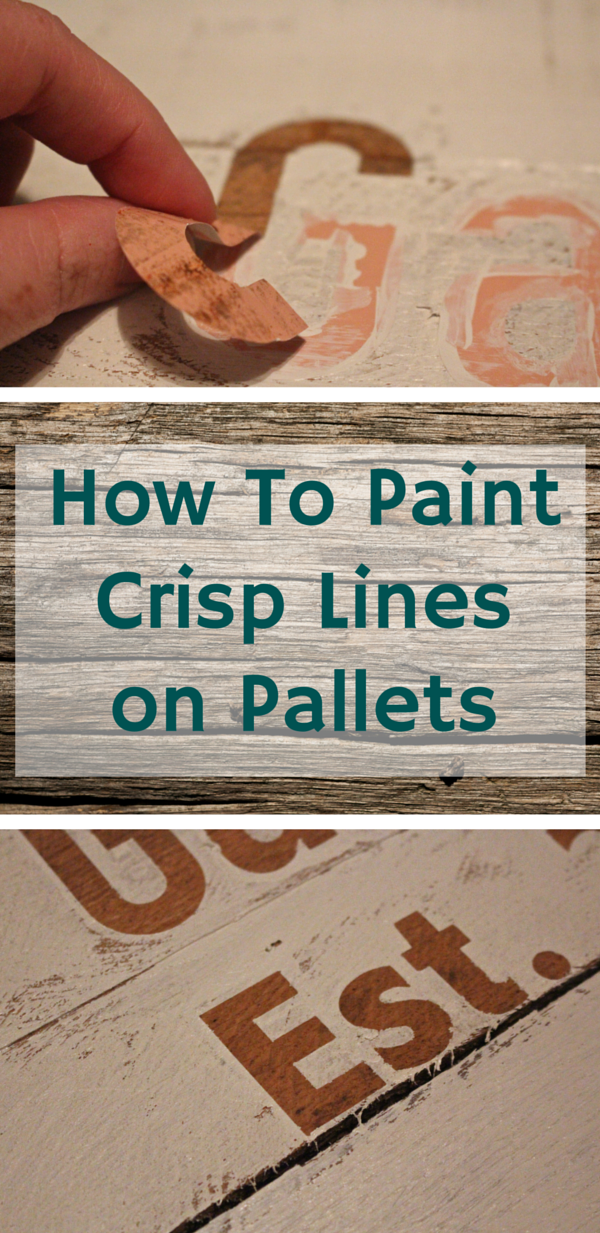
Once you have your stencil made and cut, place the stencil on to the wood. Make sure to use the a scraper tool or a credit card to press out all the air bubbles beneath the surface. To cut these stencils I used my Silhouette Cameo, you could use a similar cutting machine like a cricut or order a stencil on etsy.
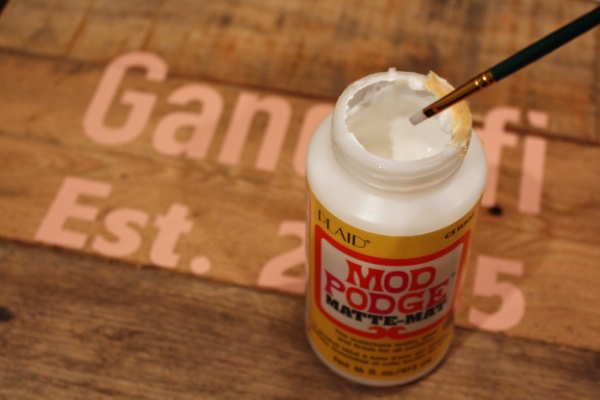
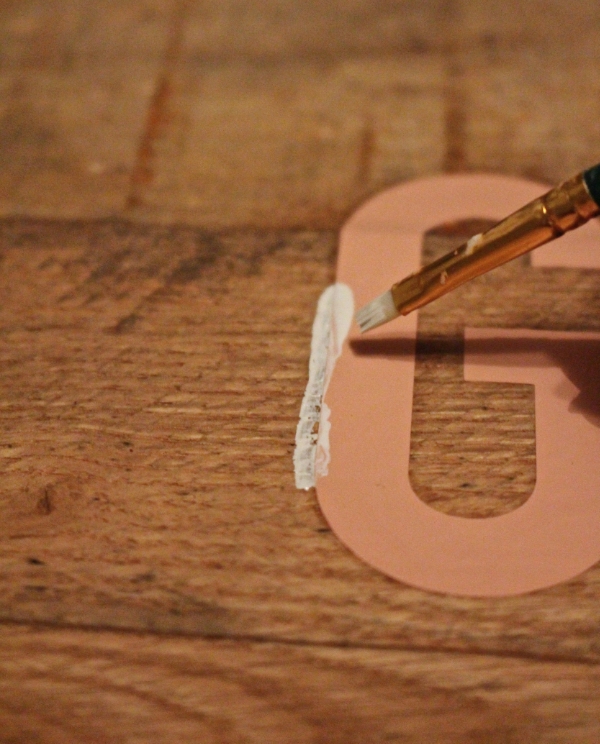
So what is the secret to painting crisp lines…… MOD PODGE!
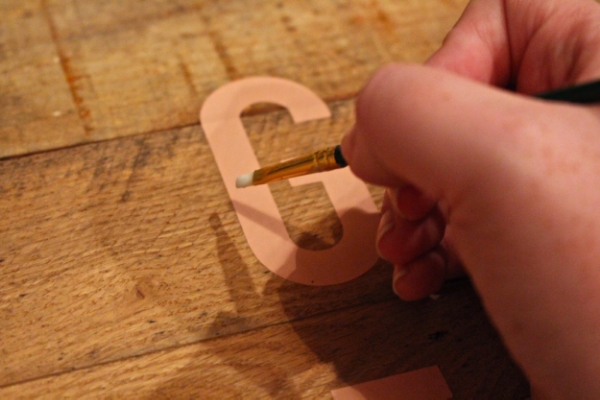
Using the mod podge and a small detail brush paint a light coat around the edges of your lettering. This will create a seal between the wood and the vinyl prohibiting the paint to bleed. A light coat is all you need. Let the mod podge dry. I usually walk away for about 10-15 mins. The light coat should dry fast.
Using a small detail brush go back over the edges but this time with paint.

Paint around the letters first.
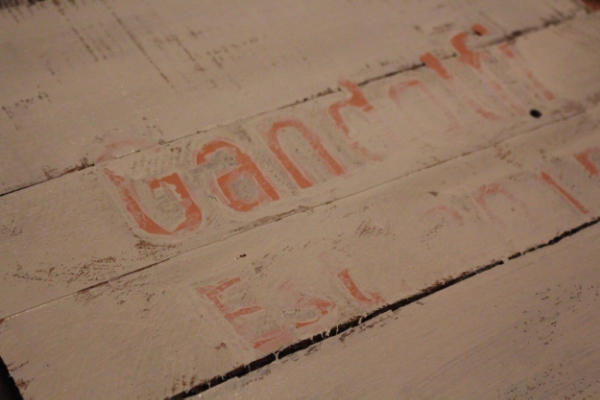
Then continue to paint the rest of the boards.
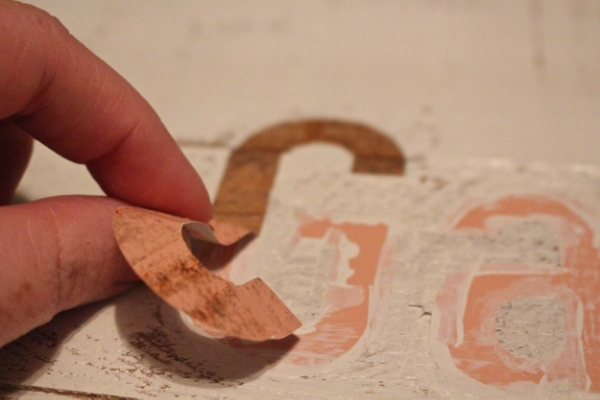
Once the paint is dry (or almost dry I’m impatient) pull back the vinyl letters. You can either use your nails or the hook tool to lift the stencil from the wood.
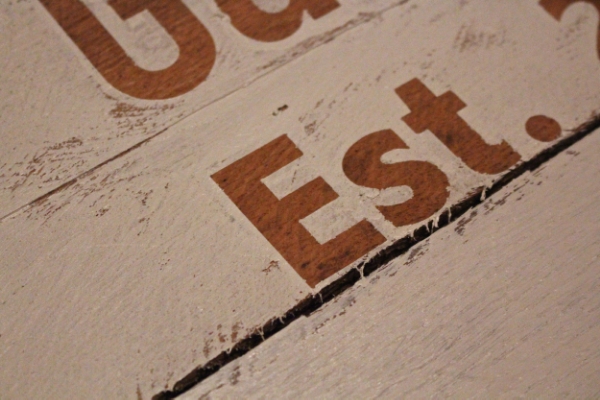
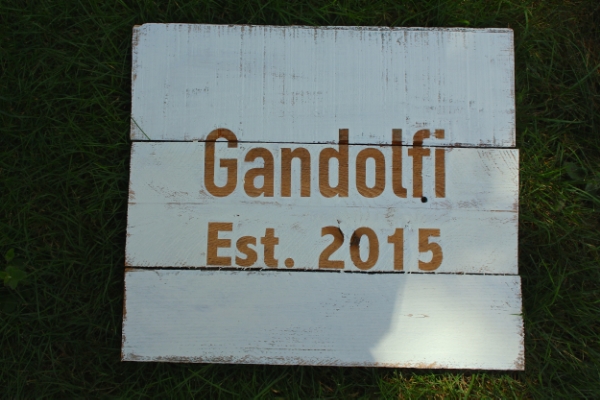
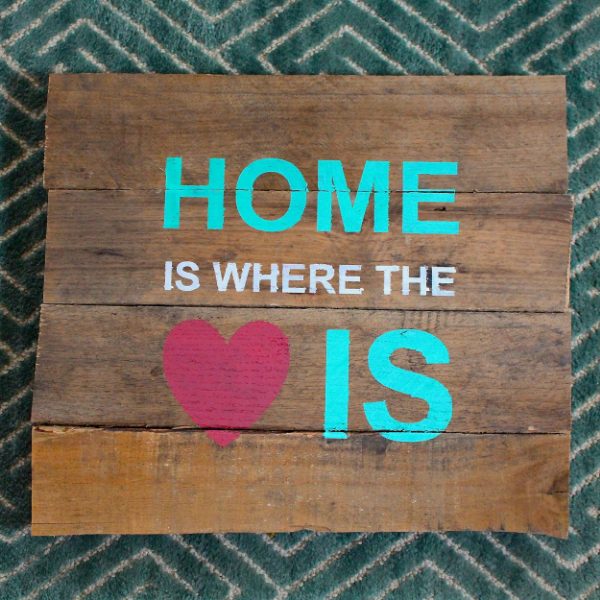
Look at those crisp lines! Now I don’t always use mod podge on my stencils but when I am creating a sign where the wood shows through like this one or where the wood is the background I always use mod podge. The thing is you can always touch up paint on paint but really there is no way to take the paint off the wood if it bleeds.
Hope this was helpful and feel free to share your creations with me on facebook or instagram! I’d love to see what you’re working on.

50 Comments