This post contains affiliate links, please read our disclosure policy.
Table of Contents
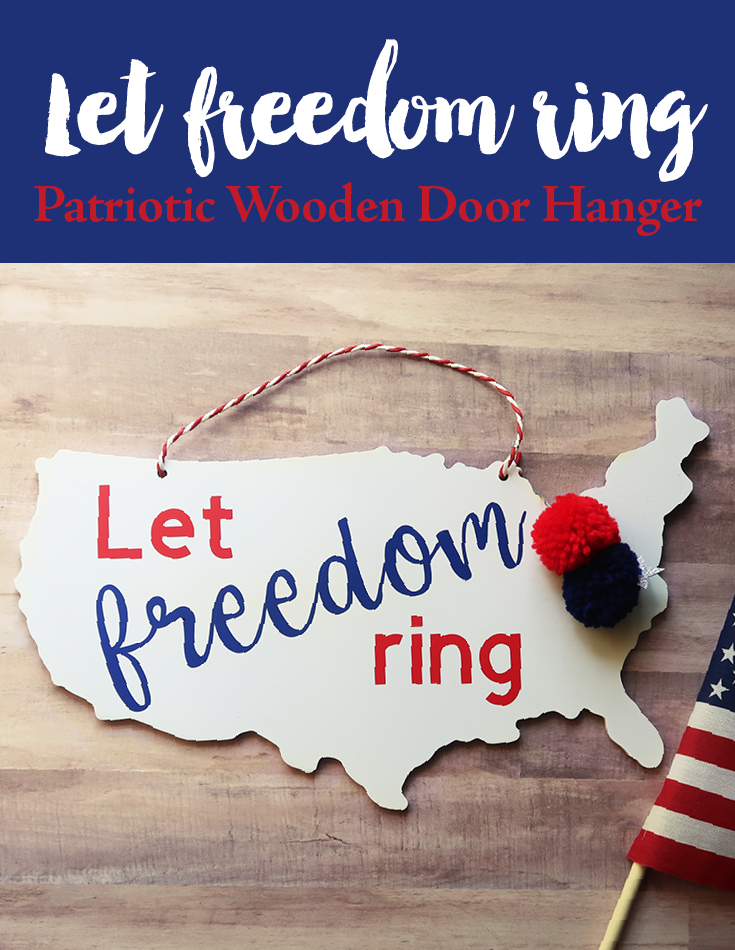
Easy DIY patriotic signs or door hanger using your Cricut and some vinyl. Perfect for 4th of July or Memorial Day
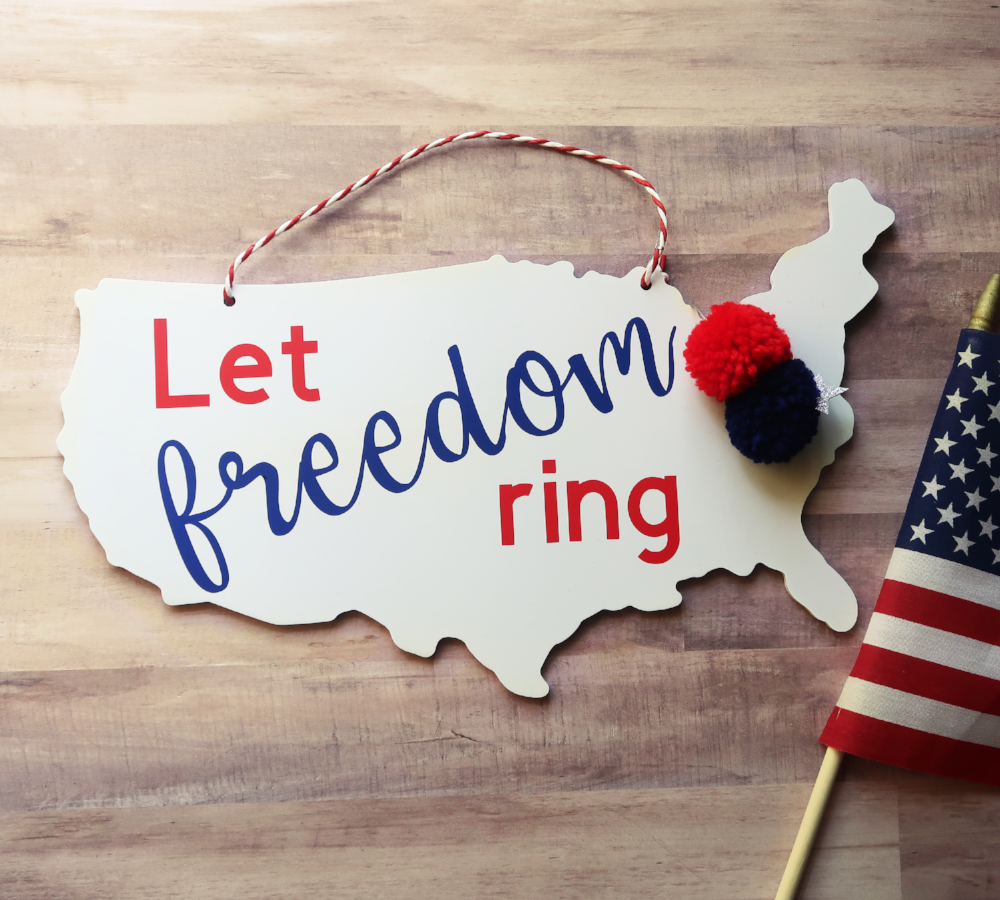
The weather is starting to get warmer which means summer is almost here. As soon as the days get longer and warmer I am ready to get out some of my red white and blue gear. Today I am going to show you how to turn a blank wood cut out of the United States into a Patriotic door hanger.
Now today is the second Sunday of the month which means its Craft & Create with Cricut. Where bloggers come together to all share projects and this months theme is patriotism. Now make sure you stay with use until the end of the post to see 12 patriotic crafts.

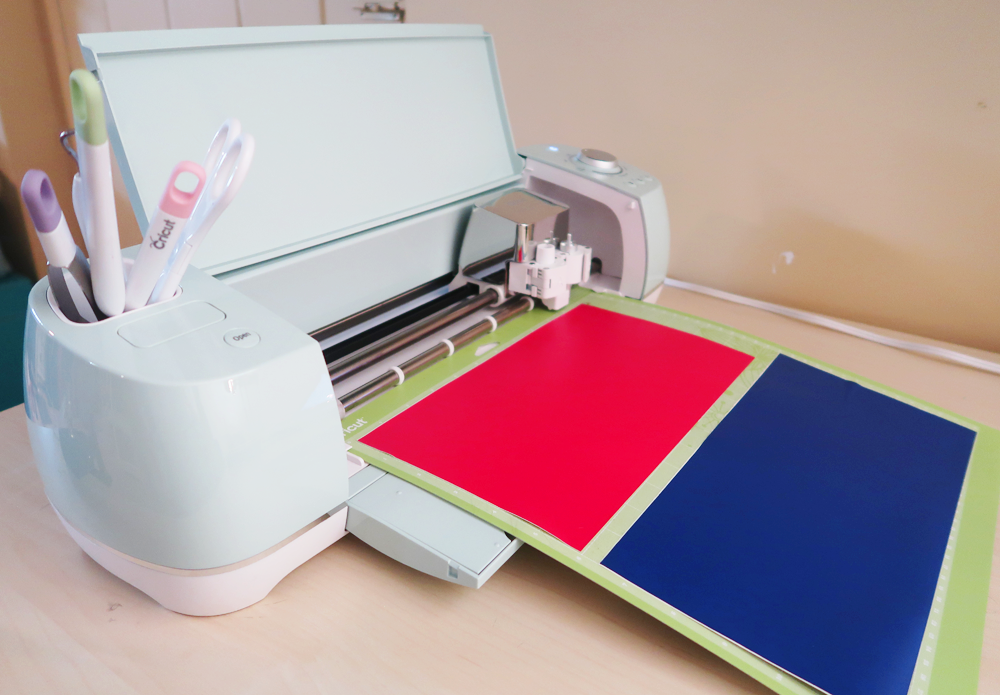
What you’ll need
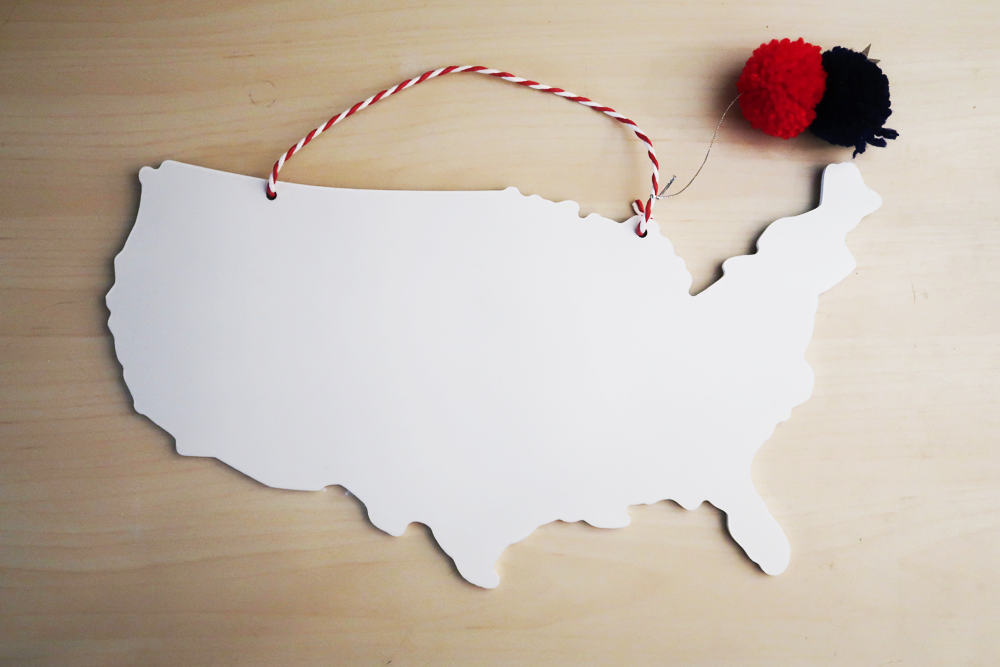
- Blank wooded United States(similar to this)
- Oracle 361 Vinyl Red and Blue
- Transfer Tape
- Cricut Explore Air 2 or Cricut Maker
- Scraper or Credit Card
- Let freedom ring design space file
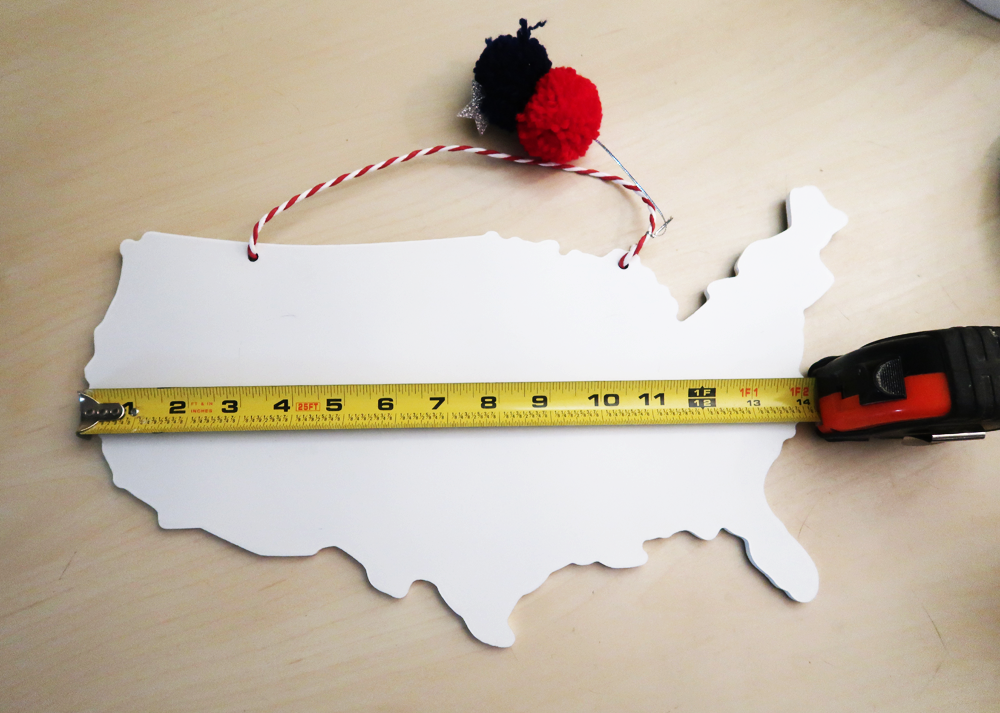
Measure
I always start designing by measuring out the sign. I do this before I even log into design space. This will give you and idea of how large to make your design.
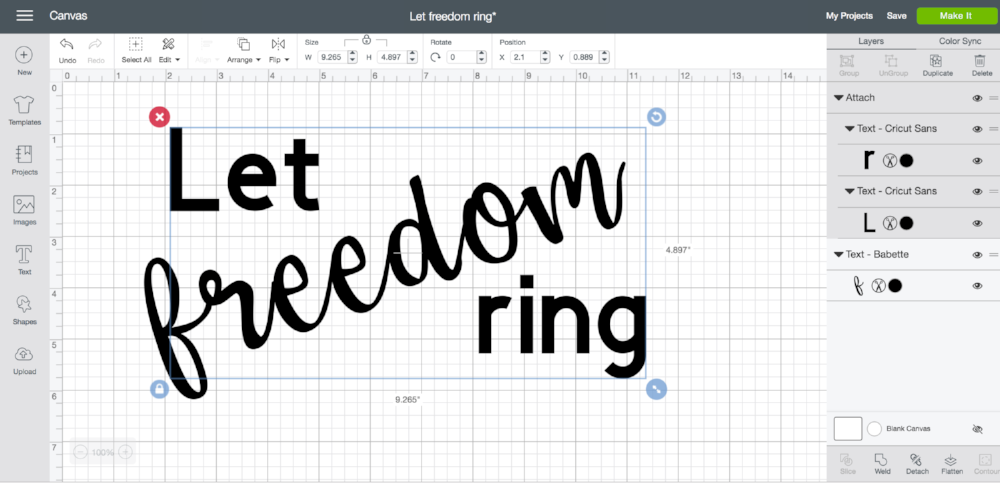
Now if you would like to use this lock up I have shared it in design space here.
Cutting Vinyl
Now once you are ready to cut click the green make it button on the top left of design space. Now I have attached the layers and words “Let ring”. Since I am cutting them out of red vinyl this will keep them in position. I will cut the word freedom out of blue vinyl. Now I position my vinyl the same way it is shown on the make it screen. Allowing me to cut two different colors on the same mat. Make sure your cut dial is set to vinyl and you are ready to make it.
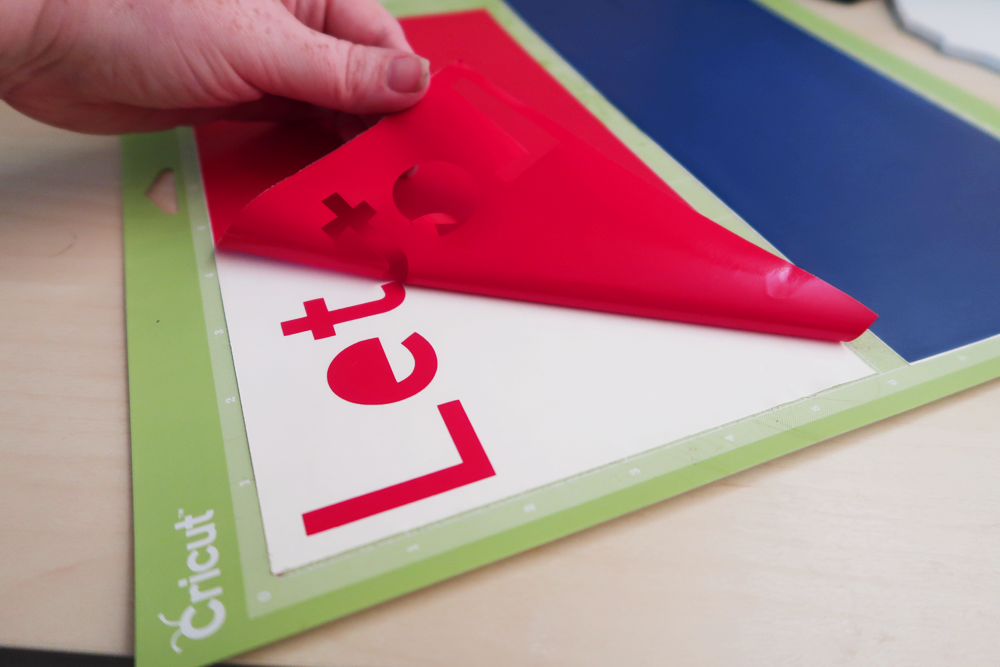
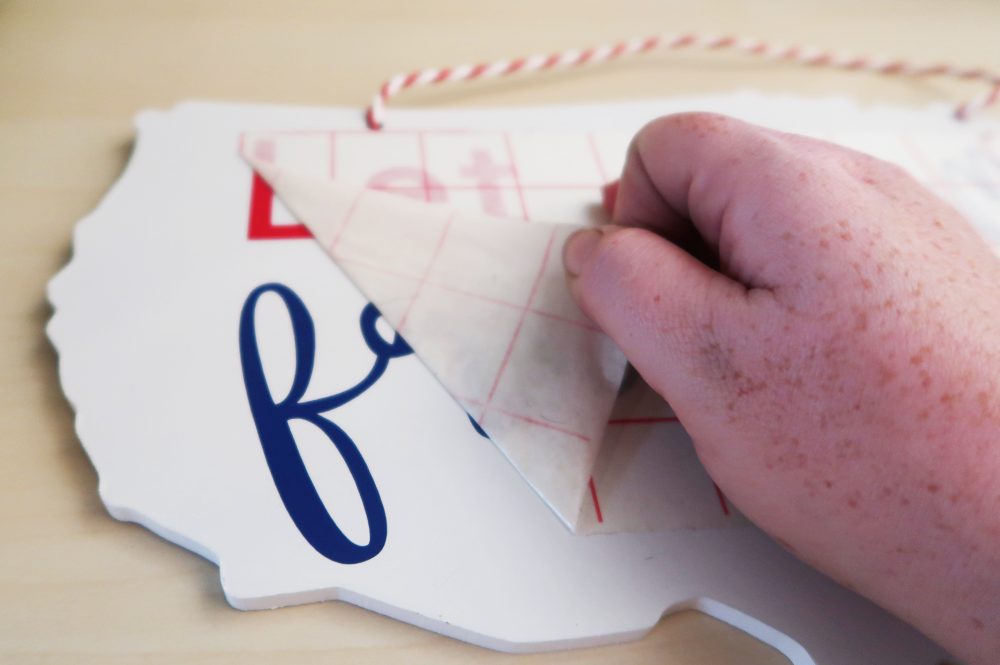
Weeding Vinyl
Now that your vinyl is cut remove excess vinyl. This is called weeding.
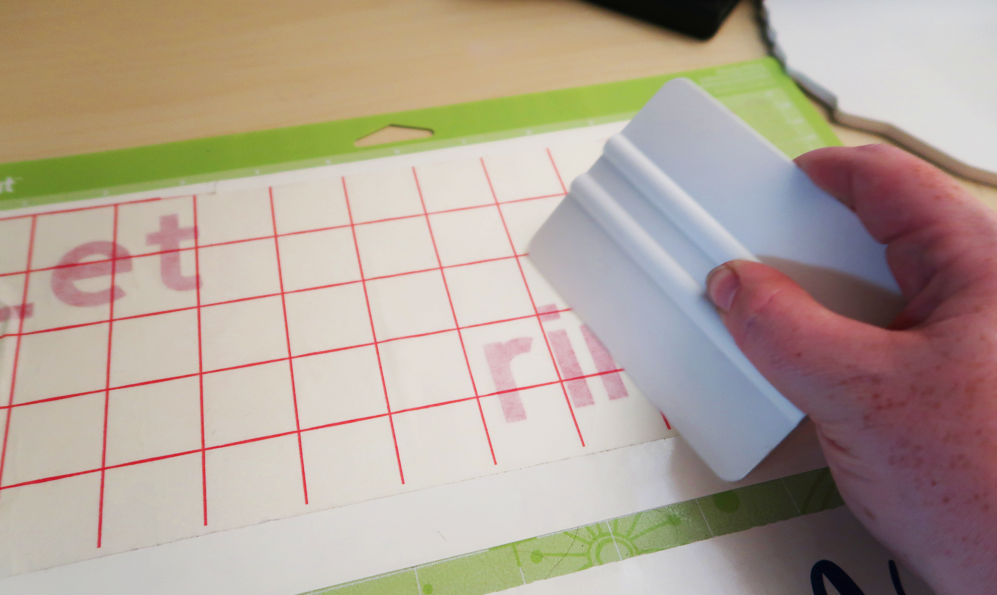
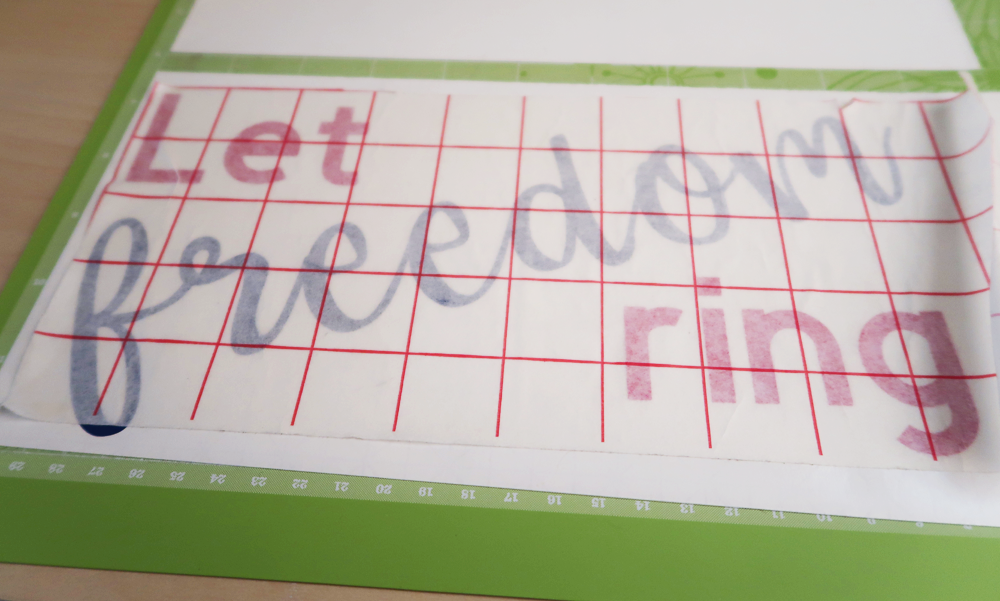
Transfer Tape
Transfer tape allows you to transfer your vinyl to your sign. I like to buy the gridded kind because it makes it easier to line up straight, which is important with text. Now I am going to show you guys a trick I have learned over the years. I adhere my transfer tape to the red vinyl using the scraper tool. Then I carefully use the same sheet of transfer tape and line up the word freedom. Use your scraper tool again then peel the transfer tape away from the backing. This allows you to just place your design once and it is almost spot on to the lock up you designed on the computer.
Vinyl your sign
Place transfer tape and vinyl on to the map. Don’t set it completely down until you are lined up and straight. Don’t be afraid to get out your ruler. Now that it’s in position use your scraper tool to adhere the vinyl. Pull back the transfer tape and VIOLA!
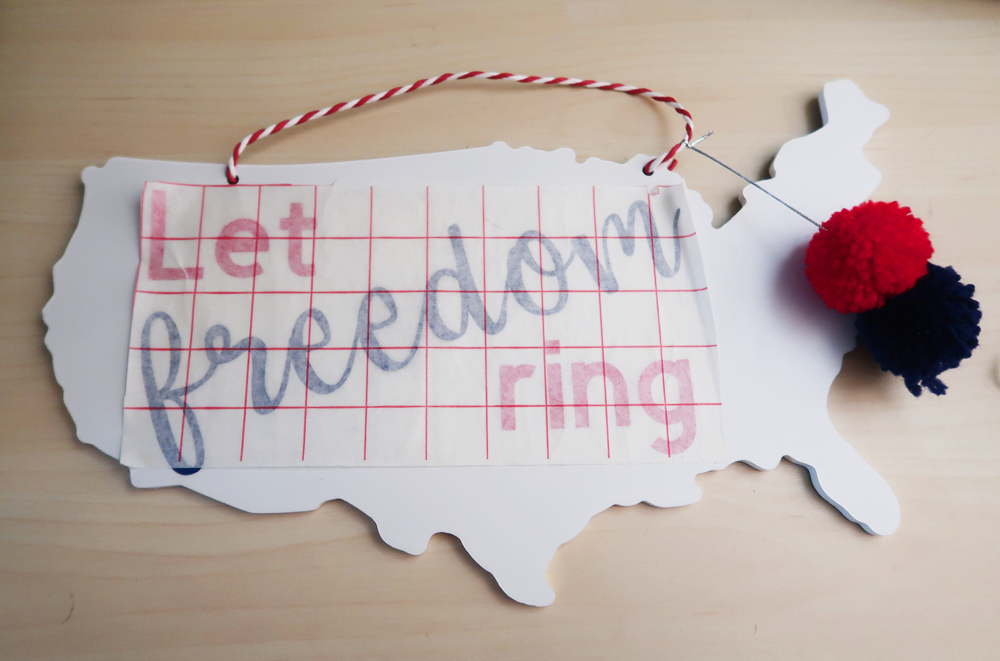
You created a beautiful sign to adorn your front door or to hand with your other July 4th decorations.

Originally I had thought of adding stripes to the USA map but I am loving how the white pops on my yellow door. I’ve also added flags to my window boxes to add some more patriotism to my decor.
This month I have teamed up with 11 other bloggers to create patriotic crafts with our Cricuts. Make sure to check out some of their projects below.
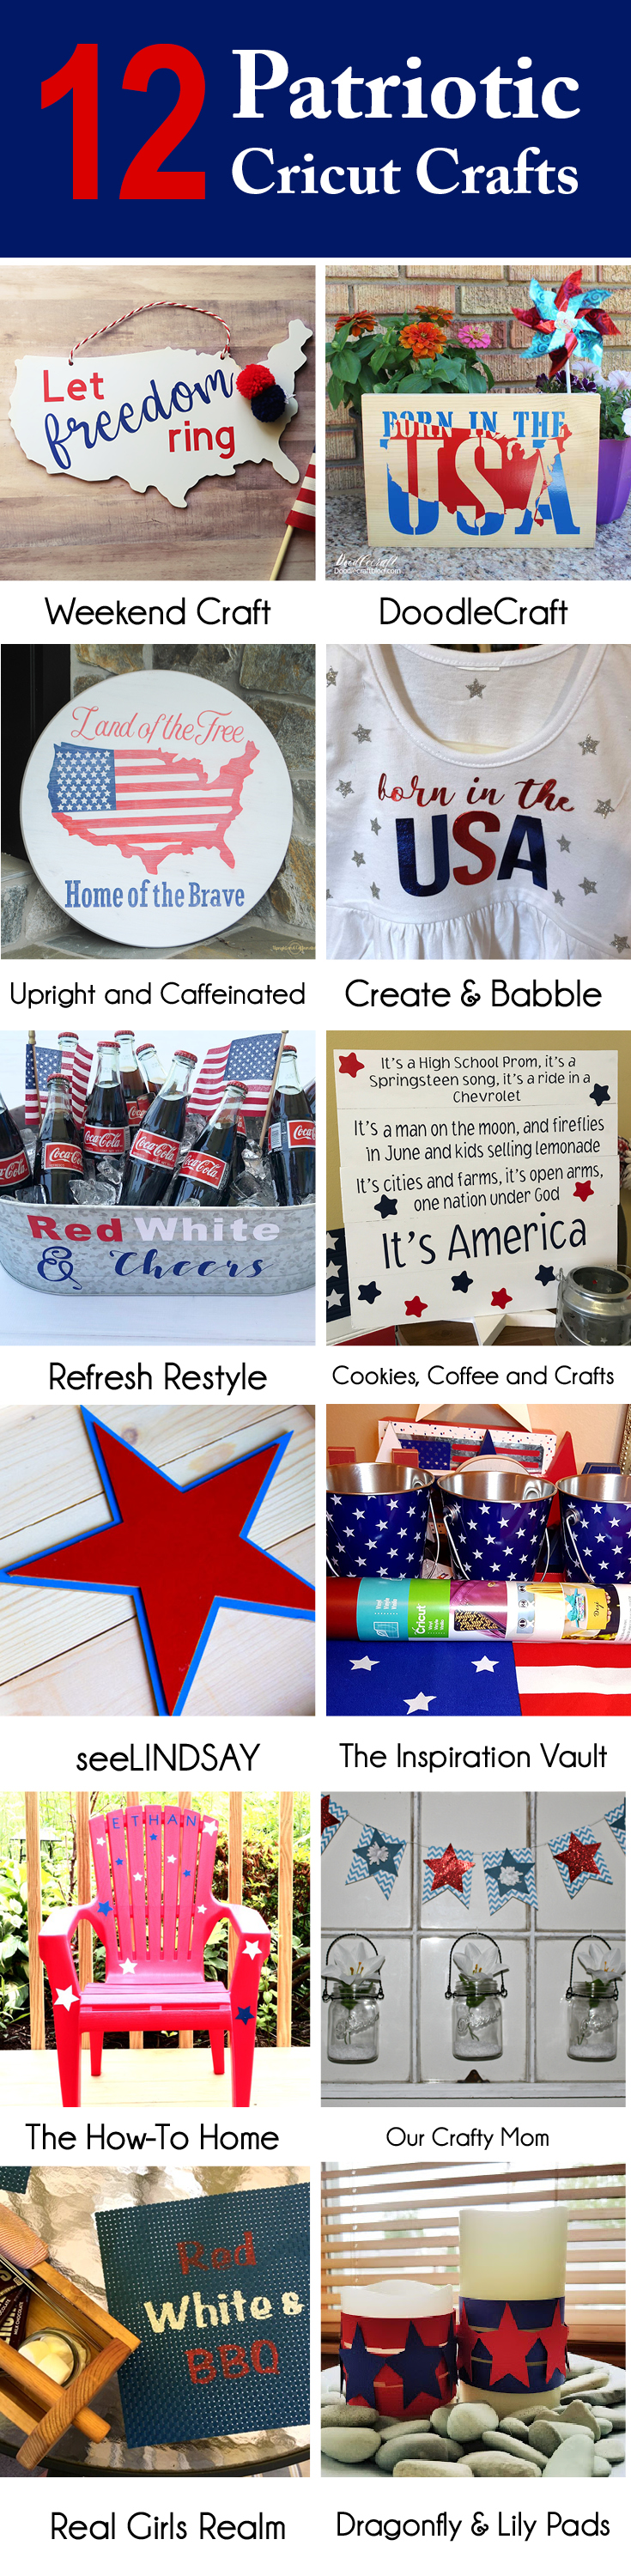
Weekend Craft • DoodleCraft • Upright and Caffeinated • Create & Babble • Refresh Restyle • Cookies, Crafts and Coffee • seeLINDSAY • The Inspiration Vault • The How-To Home • Our Crafty Mom • Real Girls Realm • Dragonfly & Lily Pads


Super cute idea! The saying is perfect. I used this sign to make a picture frame last year for the 4th of July.
Where did you purchase the US sign?
I bought it at Target a few years back. During the summer I have seen similar blanks at Michaels and Joanns.