This post contains affiliate links, please read our disclosure policy.
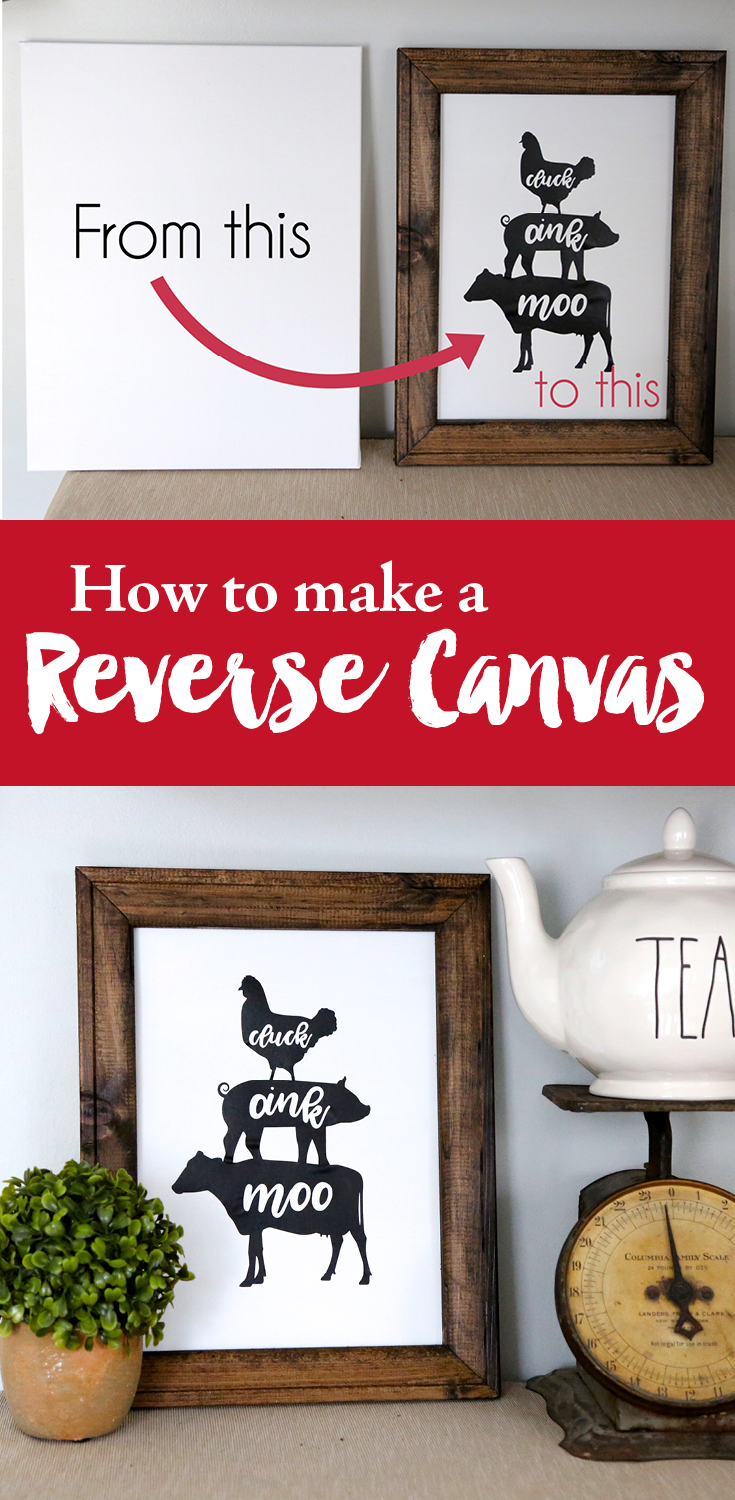
A DIY tutorial on how to make a reverse canvas. Also a cute farmhouse kitchen sign with graphics from Craftbundles.com and cutting vinyl with your Cricut or Silhouette.
This is a sponsored post from CraftBundles.com but all opinions are my own.
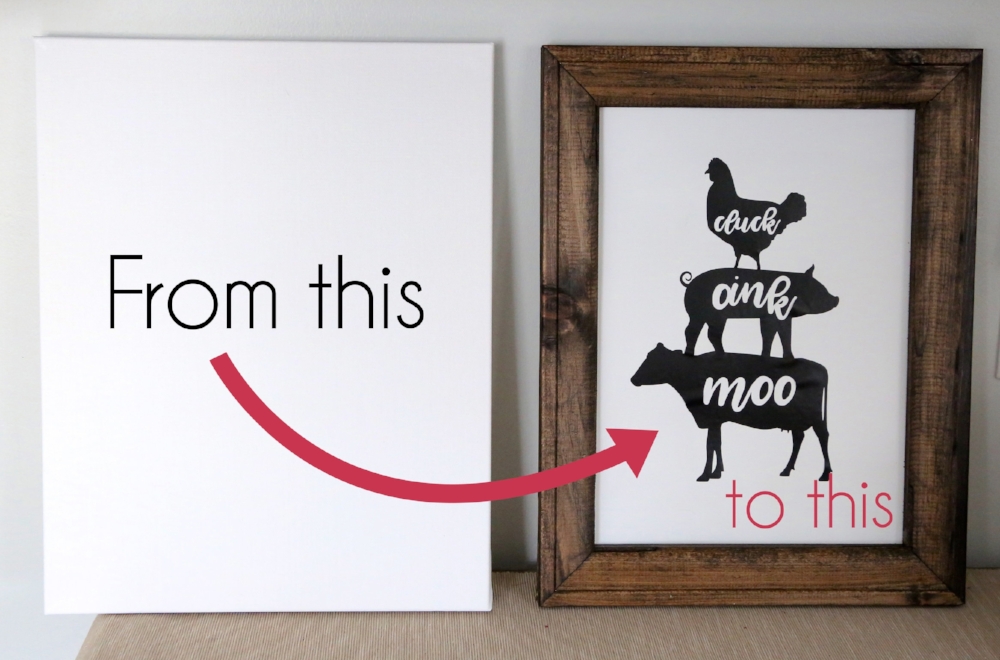
I have been making farmhouse signs and pallet signs for years! Even selling them in a shop at one point. When I saw the concept of a reverse canvas my mind was blown. How had I never done this before. It was so simple there was not trip needed to the hardware store. Just a package of canvases from the craft store or amazon and you could have a custom farmhouse sign.
The idea is really simple remove the canvas from the wooden support frame and then use that as the wooden frame for your sign. Add a stain and a graphic and staple the canvas to the back of the frame. Check out this video below.
How to make a reverse canvas
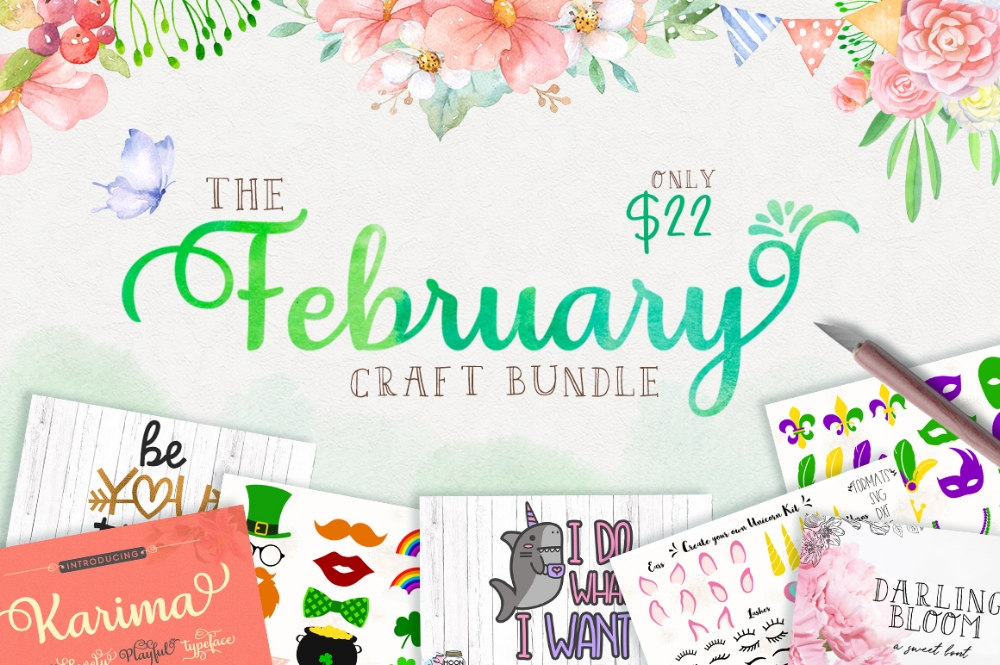
This month I am partnering up with CraftBundles again for another graphics and font bundle. What I love about craftbundles is that their graphics work seamlessly for your cutting machine. I have used the SVG files both on my Cricut and Silhouette. Below I will be showing you how to import the SVGs into your Cricut Design Space.
For $22 you will get 10 craft-friendly premium fonts and over 200 SVG cutting files! Normally priced at $256, now you can download it with full commercial license included! That means these are perfect graphics for projects to sell at craft fairs or creating printables.
This bundle comes with over 200 cut ready SVG, DXF files compatible with Silhouette, SCAL, Brothers and Cricut software. Suitable for scrapbooking, handmade gifts, decorations and all your DIY projects!
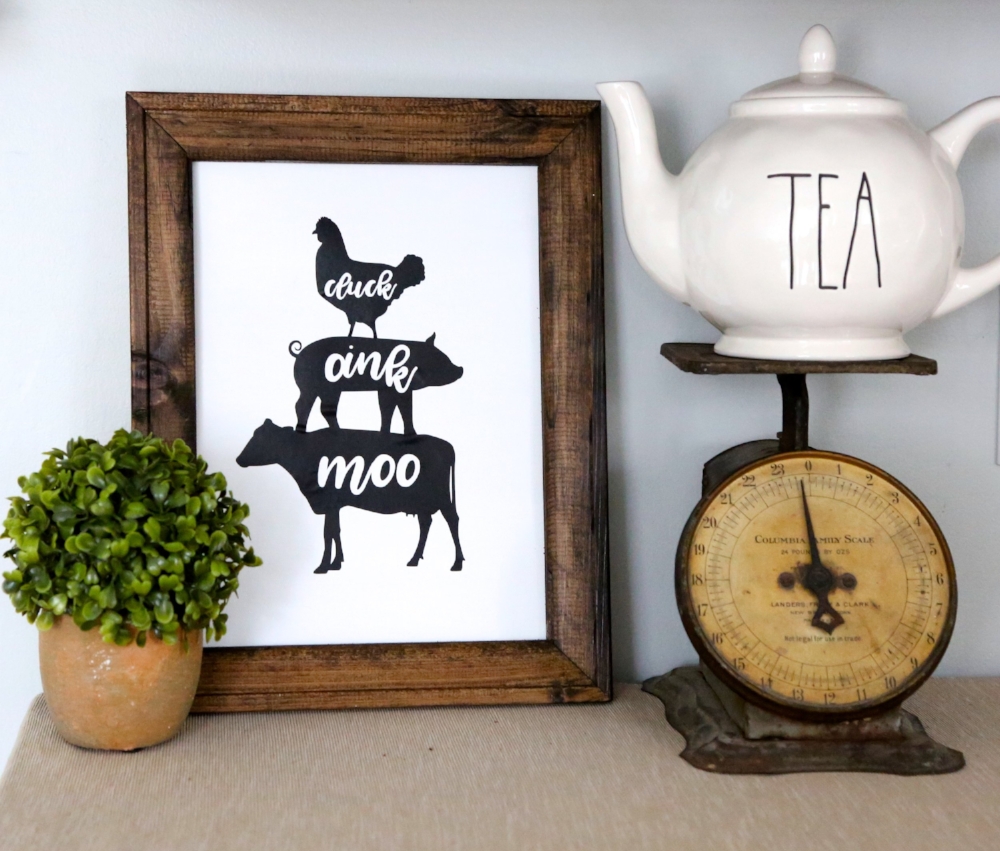
My favorite graphics of this February craft bundle were the farmhouse collection. I knew that any of these would go perfectly in my newly renovated kitchen. I decided to go with the stacked cow, pig and rooster because I loved the play with negative space and the words. I also think I will be making another sign with the farm fresh eggs basket.

How to import an SVG file in Cricut Design Space
Open up Cricut design space and create a new project. Now on the left toolbar select upload > Click upload image. Select your SVG file and just like that it will import into your design space. It is as easy as that just resize to your canvas.
![]()
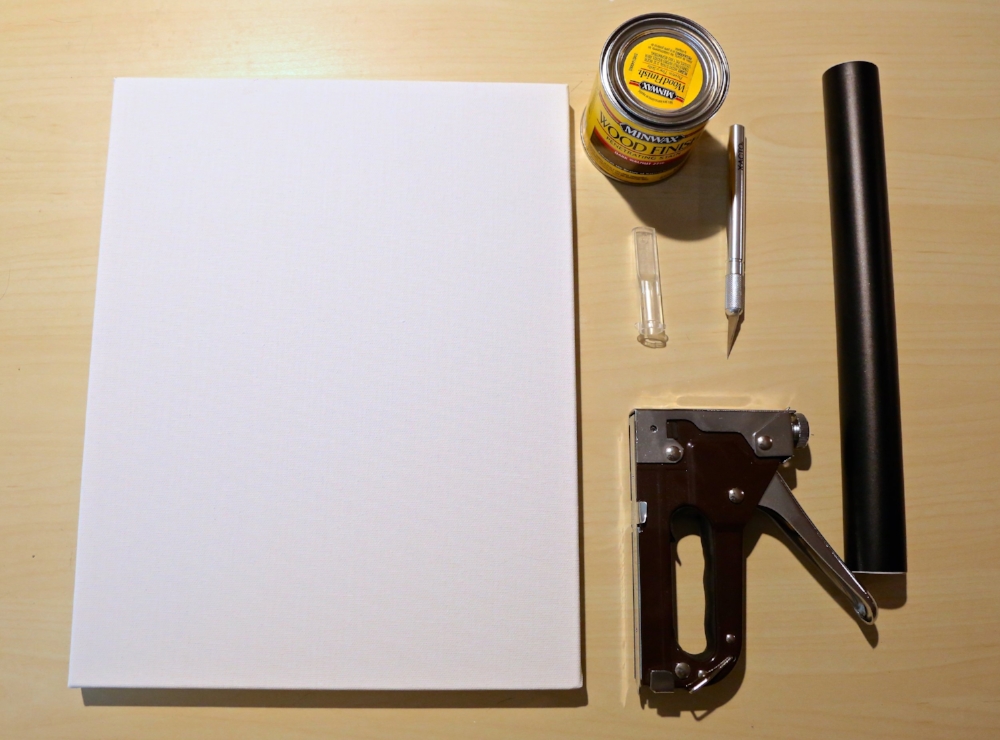
Supplies needed
-
Rag
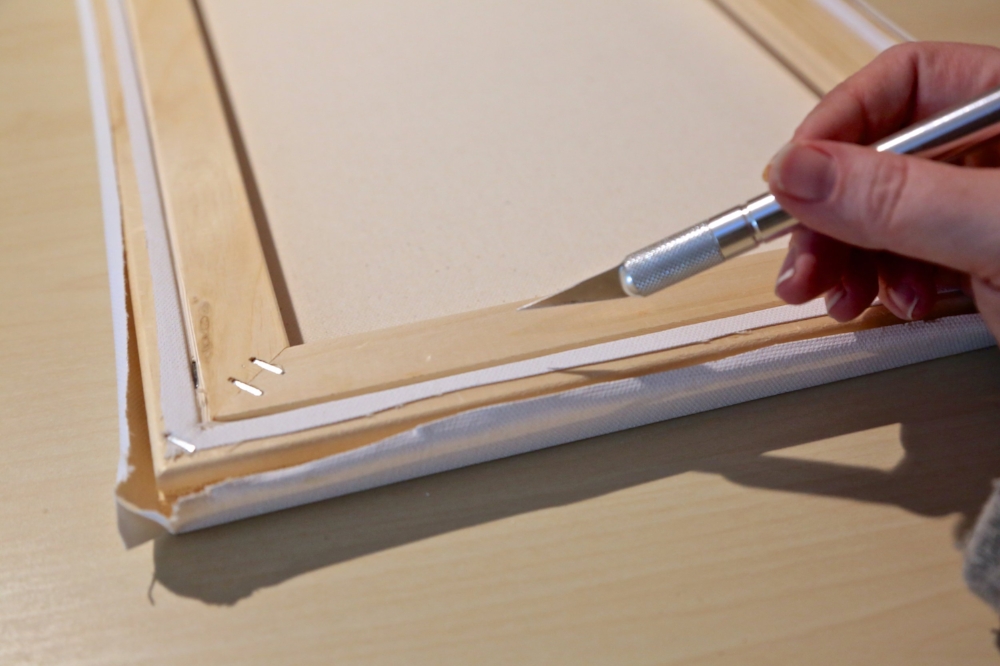
Turn your canvas so the front is down on the table. Using your exacto knife cut along the top edge of the canvas. Cut around the staples you won’t have to remove them later. Lift the frame up separating it from the canvas.
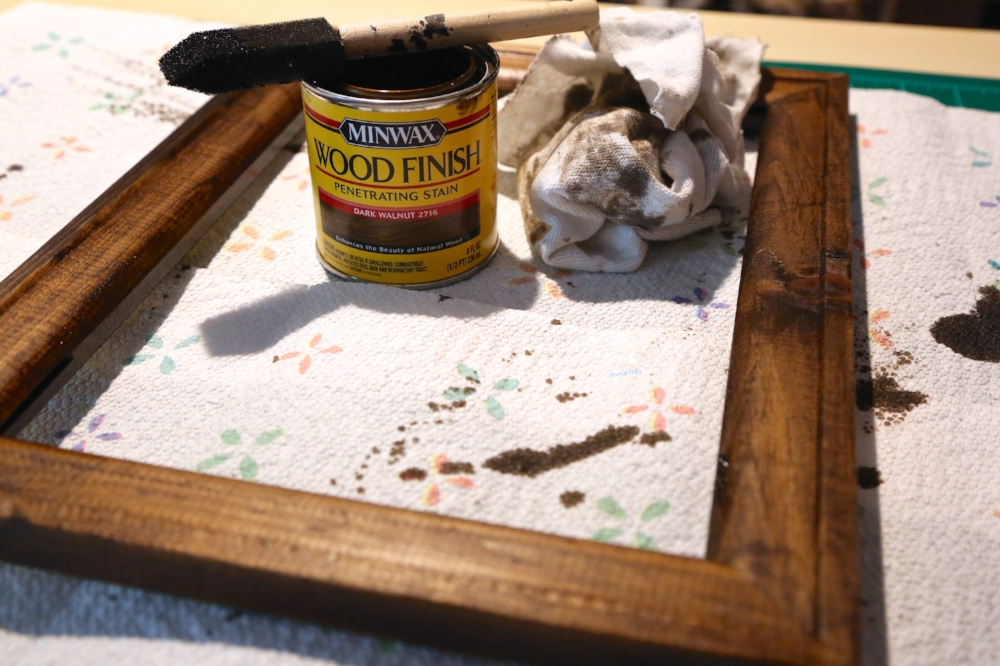
Take the frame and either stain it or paint it. I am going for more of a farmhouse look so I decided to use a dark walnut stain. I use my foam brush to apply the stain and my rag, going with the grain and rubbing the stain into the wood and the excess on to the rag. I let this dry while working on other projects. One coat was the perfect color for me so I sealed it by brushing on Polycrylic.
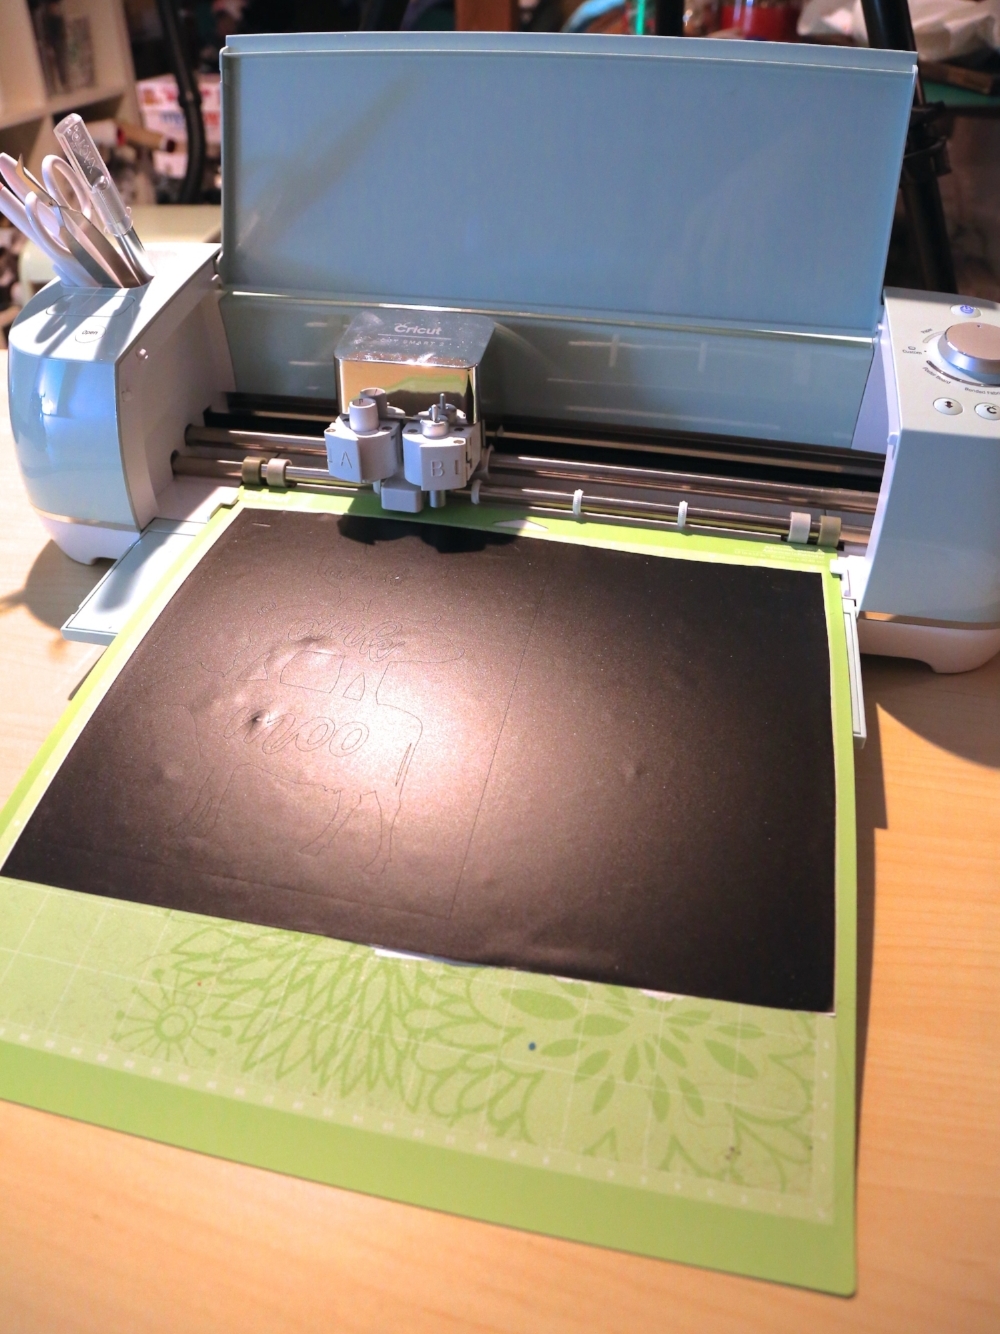
Using the SVG cut file that we placed into Cricut design space I started to cut my vinyl. I like to place a box around my design making it easier to weed.
![]()
I weeded out all the excess vinyl and placed transfer paper onto the vinyl preparing it to be transferred to the canvas.
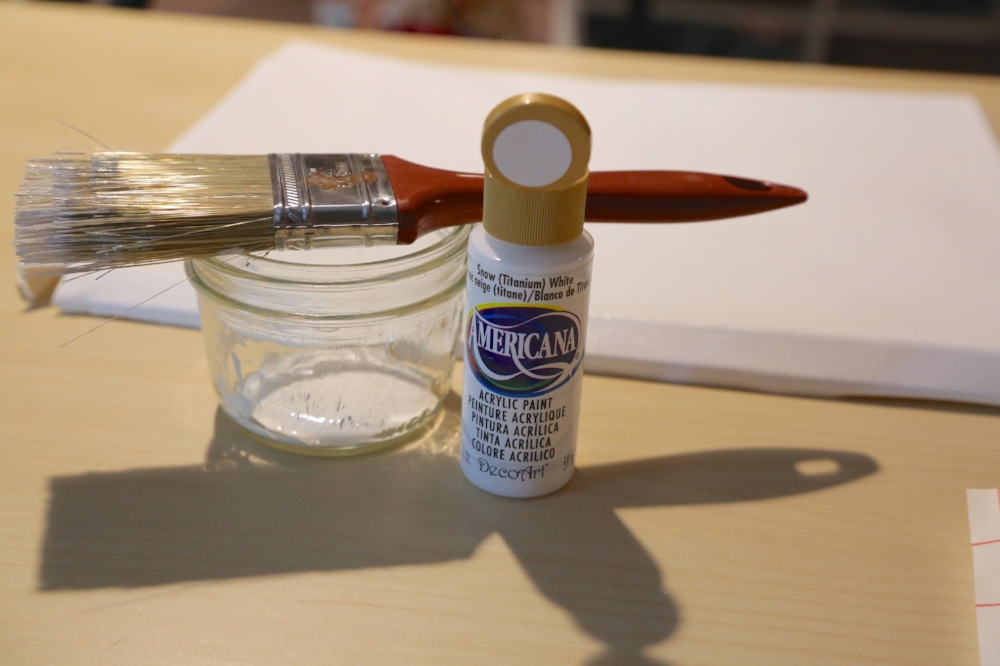
Now getting vinyl to stick on canvas can be tricky. I like to paint the canvas with a thin coat of paint first. Let it dry completely. The paint gives the vinyl something to adhere to. If you are having trouble with vinyl sticking to your canvas you can also try heat transfer vinyl and your press.
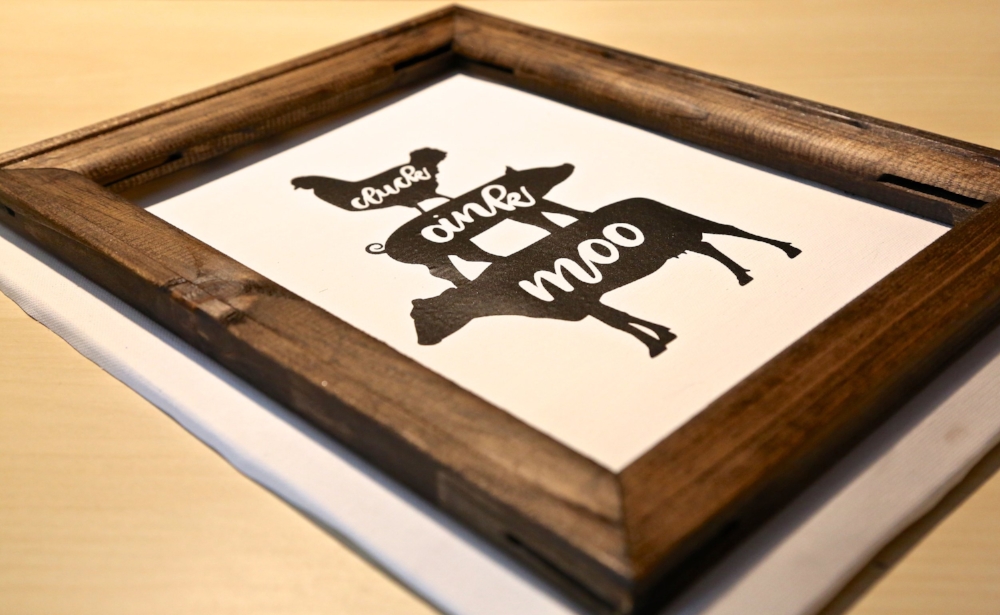
Transfer your design onto the canvas. Place the frame on top of it for placement. Carefully turn it over and staple the canvas into place. Keep the canvas tight while you staple it. Trim excess canvas.

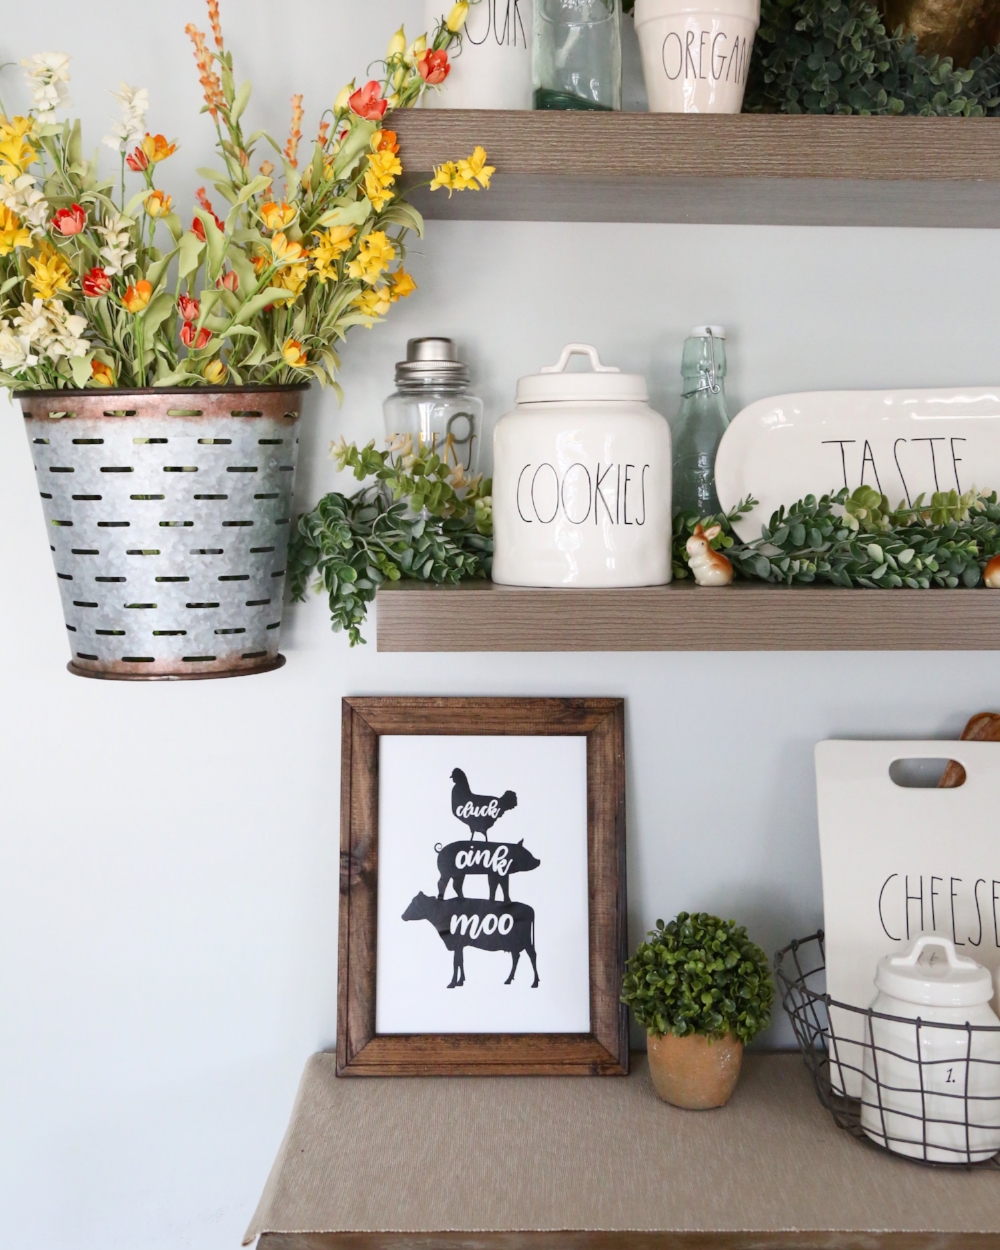
Just like that you have a DIY farmhouse reverse canvas sign for your kitchen! A lot easier than building your sign. The hardest part of this is waiting for paint and stain to dry!
I hope you find this tutorial helpful and remember to get your farmhouse graphics over on CraftBundles.
Pin this project for later here.

When you say you placed a box around it to make it easier to weed.. what exactly do you mean?
if I want to make my own svg file for this how do I make it cut out the words like you did?