This post contains affiliate links, please read our disclosure policy.
Hello Weekend Crafters! I’m so excited that Michelle invited me to share a project with you today. I’m Emily and I blog at Two Purple Couches, where I spend my time creating and crafting a colorful home. The project I’m sharing today combines some of the things that Michelle and I both love—washi tape, pumpkins and our Silhouette machines!

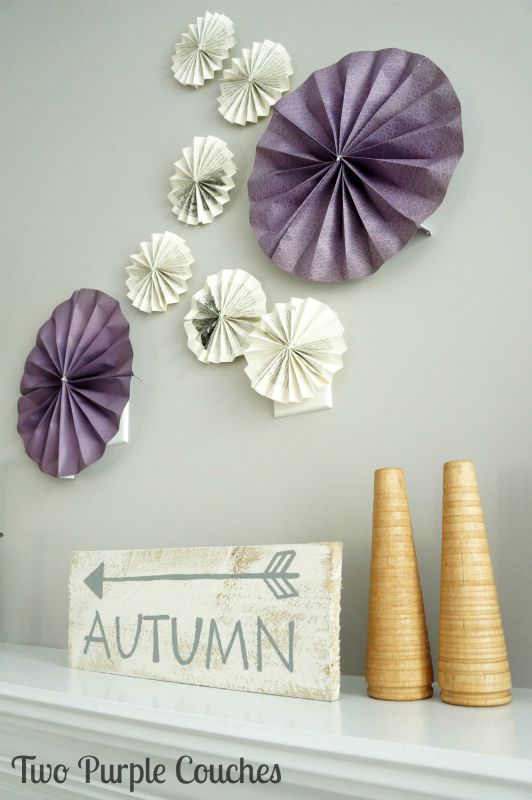
One of my favorite types of projects is making my own artwork. It’s inexpensive and allows you to personalize your space with your favorite sayings, colors, subjects and more. And it’s a great way to refresh your decor for the seasons without having to buy new stuff every few months!
Today I’m going to show you how to make this cute washi tape pumpkin art. I used my Silhouette Cameo, but you really don’t need one to complete this project. As long as you have a printer and a pair of scissors, you can make your own version!
To start, I found an image of a pumpkin online and imported it into Silhouette Studio, then used the Trace tool to trace it.
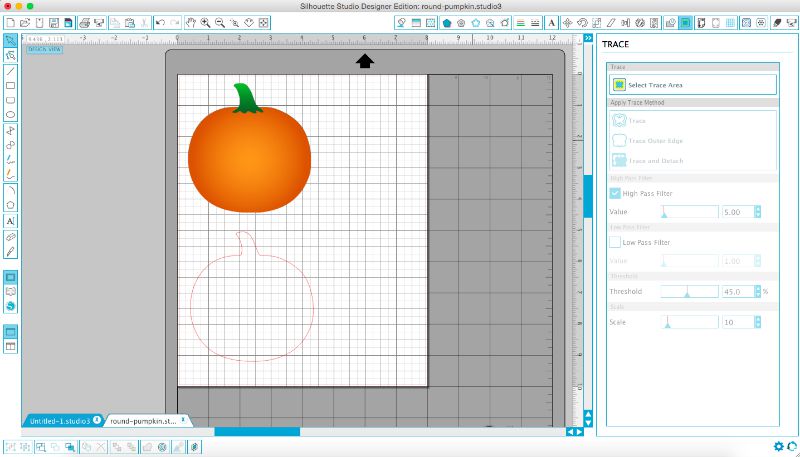
I sized my pumpkin to fit the frame I had on hand. The frame is 8″x10″. I wanted the pumpkin to be centered within the frame, so I sized it to be about 5.75″x5.5″.

Then I used my Silhouette Cameo to cut out the pumpkin shape. You’re actually going to use the “negative space” left behind after you weed the pumpkin shape off of the paper. But save the pumpkin itself because you could use it for another project!

I decided to go with a black-and-white patterned scrapbook paper, but you can use whatever kind of patterned paper, construction paper or card stock you prefer.
Now it’s time for the washi tape! I absolutely love washi tape; my collection keeps on growing. If you haven’t heard of or tried washi tape yet, you need to! It’s adorable patterned tape that can be used on anything.
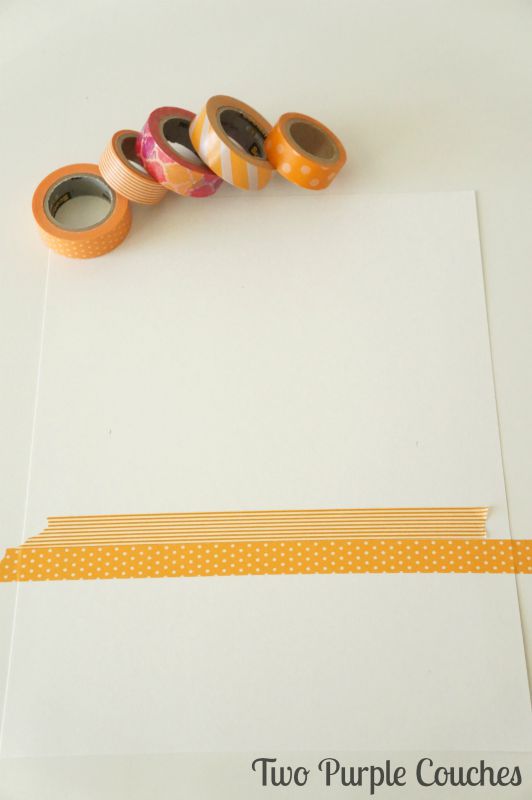
I selected five different rolls of orange patterned washi tape and began taping lines to the center of a sheet of plain white card stock.
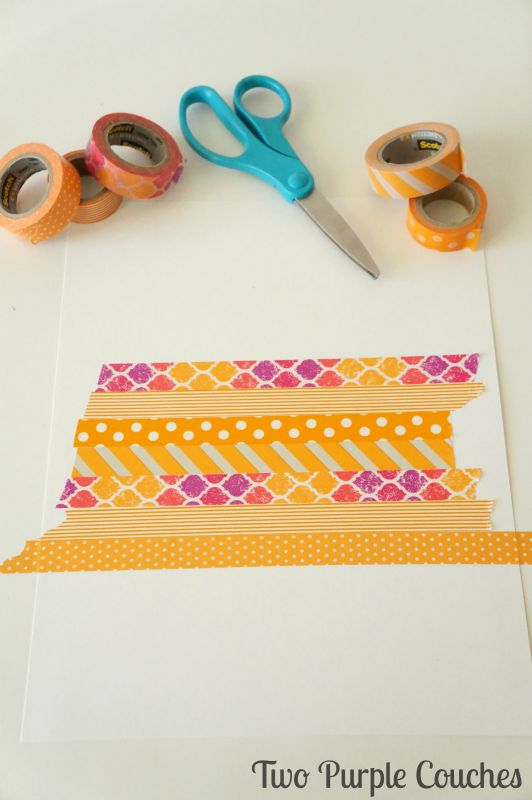
Once I had enough tape on the page to fill up the pumpkin, I layered the cut-out pumpkin page on top and popped it into my frame.
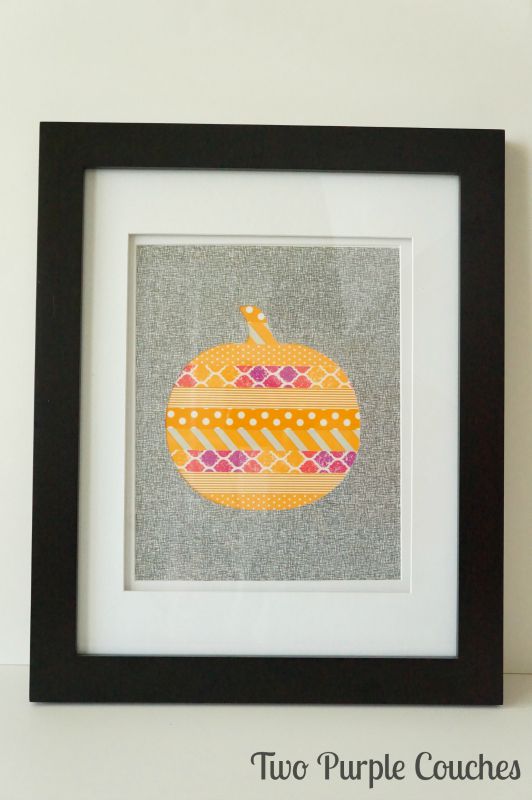
Instant Fall art in minutes! That’s my favorite kind of project! If you want to check out more simple DIY art ideas, find and follow me on Facebook, Twitter, Pinterest & Instagram!
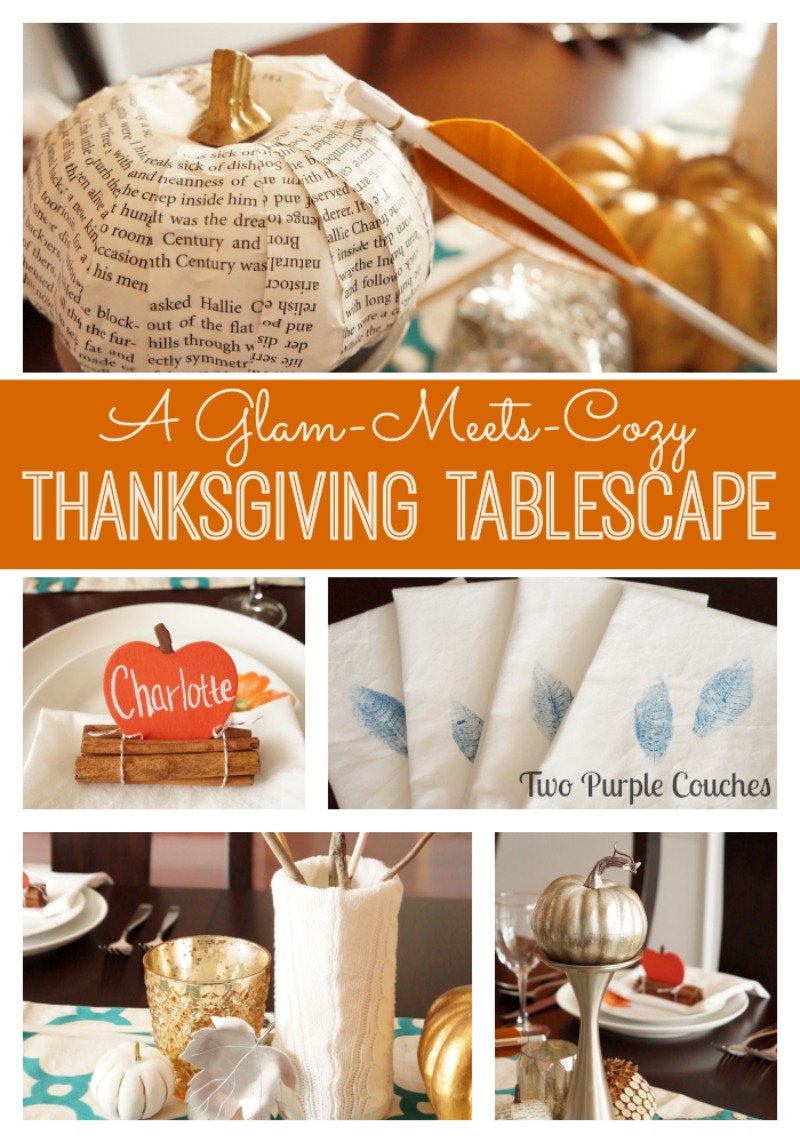
Other amazing fall projects from Emily Two Purple Couches


Thanks for having me over to post, Michelle 😀
Anytime you want you are welcome!