This post contains affiliate links, please read our disclosure policy.
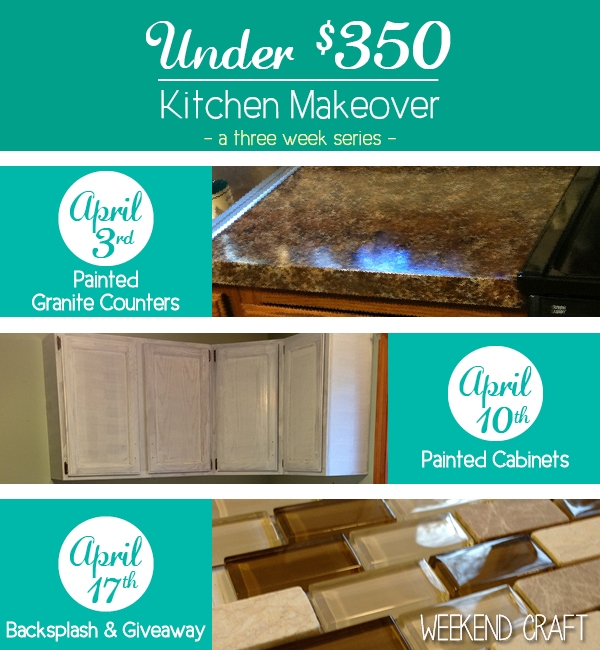
Wow I can’t believe it has been three weeks! Time has just flown by since this series started. I am so happy this kitchen has Weekend Craft’s most successful posts to date! We are just over the moon. But come on who doesn’t love a kitchen makeover! Especially when it is affordable.
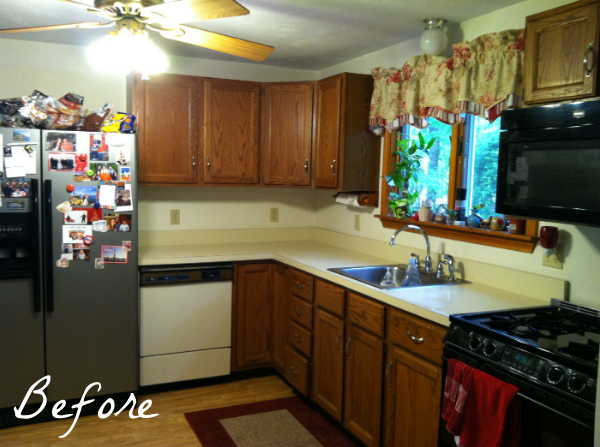
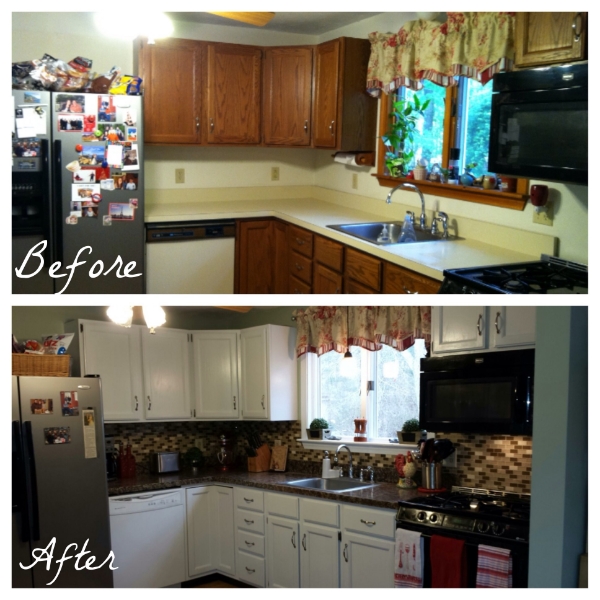
So let’s just refresh. This is where we started off! Remember that?! Aged white (at one time) countertops.
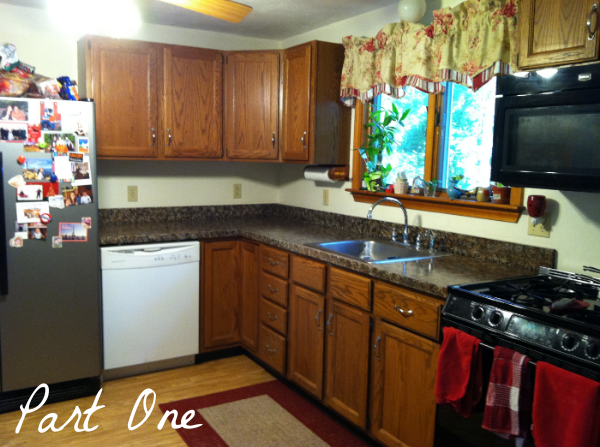
Using the Giani granite paint for countertops (hint: stick around til the end there may be a giveaway 😉 ) we painted the countertops for and updated look. From a distance they really look like granite. The process was easy and just like sponge painting. You can read about it here.
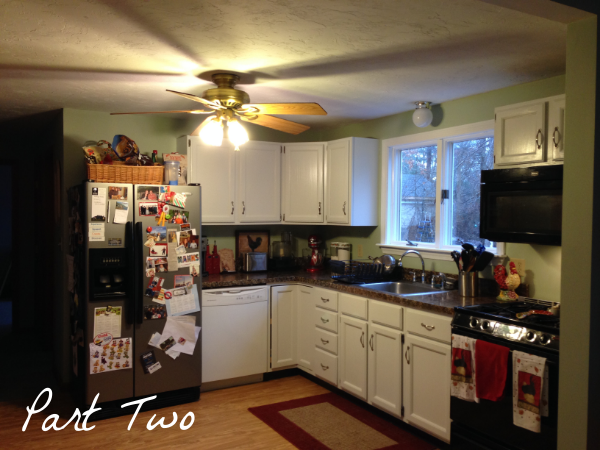
We didn’t just stop at the countertops. Since we were impressed with how the counters came out. We started to look into what else we could paint and Giani had an enamel cabinet painting kit, no sanding required! You can read about how we painted the cabinets here.
**Please note this is not a paid post we just really ended up liking the Giani Products

Now that we have recapped are you ready for Part 3?! The backsplash!
So originally we had absolutely no intention of doing the backsplash. Backsplashes are expensive. Most run from $7-12 a sheet of tile! How crazy is that! We went to Home Depot in the middle of painting the cabinets to purchase another paint brush and a new light. As we were walking down the tile aisle on the bottom shelf a yellow sticker happened to catch my eye. Backsplash on clearance….. and I mean severe clearance.
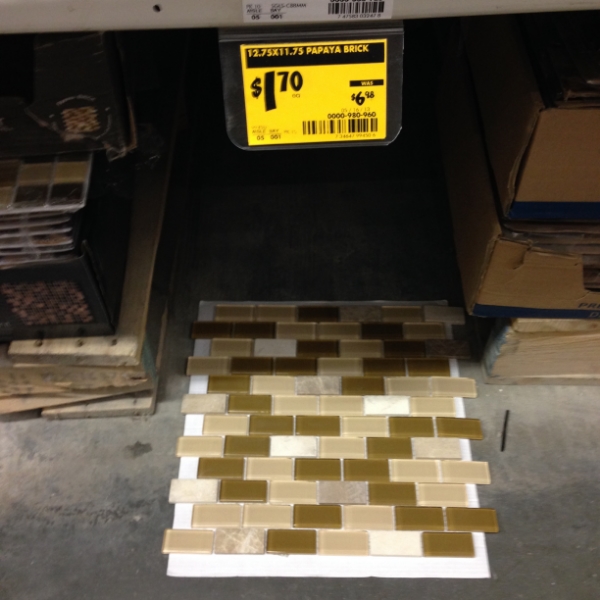
So after talking to the sales associate and hunting down extra tiles at two other locations it was time to backsplash! We ended up buying 26 sheets and only needing about 20 of them. Which came to $34 before taxes!
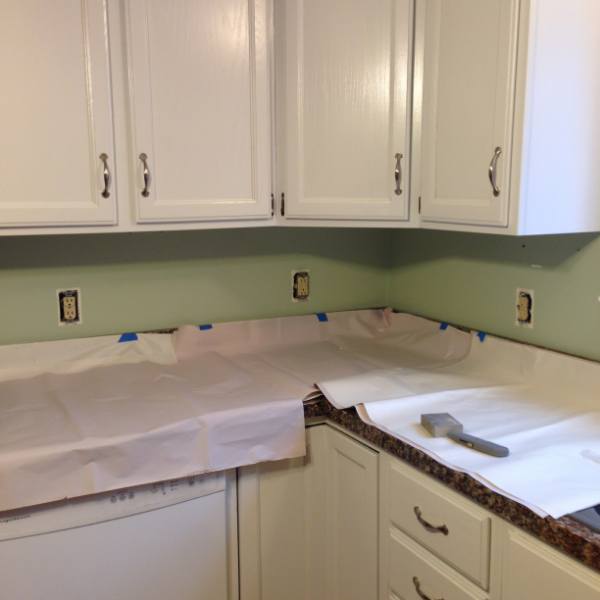
Once again we prepped our countertops to not get them ruined. We just use leftover packing paper from moving.
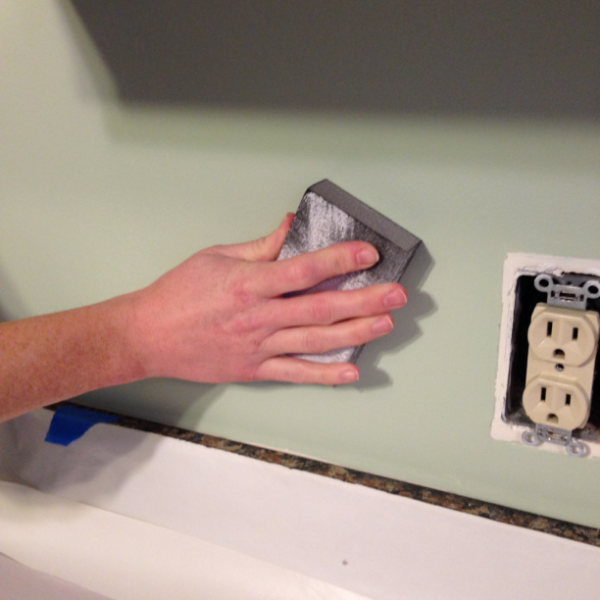
Then scuff up the wall lightly with a sandpaper before applying the grout.
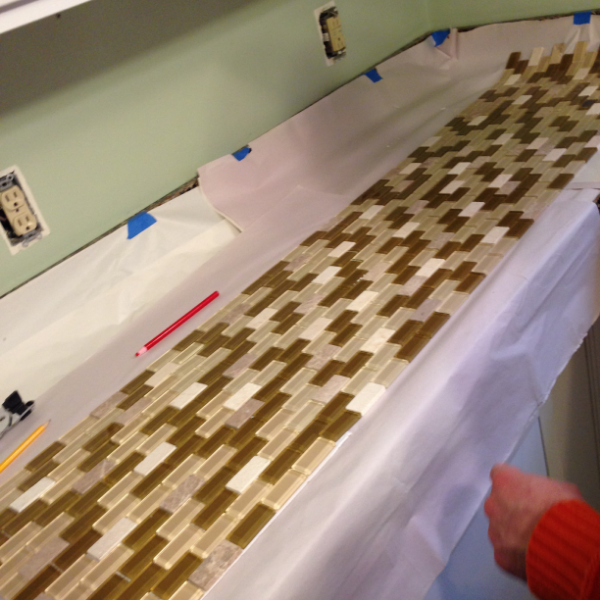
No we laid out the design on the countertops before laying down any adhesive.
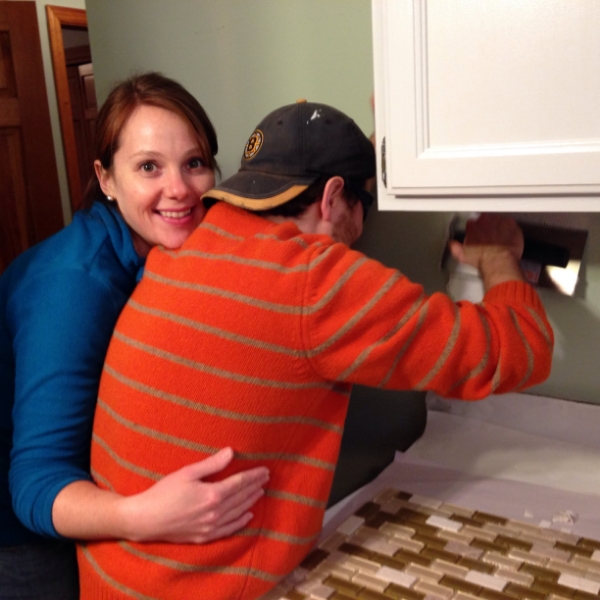
The happy couple starting to grout. The couple that grouts together stays together!
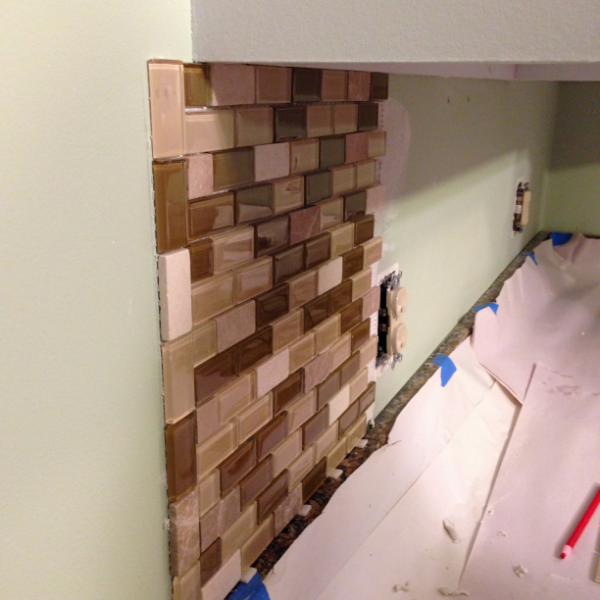
We decide to do the detail of the border in a vertical direction which turned out stunning!
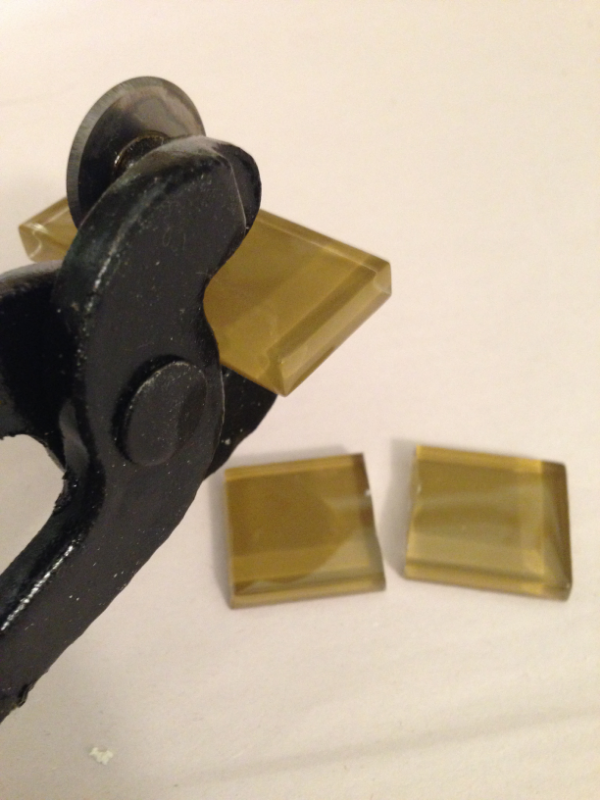
Now this was the tricky part. Using the tile cutter to cut the glass tiles in half and then sand them down for the edges and around the sockets. Now what we loved about this backsplash was that it was a mix of natural stones and glass but to warn you the natural stones we could not get to cut without cracking. So in place where we need half a tile we used the glass tiles.
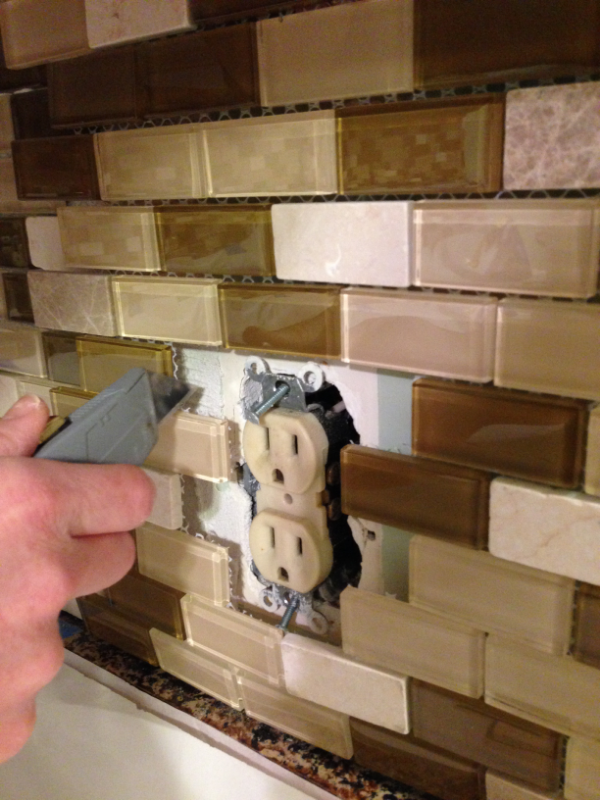
Cutting around the light sockets to place the pieces of tile we cut. Please note we bought longer screws to the switch plates.
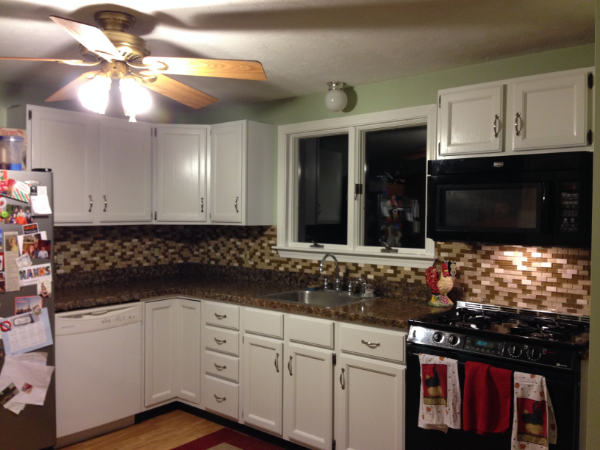
TADA! It’s all in a days work!

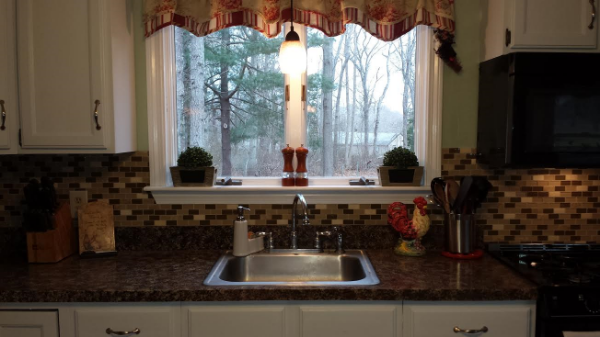
We also installed a new light for $30 also from Home Depot!

It’s hard to even say what is my favorite part of the kitchen. I am still in disbelief that one we did this all on our own and two its was under $350.
Ready for the final breakdown?
Countertops – total cost = $68.00
Cabinets – total cost = $116.26
Paint kit- $59.37
Top Coat- $17.97
Hardware- $38.92
Back Splash- total cost= $96
Tile- $36
Grout, tile cutter, etc -$60
Kitchen Light- $30
New Dishwasher- Free (Used from a renovation)
Bringing the total to 310.26

After we completed the kitchen I decided to send over the final pictures to Giani. They loved them so much and the fact that I was doing a tutorial they offered to give one lucky reader a chance to paint their own countertops!
So enter below by liking our pages, commenting or anything else the rafflecopter tells you to do. NOTE that you will receive 5 entries into the contest if you sign up for Weekend Craft’s new email newsletter!
The Giveaway runs from April 17th-24th. Only US residents are eligible. Make sure to check your email on the 25th you will have 24 hours to claim your prize.


The main things I would change in my kitchen: goodbye ugly yellow tile counters, goodbye ugly flourescent lighting and hello kitchen island!
This is a beautiful makeover. I just started working on my husband to update the kitchen in our condo.
Looks awesome! Can’t wait to try it on my kitchen 🙂
Love it!
I would LOVE to use this in my mother in laws kitchen for her Bday & mothers day =)
love, love the transformation, how cool! It looks great 🙂 Cathy @ three kids and a fish
Beautiful I’m shocked how cheap the cost. Looks like you spent thousands! Love it!