This post contains affiliate links, please read our disclosure policy.
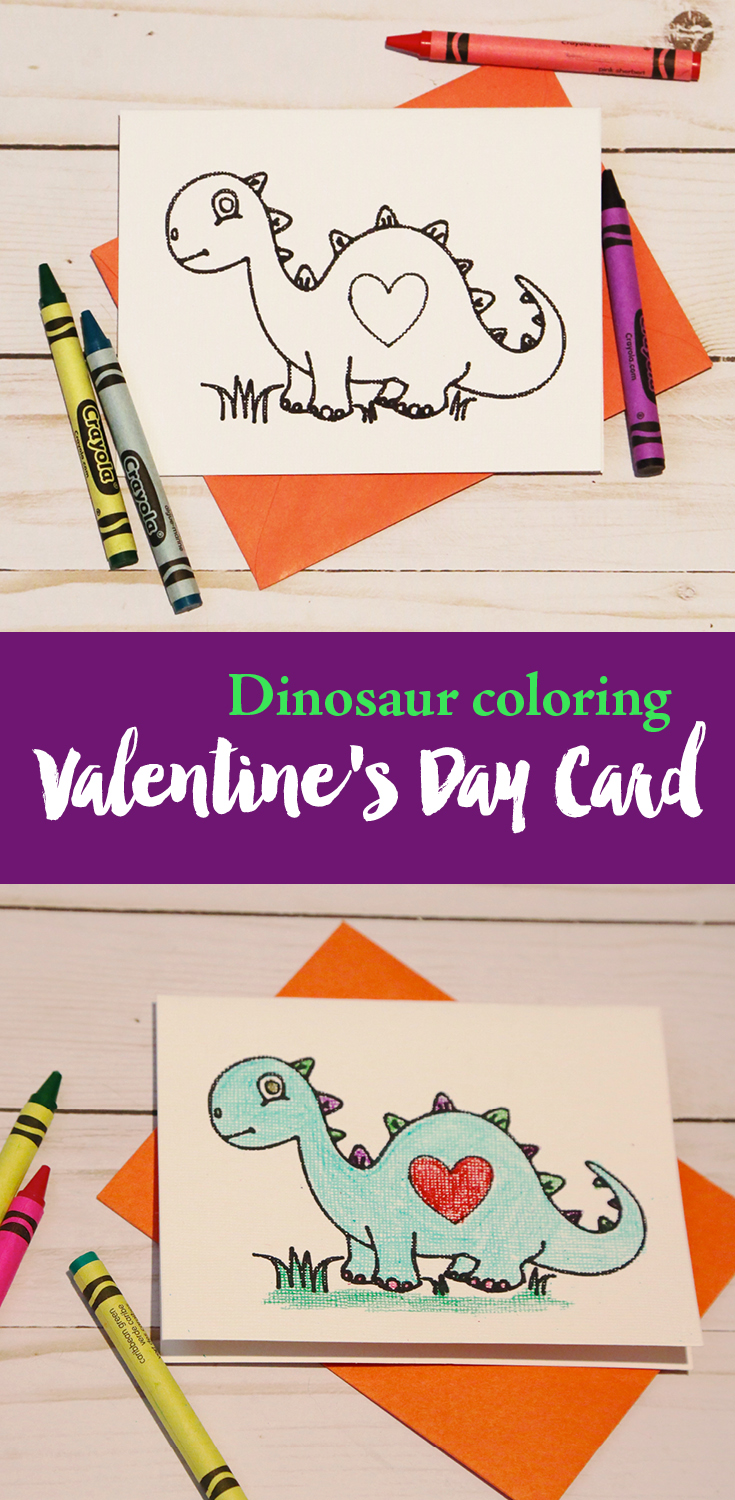
DIY Dinosaur Coloring Valentine’s Day Cards with your Cricut.
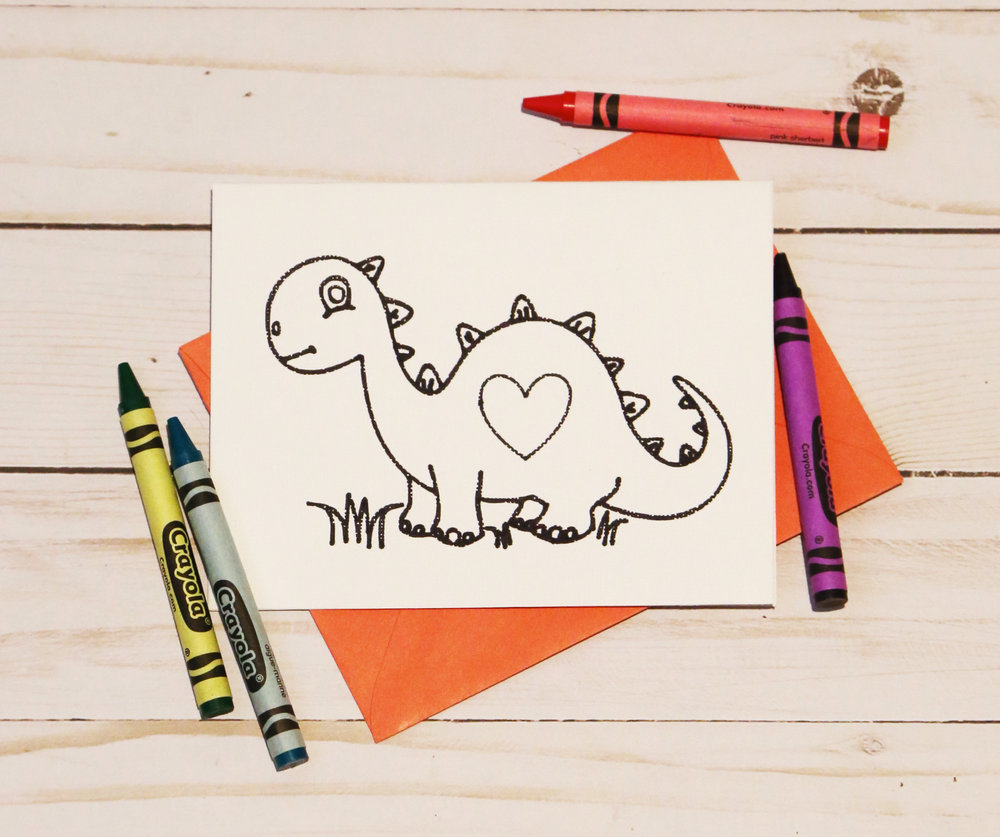
Today I am showing you guys how to make a DIY dinosaur coloring card just in time for Valentine’s Day using your Cricut and the Cricut markers. Now if you just got your Cricut over the holidays it is time to take it out of that box because this is an easy project to start with. If you stick around to the end I am joining up with a bunch of bloggers to share our Valentine’s Day projects that we made with our Cricuts.
What I love about this project is that it shows you how to use the write feature on your Cricut and truly the options are endless once you learn this skill. So let’s start with supplies.
Don’t have a Cricut? That’s ok join our free VIP access and download a printable pdf card to color with the kiddos. Join here. Already part of VIP access download it here.
![]()
Here’s what you’ll need
-
Blank Cards and Envelopes (You can cut your own too!)
Now that we have our supplies we are going to start by creating a new project in Cricut Design Space. On the top left you will see a plus sign that says new. This will open a blank artboard for you. Next you are going to click directly below the plus and find templates. This is one of my favorite tools in design space. I use it to lay out t-shirts all the time. Today we are going to select cards. Then drop down at the top to the size card you have. In my case it was 5.5 x 4.25.
How to upload an image in Cricut Design Space.
Next we are going to take this dinosaur jpg and upload it into our design space. We do this by clicking upload on the bottom left of your toolbar.

Select the image you want to upload. It will preview like above. I selected moderately complex and clicked continue.

Using your mouse click all the area of your image that you want to delete. In this case the entire background besides the outlines. This will give us the outline of the dinosaur to cut or write. Select continue and then save as a cut image. Then you will select the upload and insert image.
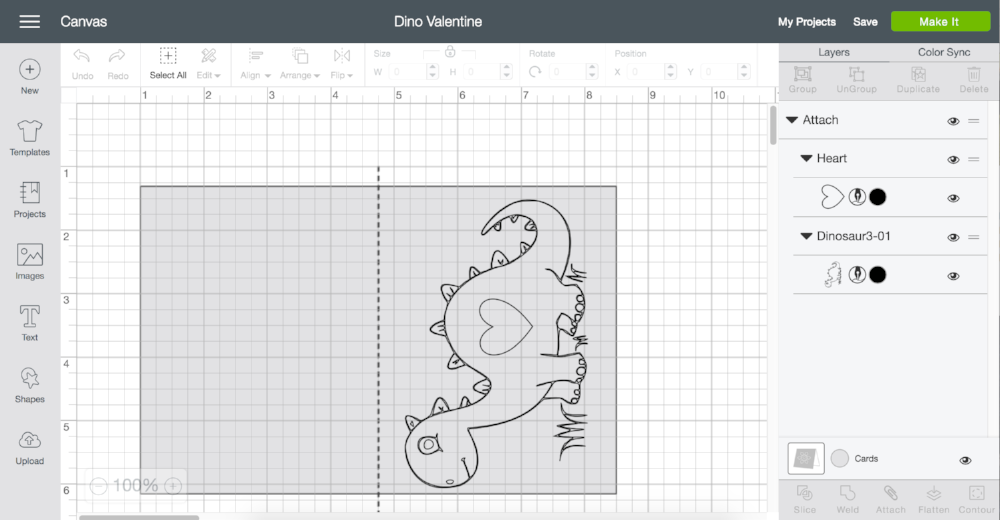
Your dinosaur will then appear on your artboard. I simply added a heart shape onto the dinosaurs belly by using the shape tool. I positioned and sized it on to the card. Now select both the dinosaur and heart and click attach on the bottom right of the screen. This will attach the images when you send them to the Cricut, almost like grouping.
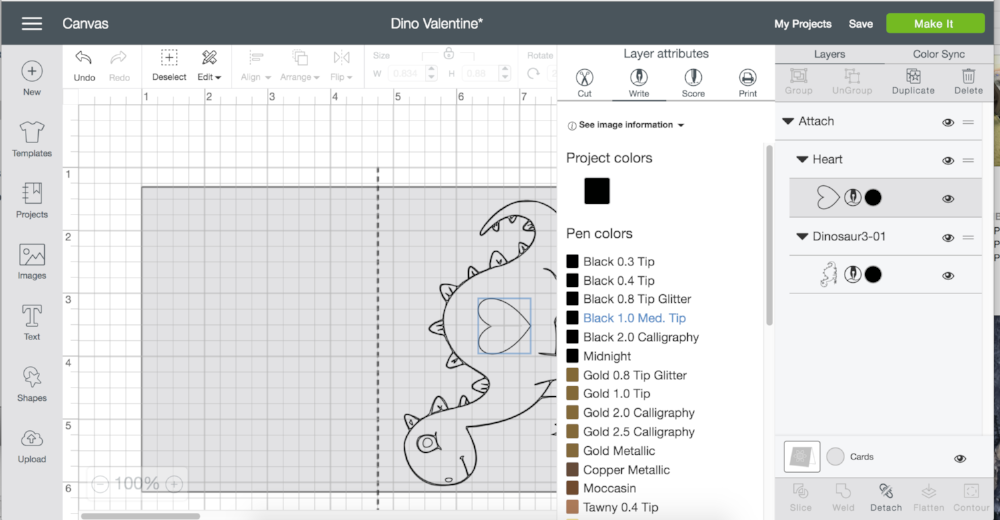
In your layers panel you are going to click first on the heart. Under layer attributes select write and I chose to use the Black 1.0 Med tip marker. Follow these same steps with the dinosaur layer. We are read to click that “make it” button.
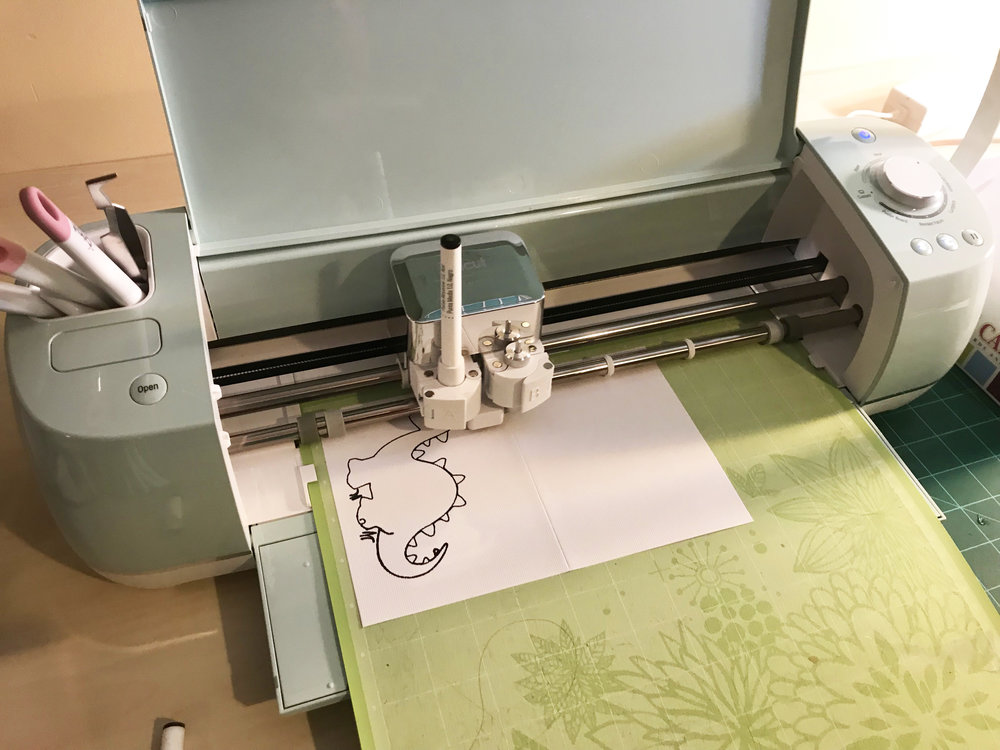
Now you are ready to load your marker and mat. In the cartridge labeled A flip the lever open. Take the cap off your pen and push it down into the cartridge arrow side out. You will hear it click into place. Then position your card onto the mat and hit the load button. Once everything is loaded push down on your flashing “c.”
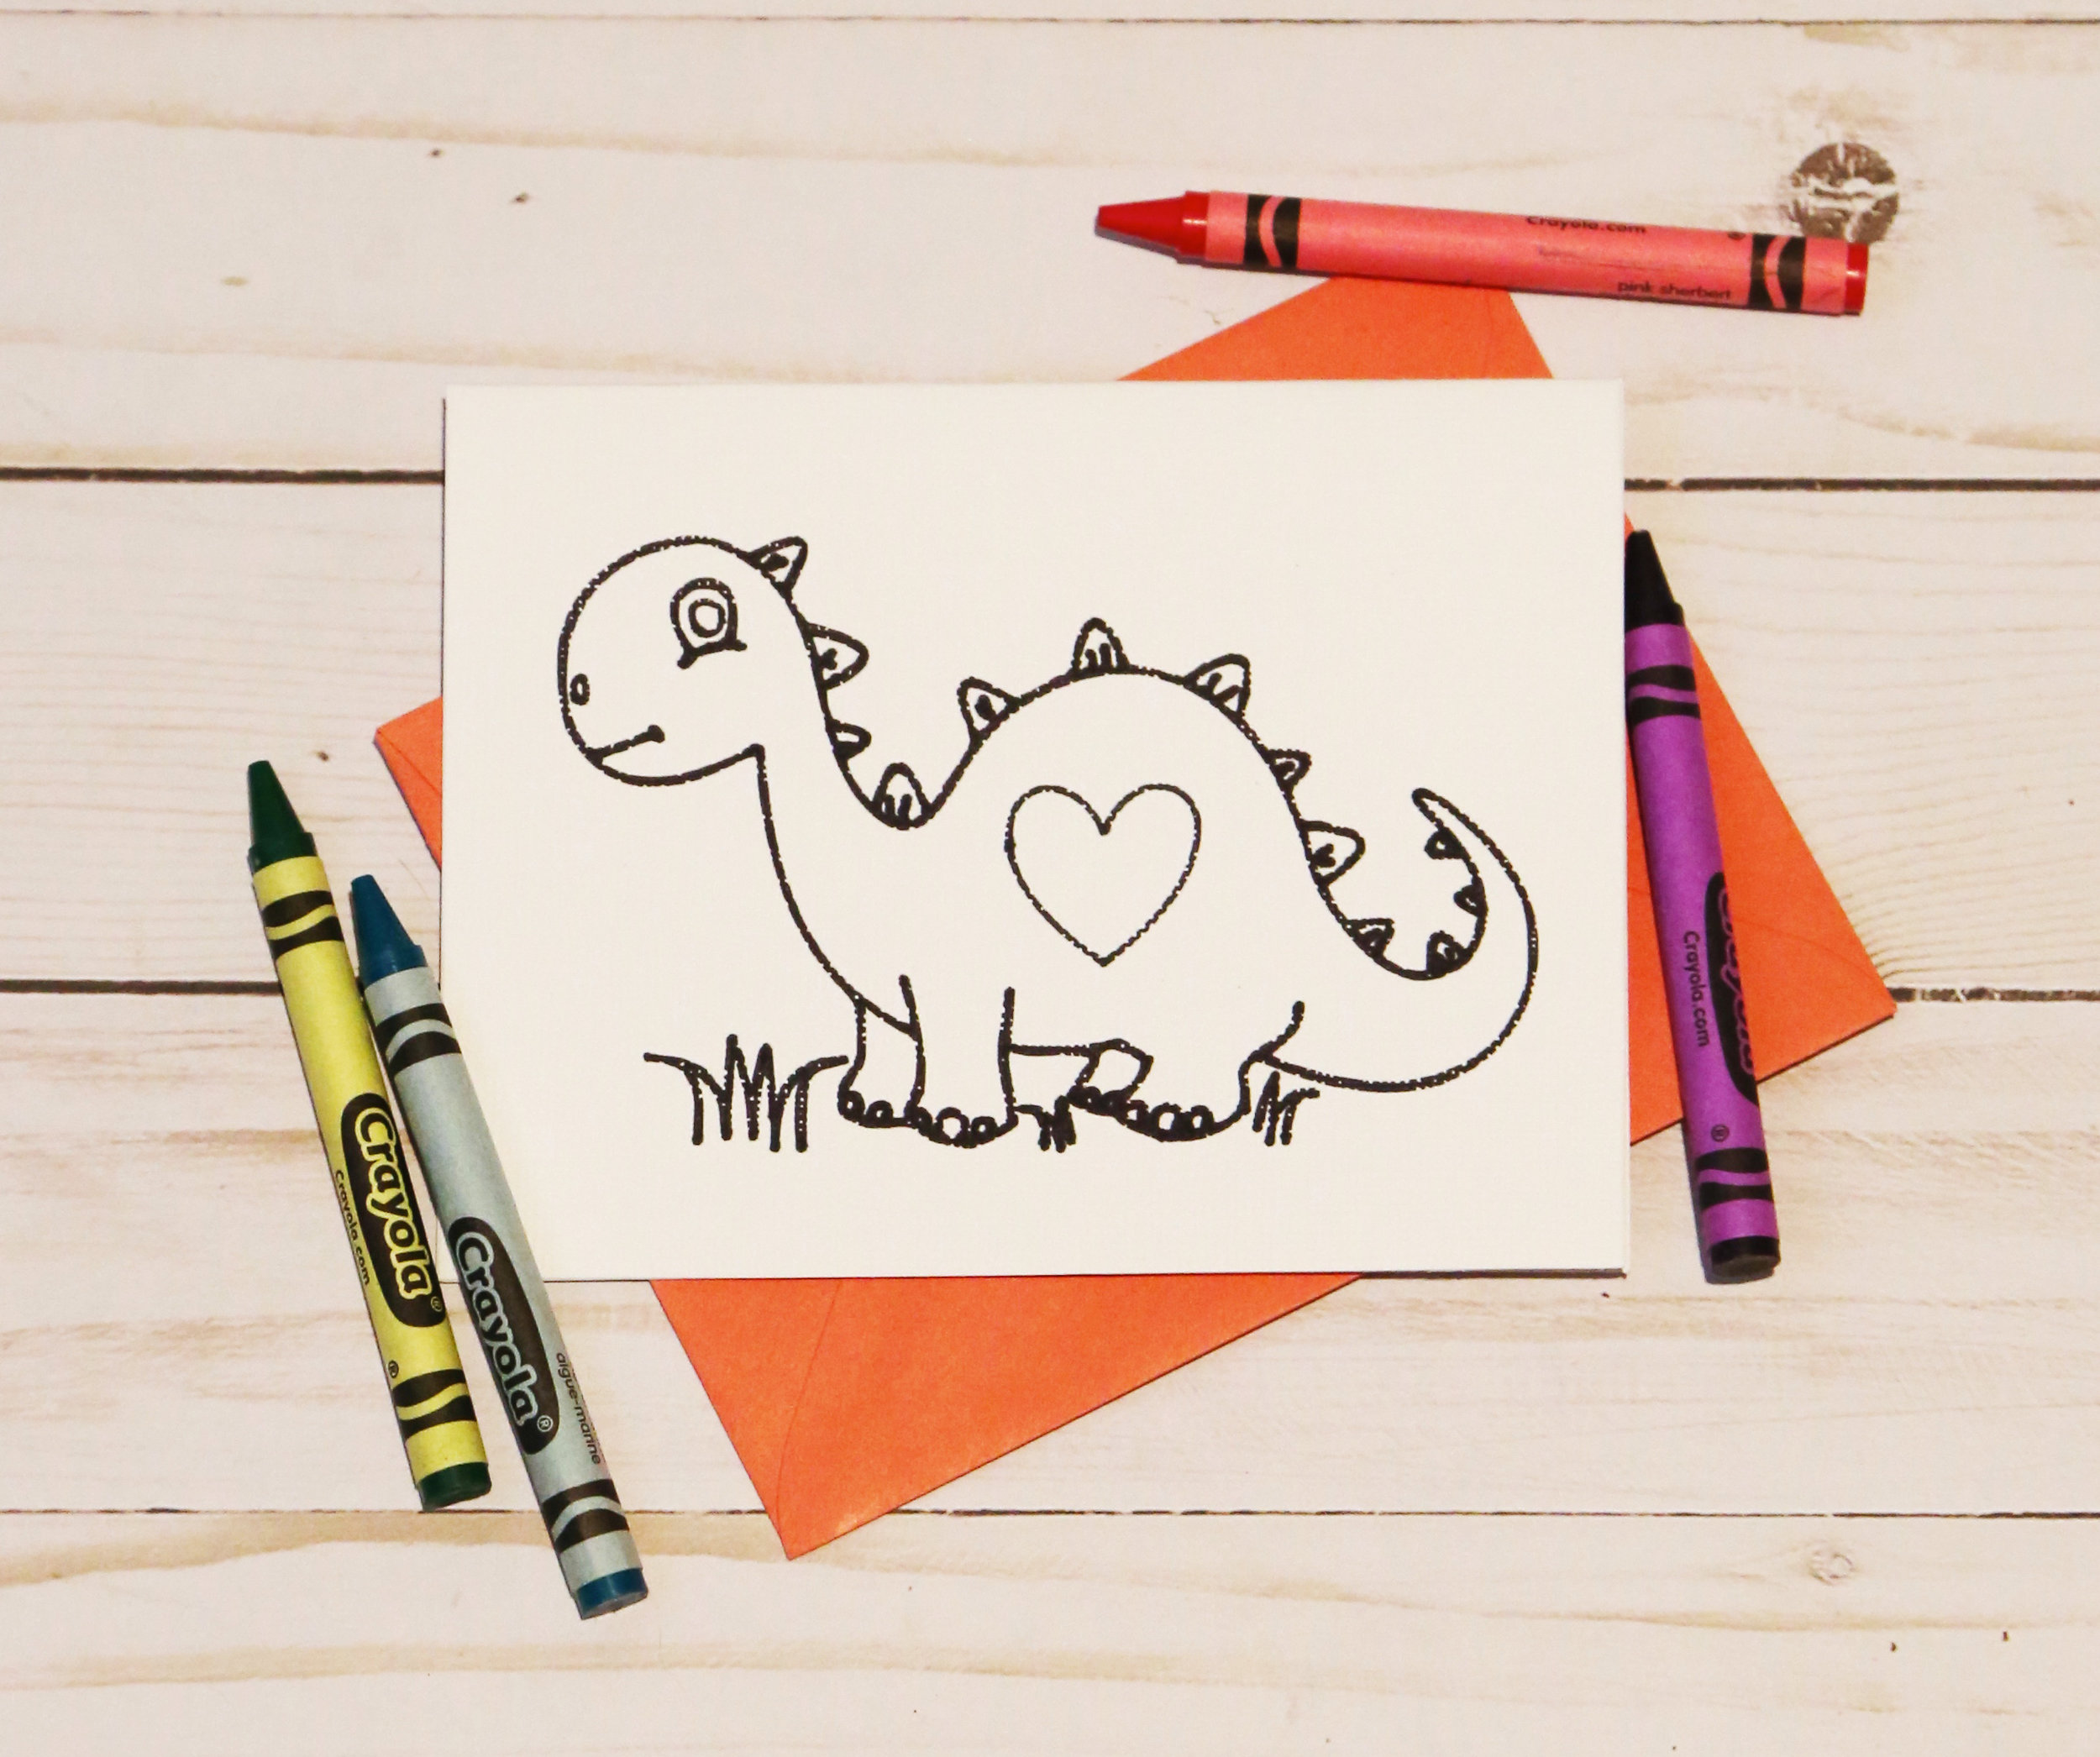
The reason I used markers instead of printing this on my inkjet is I loved how the markers look hand drawn. It’s like creating artwork even if you can’t draw. Just makes it feel a bit more authentic than just a coloring sheet.

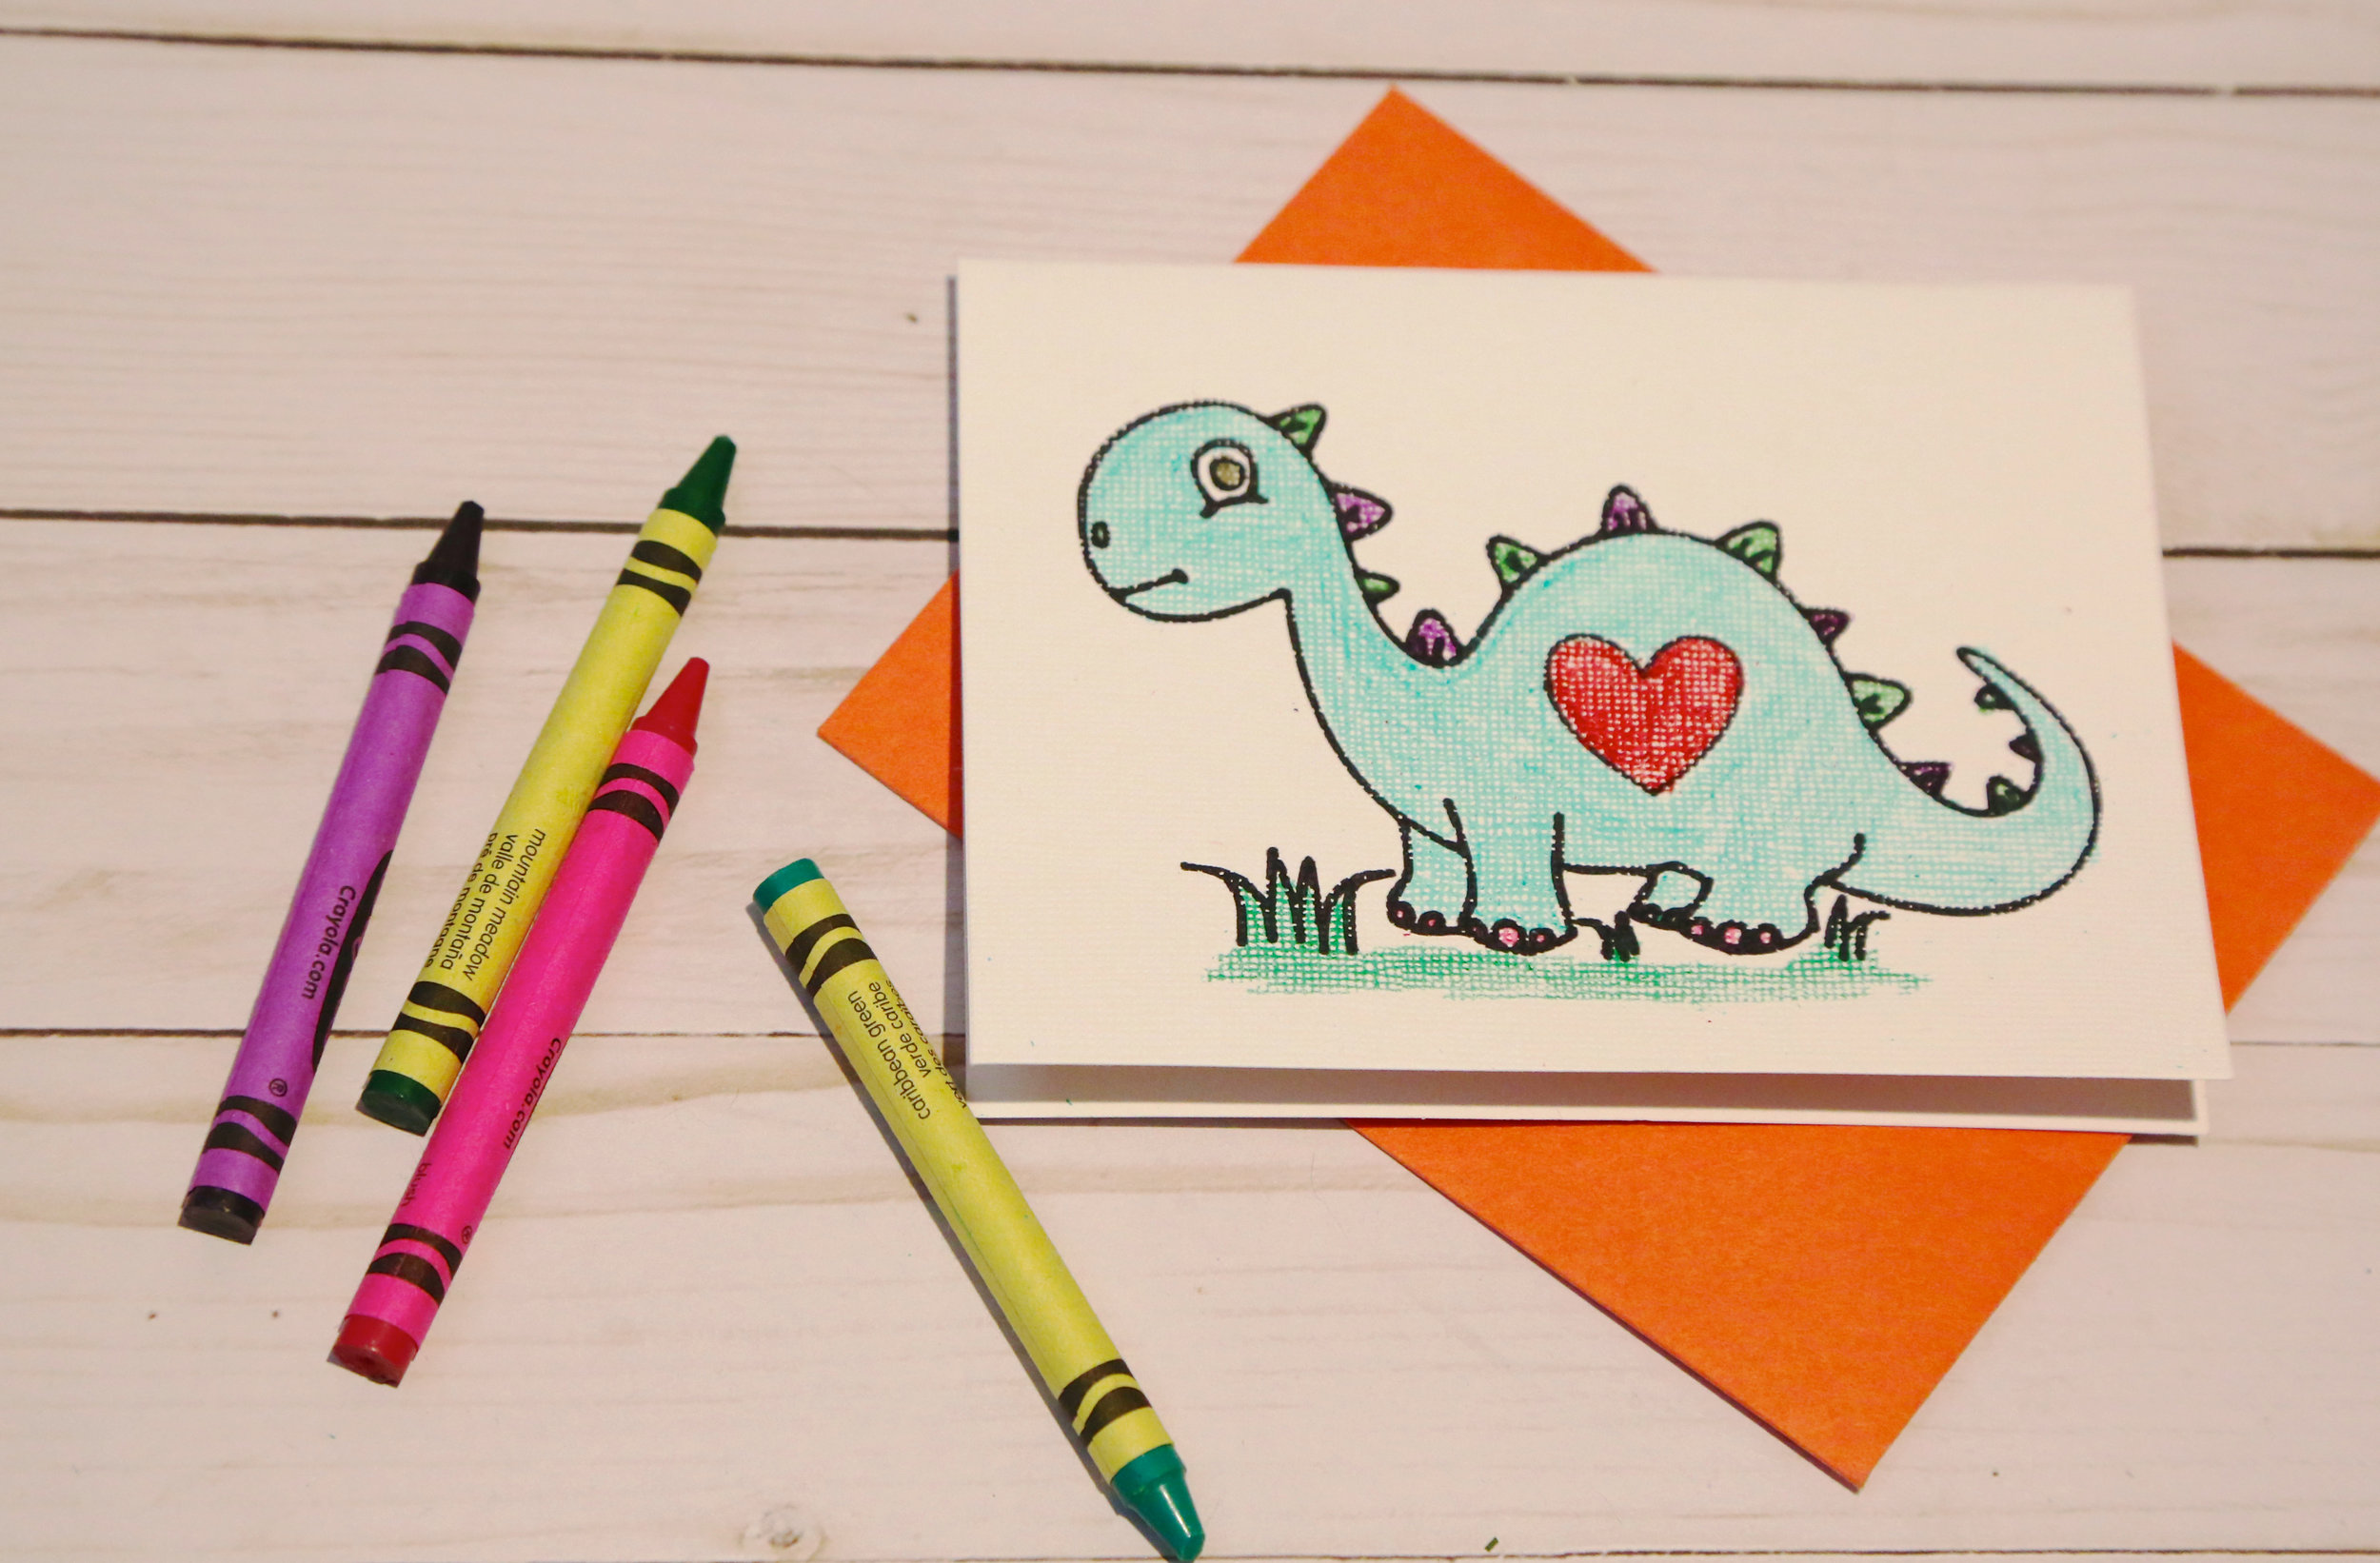
Now these are a perfect craft for Valentine’s Day for kids to give to their grandparents, teachers and even aunts ;). I created a few extra for my nephew. He loves dinosaurs and coloring. I am sure this will be a fun snow day activity.
More Valentine’s Day Cricut Ideas
https://static.inlinkz.com/cs2.js


Awesome post. A very creative idea to prepare cards. This card we can gift as it values more when we create with our won ideas. Thank you for sharing this best information. You have well explained with different steps. I loved the way of explaining. I would like to receive more posts from you.