This post contains affiliate links, please read our disclosure policy.

This week I am showing you guys how to remove tile backsplash. Now I knew originally when I did the kitchen I was going to paint the cabinets, install a farmhouse sink and new counters. I was scared to touch the backsplash even though I could not stand the color and design of it. Luckily the new countertops didn’t have the back lip which forced me to remove the existing tile. In the end I am really happy that I did and can’t wait to get the new tile up.
![]()
So how did I remove the tile backsplash? First let me tell you what you will need to remove the tile.
What you’ll need
• Stiff Putty knife
• Hammer
• Empty Box
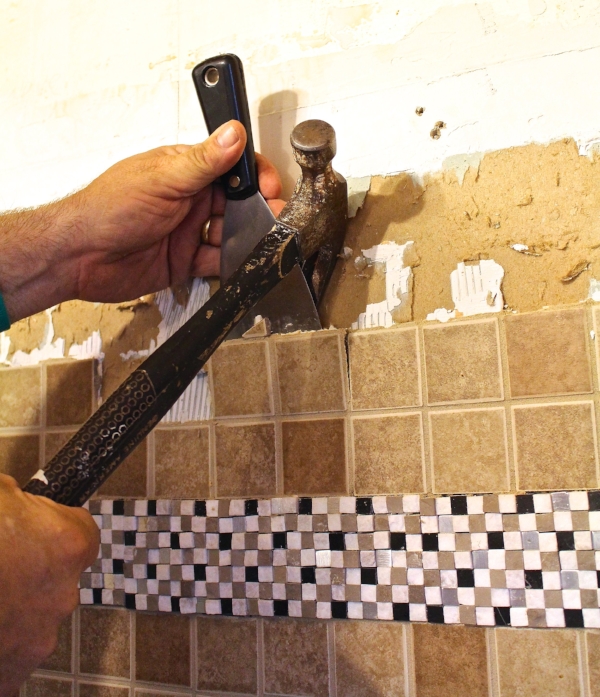
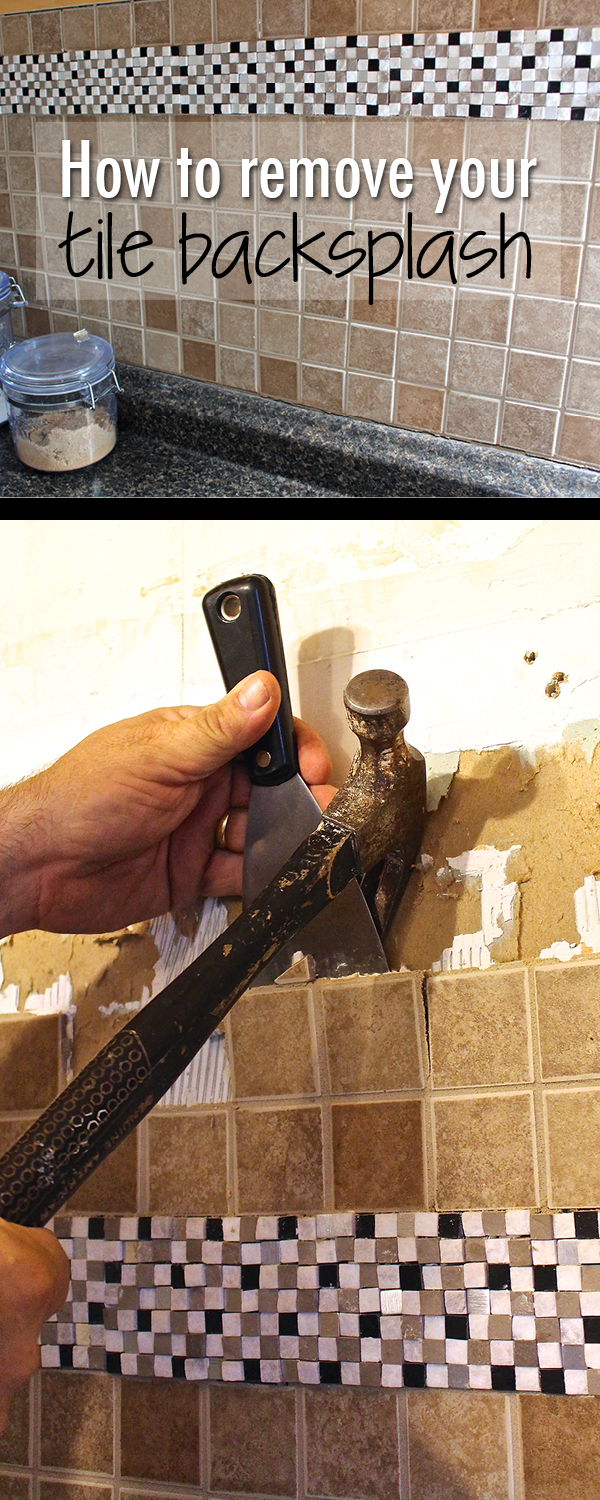
Step One
In an area of the backsplash where you have room, either the side edge or where the backsplash ends behind an appliance, use your stiff putty knife to place almost behind the tile. Using your hammer hit the handle of the putty knife. Do this until the knife is wedged in between the sheetrock and the tile. It is very important that you use a putty knife that is labeled stiff. This will give you leverage to remove the tile and the metal knife won’t bend.

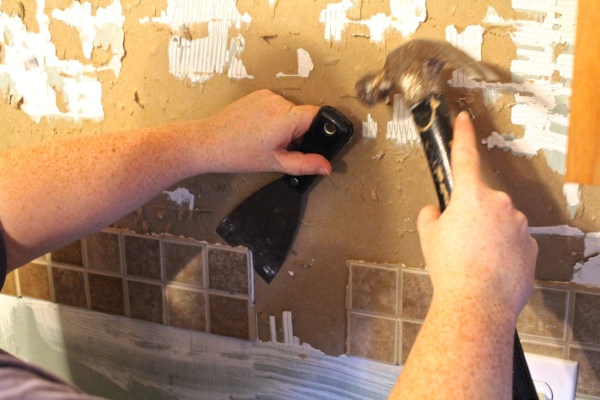
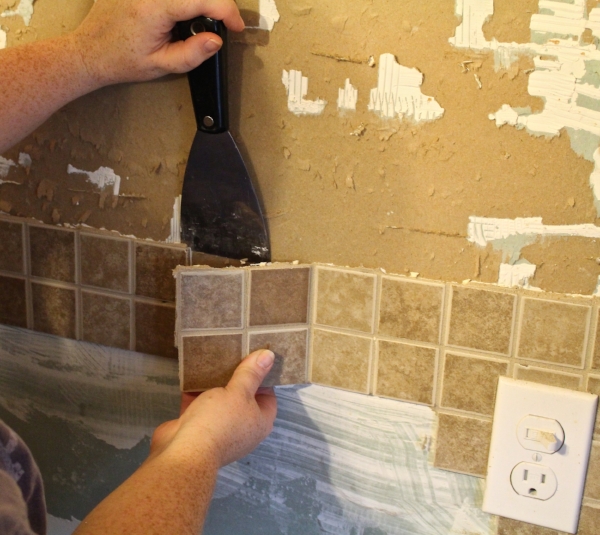
Step Two
Using the claw of the hammer place them between the wall and the metal of putty knife. Using the hammer like a crowbar, rock the hammer against the wall causing the tile to pop off. Depending on the sheetrock and the mastic or adhesive used the tile should be pretty easy to pop off. Removing all the tile did take me a couple of hours.
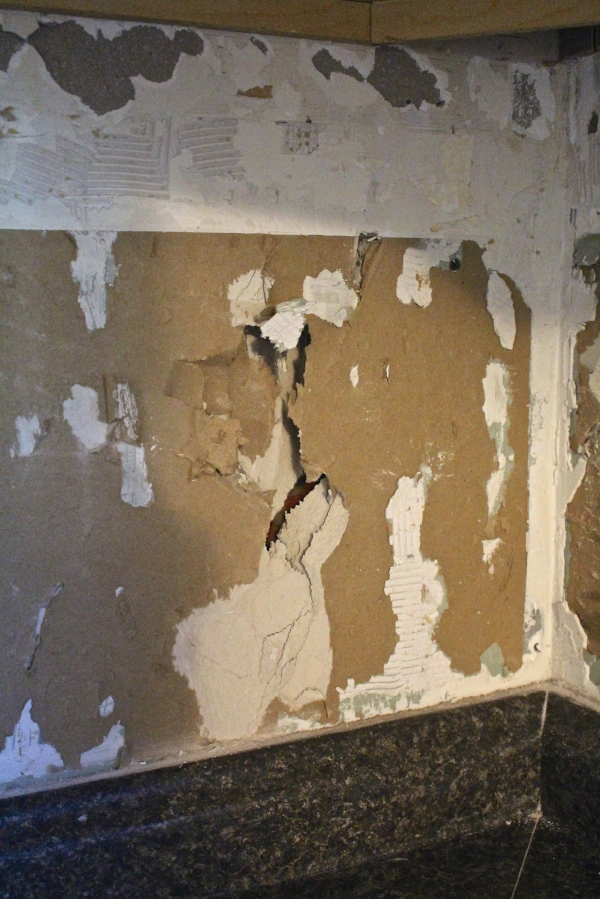
I did have some rough spots where the sheetrock was damaged. Honestly I took my time with this project and I believe that is why I only had two problem areas. In the coming weeks I am going to show you how to patch the sheetrock and how to tile your new backsplash with glass subway tiles.
If you missed my kitchen renovation plans check them out here.

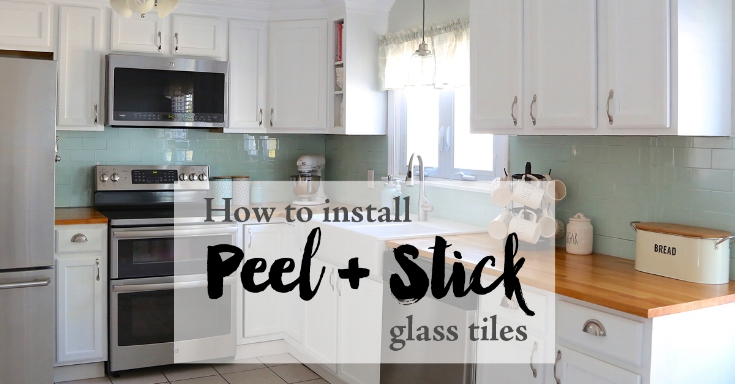
The new tile is up! To check out how we used peel and stick glass tiles and a tutorial on how to install them here. And for 11 other peel and stick tile projects check them out here.


Great job, I can imagine how much work this was! 🙂
Ahhhh the joys of demolition. Isn’t it cathartic though to get rid of old tile?! Can’t wait to see the new!!
Wow! That looks like a lot of work! But it will so be worth it!
Our walls did the same thing when we removed tile! I can’t wait to see the big reveal!! This is going to be gorgeous!
Our walls did the same thing when we removed tile! I can’t wait to see the big reveal!! This is going to be gorgeous!
Wow, that’s a lot of work and I admire your patience! It is going to payoff big time. Keep up the awesome work!
Can’t say I was a big fan of the tile color either! You’ve come a long way in that kitchen, I love the cool blue paint that you put over this area 🙂