This post contains affiliate links, please read our disclosure policy.
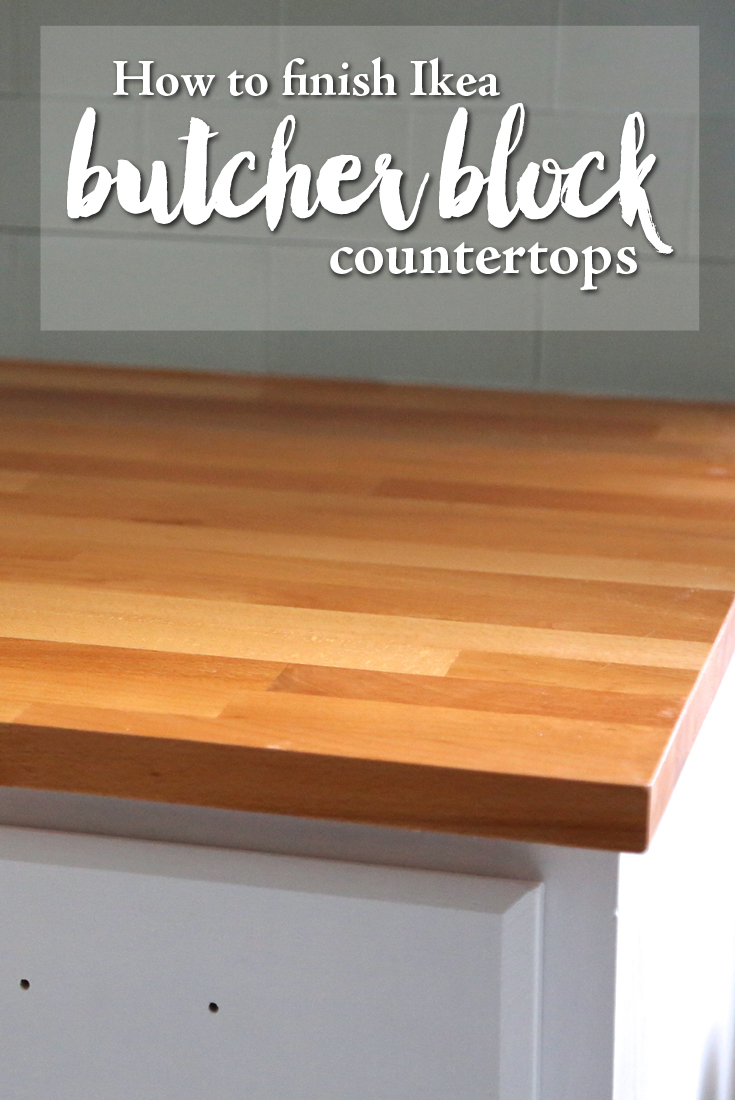
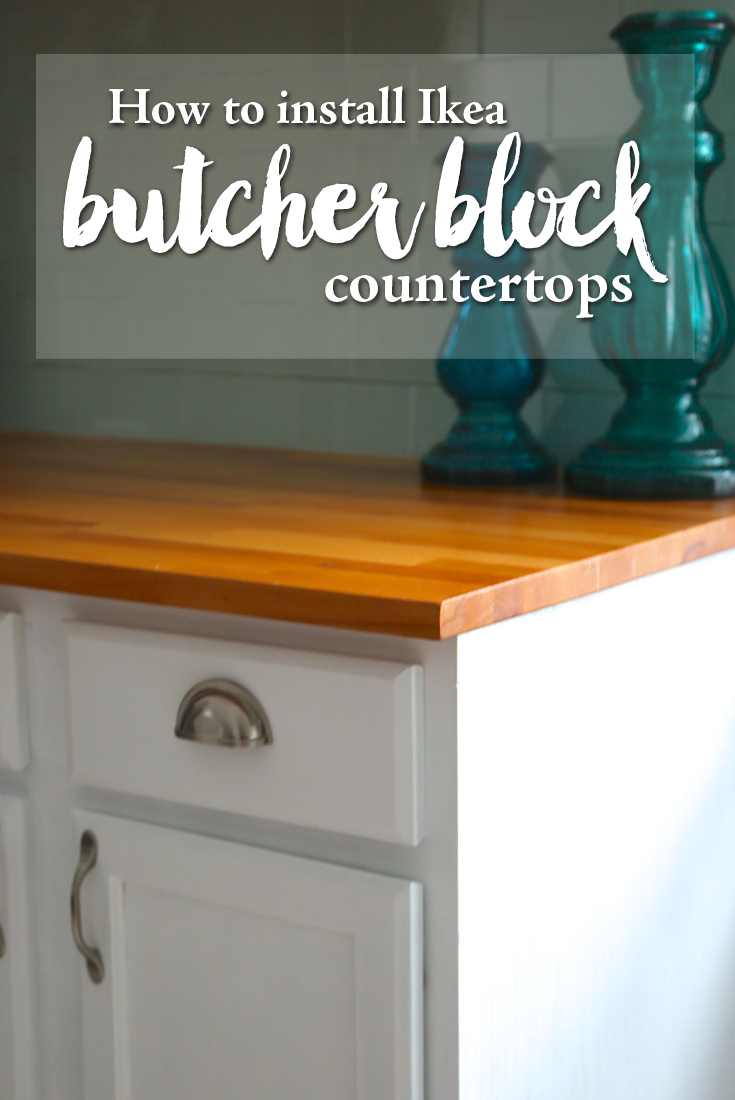
The kitchen renovation is in full swing here and today I am going to walk you guys through how to finish Ikea butcher block counter tops. Now what do I mean finish don’t you just go to Ikea then install those counters? Well you could but chances are this time next year your counter tops would be full of stains and could have some water damage. To avoid this the best thing to do is to seal the counters with a spar varnish. In this case I used Helmsman to seal my Hammarp counters.
Before we get started make sure you catch up from the beginning with full kitchen renovation plans here, learn about how to remove backsplash tiles here and how to clean your cabinets with TSP before painting here.
Why butcher block counters?
First and foremost the reason I went with butcher block was budget. I recently bought a house and knew I hated the kitchen. It was just something I could not live with but I did not have a 15k-30k budget to renovate. I only had about $1,000 to spend. My brother had installed butcher block counters about 2 years ago and they were holding up great. So off to IKEA I went to buy 2 98″ counters. Buy more than you think you need incase you make a wrong cut. Also make sure to bring a truck or SUV. We had to tie the counters to the roof because of the length.
Why seal your counters?
The counters will come with a slight coating on them but not a resistant enough one to avoid the following.
- Stains
- Water damage
- Glass rings
- Durability
- Warping
Sealing the underneath to prevent warping.
Why Helmsman and not Waterlox or Mineral Oil
The main reason I chose to use Helmsman is because of the durability of the finish. Helmsman is a spar varnish which actually comes from the boating industry. Where wood can expand and contract depending on humidity and water a spar varnish treats the wood as a protector but also allows flexibility. Now I have not used Waterlox before but it is my understanding that it has more of a “hard” finish. If that finish does chip there is no way to touch it up and you have to refinish your counters. Why not mineral oil? You should really only use mineral oil if you are going to use it a true butcher block where you are going to prepare food on your counters like a cutting board. Either way using waterlox or mineral oil if you like red wine then they are bound to stain over the years…. and I like red wine.
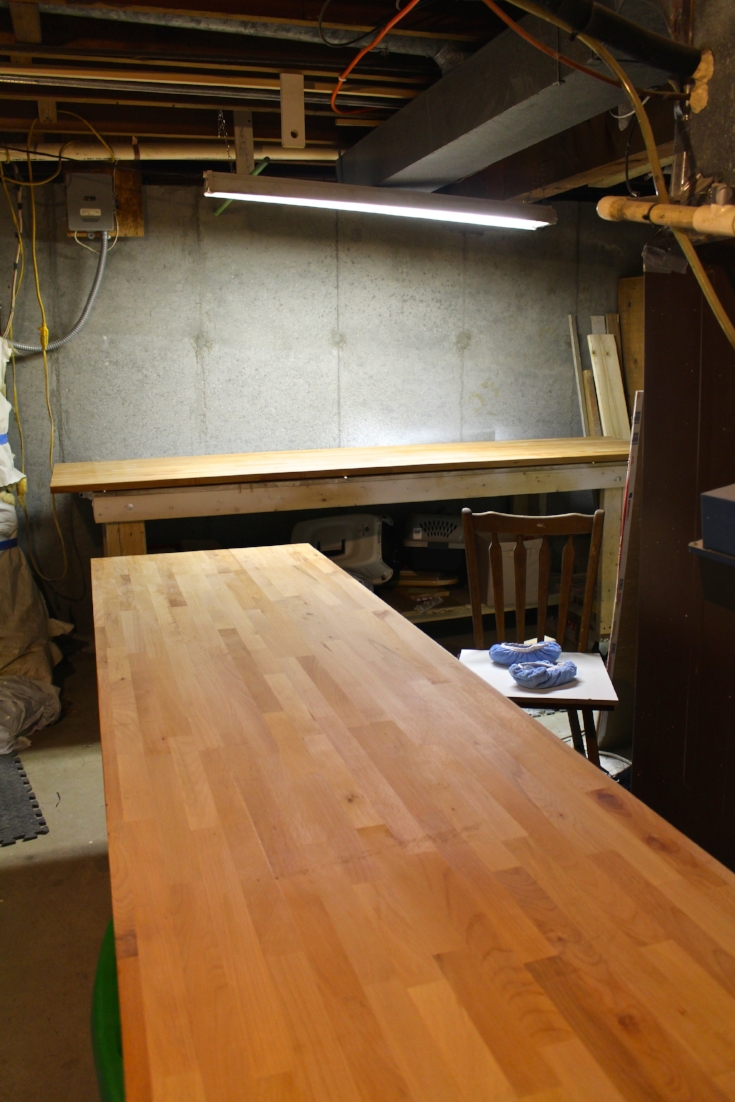
Setting up a work area
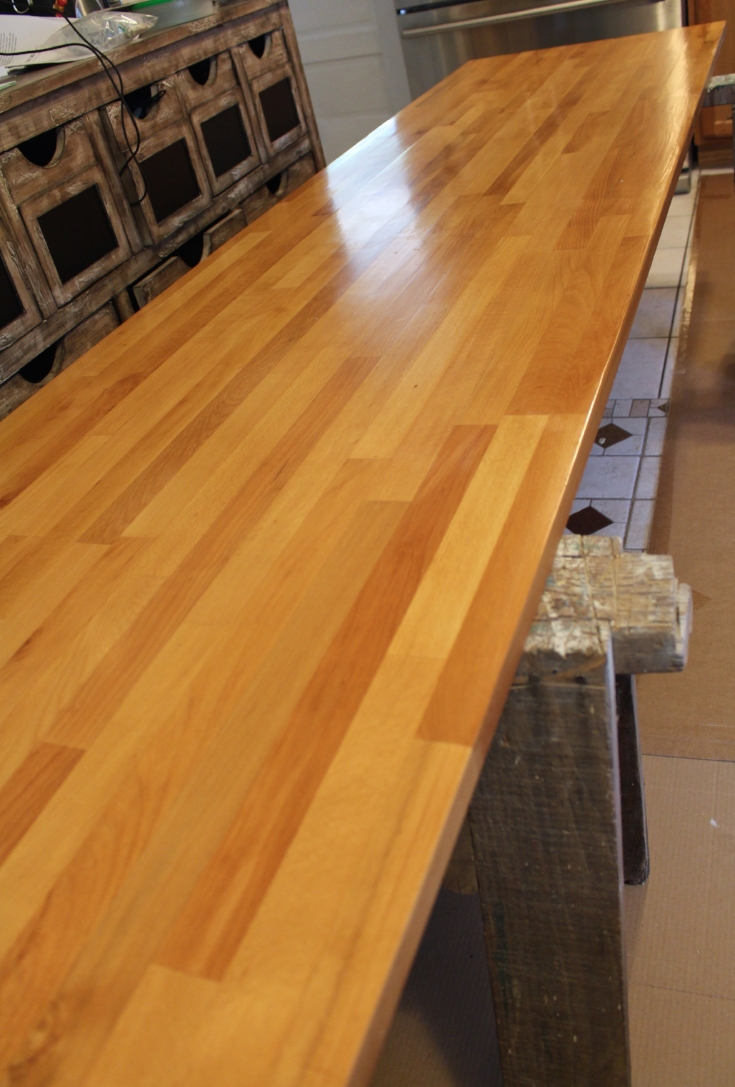
Setting up a working area for these long counters is important. Because I was doing this at night after work my basement was really my only option. It was a tight fit but I made it work setting up one counter on my workbench and the other across stacked rubber maids (sawhorses would work too). You want to keep this in an area that is free of pets and children. Also make sure to give your workshop or basement a once over for sawdust. You don’t want that getting on your counters.
The important thing to realize here is that you are going to be finishing your counters before you cut them to fit your kitchen. Another thing to note when purchasing the counter tops from Ikea I choose the hammarp collection because it was solid wood there is also a veneer collection which I would stay away from because the core of the counter is mdf or particle board.
![]()
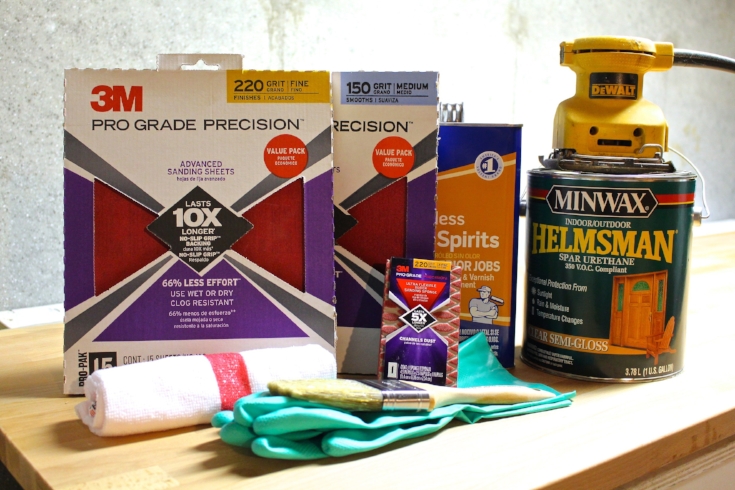
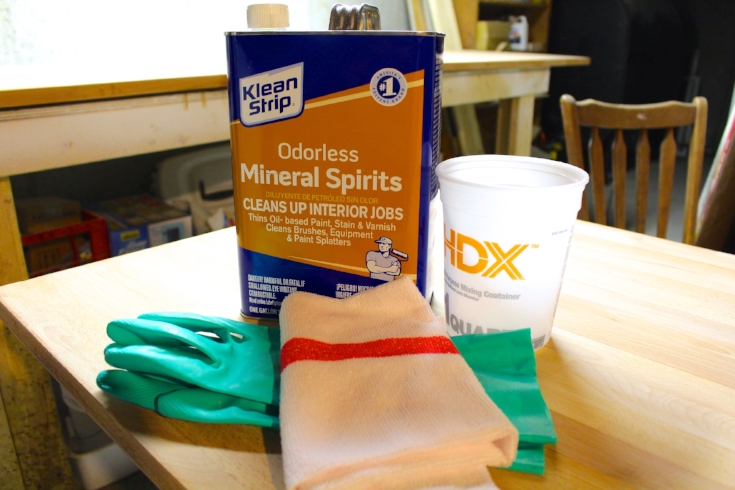
What you’ll need
- Ikea Hammarp Counters
- Helmsman Spar Urethane
- Oil Paint Brush
- 220 Grit Sandpaper
- 150 Grit Sandpaper
- 220 Grit sanding block
- Palm Grip Sander
- Mineral Spirits
- Gloves
- Microfiber cloths
- Bag of Rags
- Quart sized mixing container
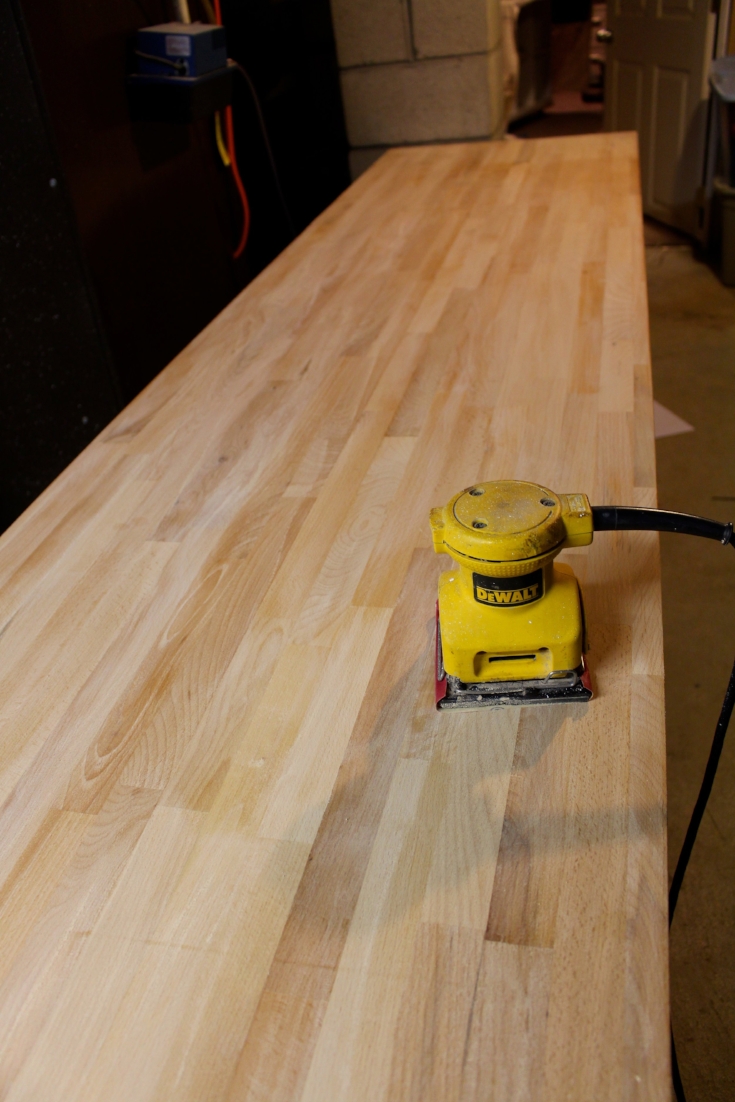
Step 1: Sanding
First step is to start sanding. So grab your palm sander starting out with 150 grit sandpaper. Now to make sure I didn’t miss many spots I went back and forth with straight lines making my way down the “row” before overlapping to the next row. Once you have completed a full side switch out your sandpaper to a finer grit, I chose 220, and repeat the sanding process. Now it’s time to flip the counters over and do the same to the other side. I will tell you I usually buy the cheap sandpaper from the discount store but I splurged this time around and went with the pro grade. I’m not sure I will ever go back. It’s pricey but it makes a difference!
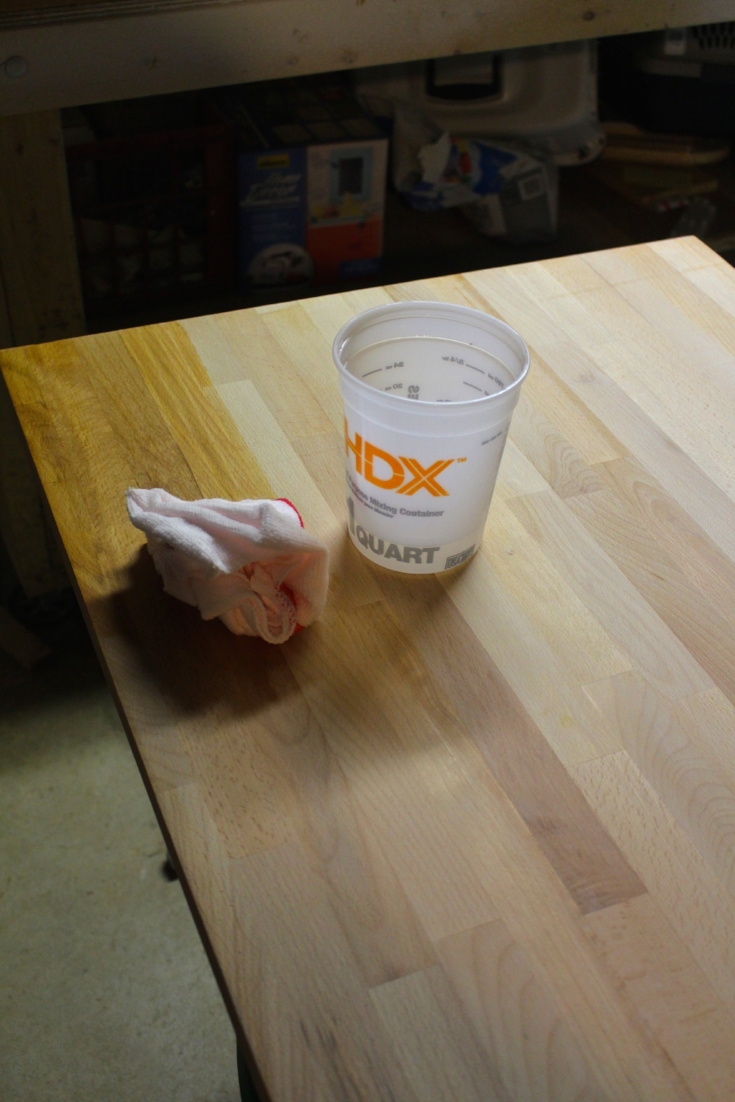
Step 2: Mineral Spirits
This step is very important it will help you get all the dust and residue off your counters before you put on your varnish. Using a dust brush that I had around the house I brushed the surface of the counters removing the initial layer of dust. Next take your mixing container and pour some mineral spirits into it. Make sure to put on your gloves and grab your microfiber rag.
Dip the microfiber cloth into the mineral spirits saturating it. Start to wipe down the counter re-saturating and folding the rag as needed. Do this to both sides. Allowing each side to dry before moving on to the next step.
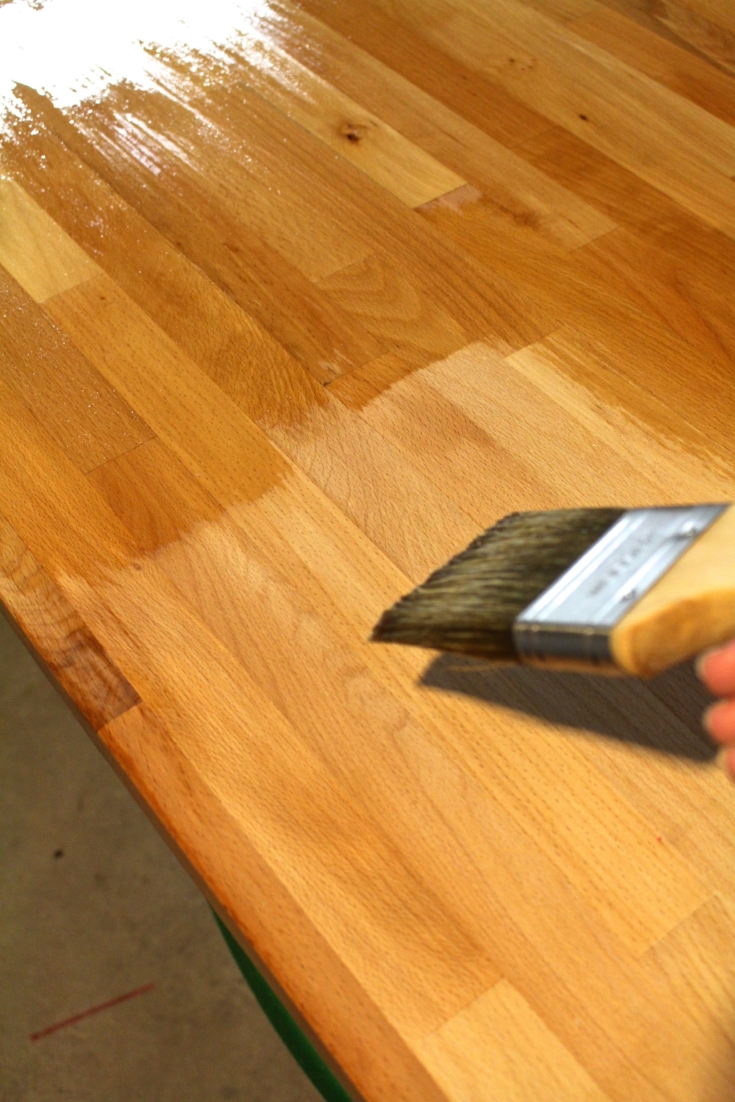
Step 3: Spar Varnish
Now it is time to put the Helmsman on to you butcher block. Before you do this use one of your quart containers and mix helmsman with about 10% mineral spirits. Cutting the spar varnish with mineral spirits will give a smoother finish with less brush strokes and bubbles. You can also dip your brush in mineral spirits before placing it into the helmsman. Using your oil brush start to brush even strokes onto your butcher block, going with the grain of the wood. Let dry overnight.
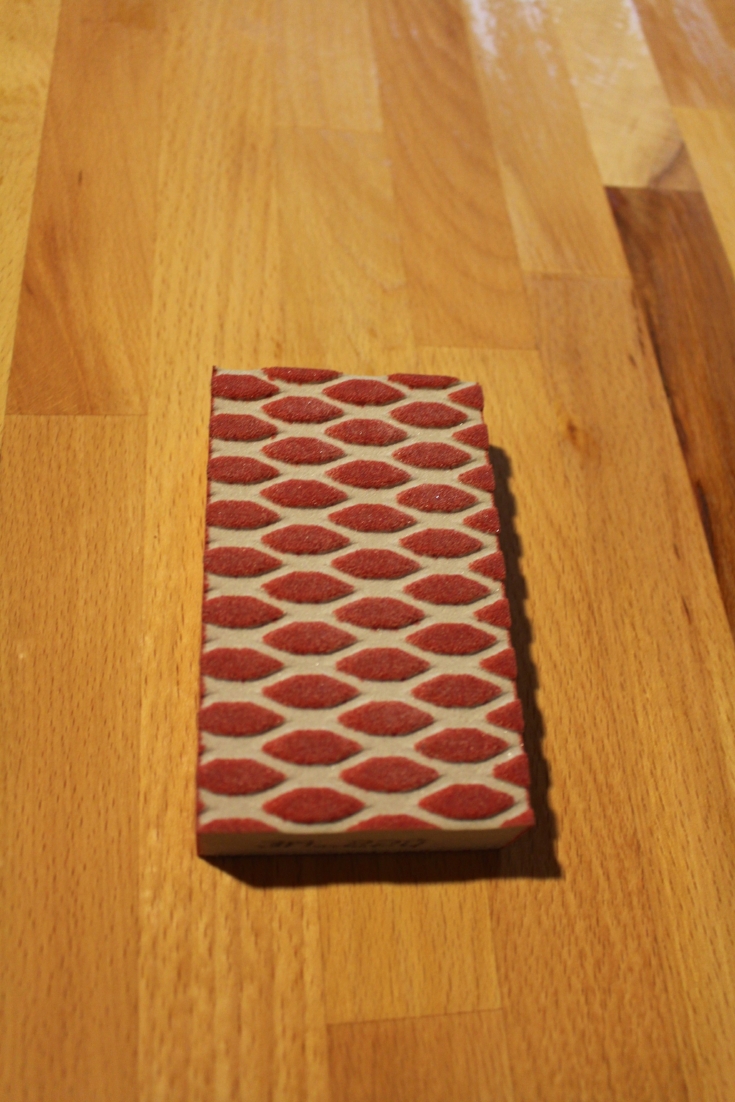
Step 4: Sand
Using your 220 grit sanding block lightly sand the countertop in between coats. Use a clean microfiber rag to clean the dust off the counters before applying the next coat.
Step 5: Repeat Step 3+4….. and 3 again
I put three coats of varnish on my countertops. Repeat step 3 and 4 letting the varnish dry overnight each time. On the third coat there is NO need to sand a final time.
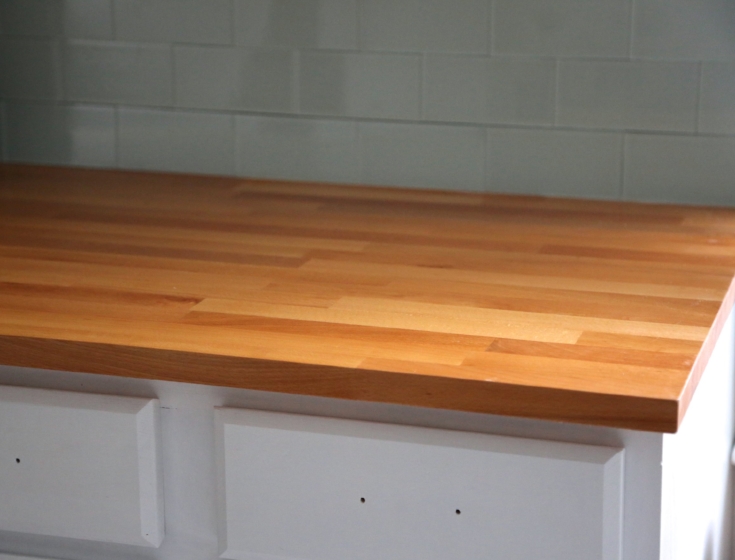
Step 6: Install
And that is it you are now ready to cut and install your butcher block countertops. To see how we installed the butcher block countertops check out the full tutorial here.


So our counter tops are already installed when we bought our house and I want to say they were never treated. So I plan on sanding the stains out and treating with something. Did this treatment work well over time? have you had to retreat your counter tops?
Hi Brittni,I have only had my counters in for a few months and the finish has held up well. My brother did the same finish on his a couple of years ago and his also look brand new. He hasn’t had to retreat them yet.
I want butcher block but only on my center island. The butcher block I’ve seen is only 25.5" (for countertops). I don’t want to see a seam on the island. Is there a way to join them together without the seam showing? Thanks.
Not that I know of Cathy. I think you might have to custom order something. I believe ikea had larger butcher blocks though for islands. I remember seeing one in as is once.
I know Home Depot and lowes carry 6’x39” deep counters. We purchased two to try to make a counter which is partly island incorporated with a corner sink.
When installing, did you varnish the edges after making cuts? Such as around the sink and stove and the edge pictured in the last photo in this post? Thanks!
Hey Tanya!Since it was two pieces of butcher block I finished each end before cutting and made sure those finished edges are the edges that are facing out. The edges under the sink are the cut edges. Hope that helps!
Did you buy the Birch or Oak version of the HAMMARP countertop?
How do they hold up at a dishwasher and stove
What a beautiful finish! It looks like these are the Hammarp counter tops. Did you go with the birch, beech, or oak?
Thanks for sharing. I must bookmark it!
Did you do step 3 – 5 on both sides or only the visible side?
Hi! Could you share what upkeep you do to maintain the finish (wax, mineral oil, etc)? Also, is spar urethane good safe? Thanks!
*sorry, I meant “food” safe.