This post contains affiliate links, please read our disclosure policy.
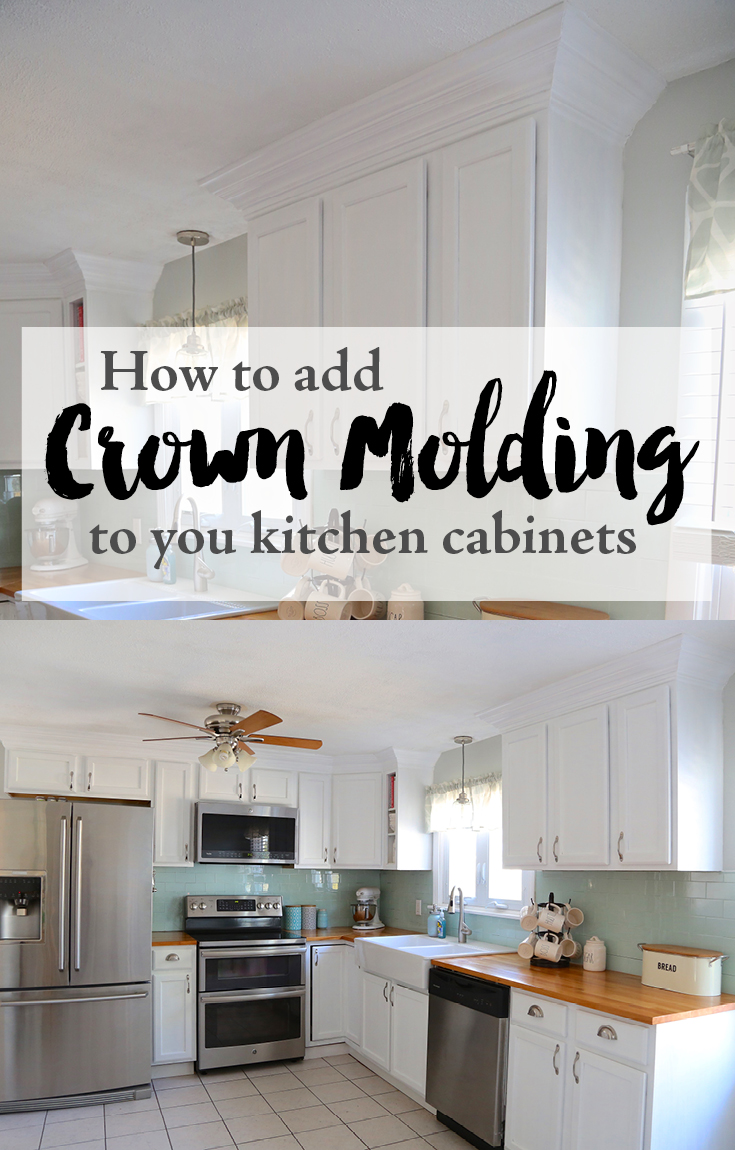
We are in the home stretch of the renovation! Now I didn’t love how the cabinets didn’t go to the ceiling and I just couldn’t get over it. I know there was something that could be done but I also knew that I didn’t know how to do it myself and neither did my dad. So I headed over to the hardware store. Now I just happen to have one guy there that is my go to. He’s in school to be craftsman and he always seems to know the answers instead of looking at me like I have 3 heads. I spent about an hour with him figuring out how we could stack molding to extend my cabinets to the ceiling. This would give it more of a custom look. So here’s what we came up with.
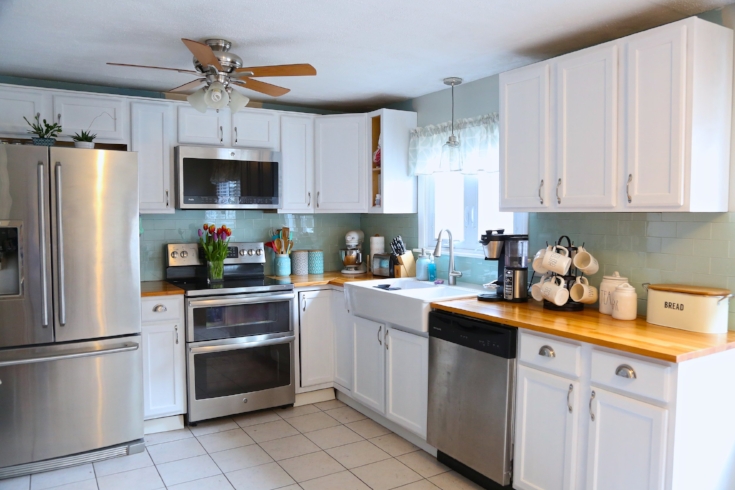
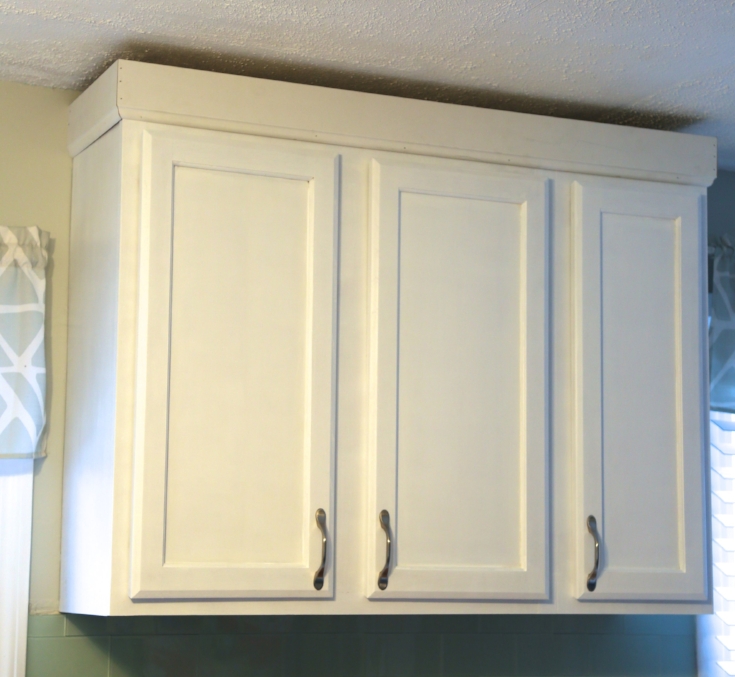
This is how the cabinets currently look. Not bad but they still look like builder grade just white.

Now to extend to the ceiling we needed to add a bit of a ledge to the current cabinets so we would have something to nail the molding to. We did this by using a 1 x 4 piece of pine. Because of the tight space between the ceiling and the wood we screwed from below. Opening the cabinet doors and going up through the frame into the wood securing it in place.
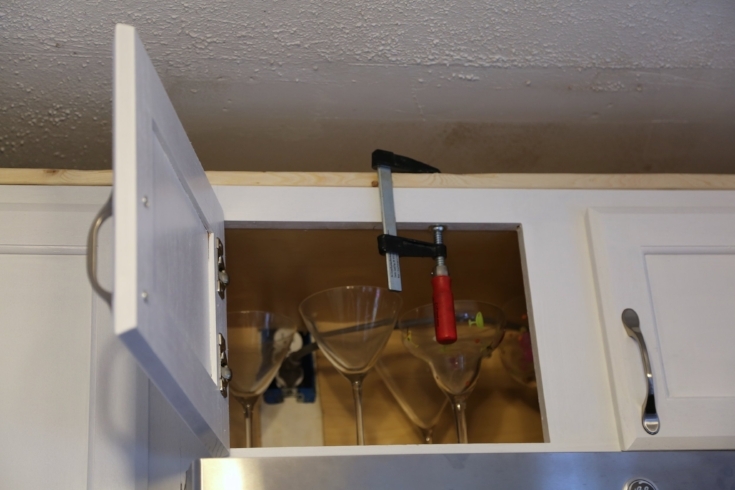
Screwing from below worked just remember to go back and touch up the paint inside the frame.
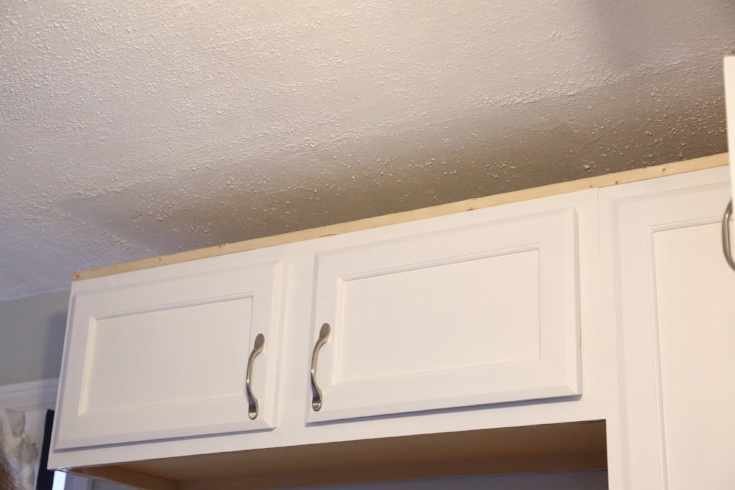
Now the problem I was having was that one piece of crown molding did not reach all the way to the ceiling. The gap was just too tall. In order to extend all the way we were going to have to stack the molding.
To stack the molding we used baseboard molding turned upside down. Then nailed that into the cabinet and the 1×4 ledge we added for support.
Now that you have the baseboards installed it’s time to work on installing the crown molding.
![]()
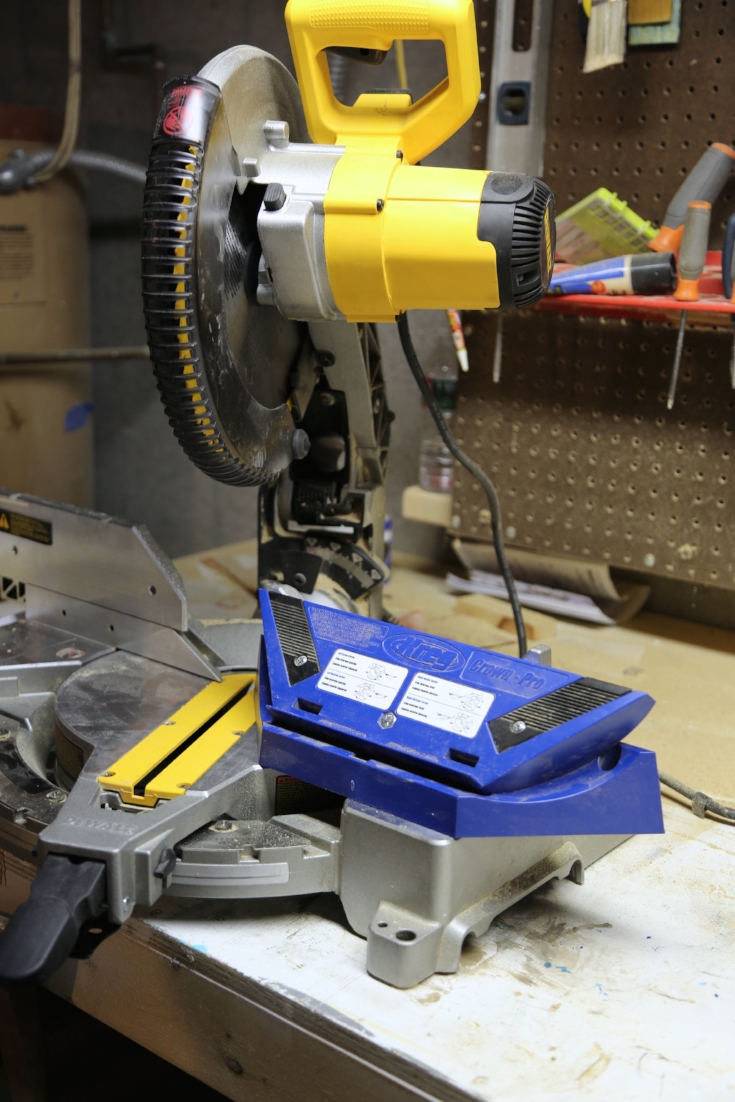
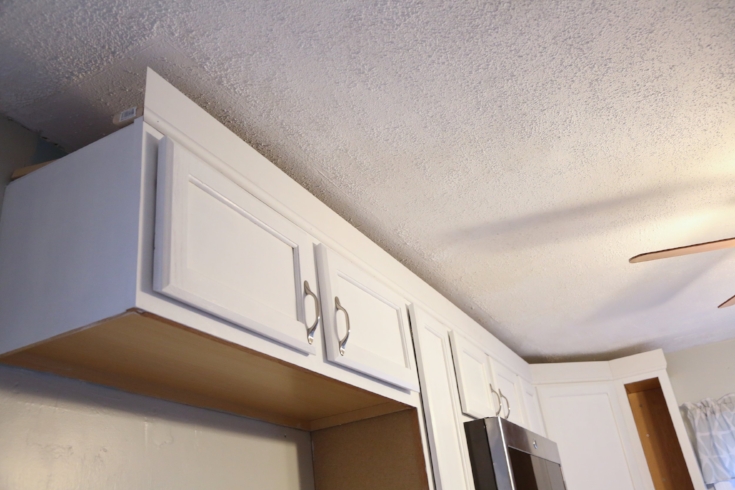
Crown molding gets tricky. Especially when you get to the corners or the edges. You are going to need to cut both sides to match. Crown molding is pricey so you want to get the cut right the first time. We used the Kreg Crown Pro and it seemed to do the trick.
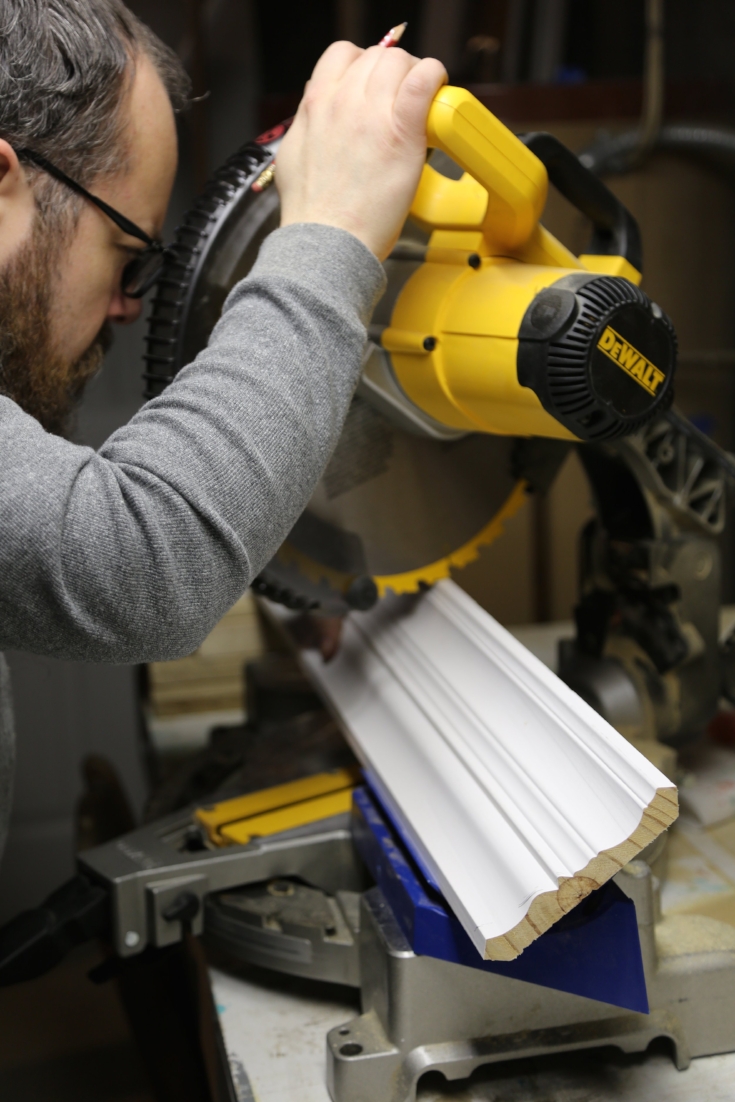
The crown pro worked great with my miter saw and helped us get the correct angle almost every time. Now it’s also important to buy crown longer than you think. You need to account for the angle.
We nailed the crown molding in place. We used an angle that allowed the top of the molding to touch the ceiling.
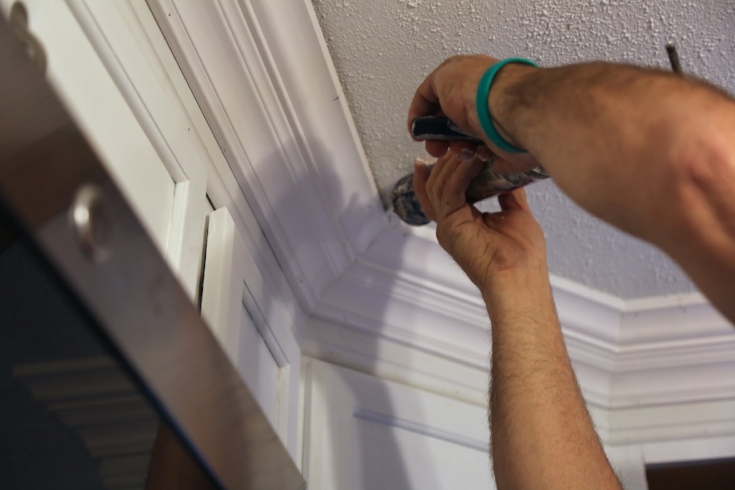
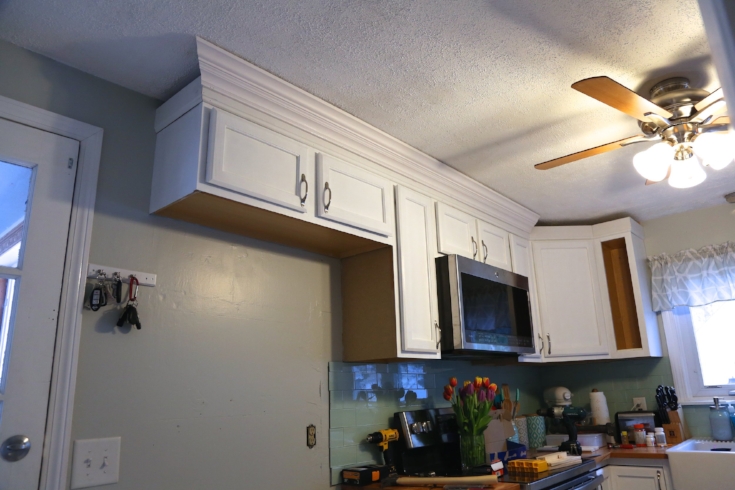
Now it’s time to fill in the gap between the molding and the ceiling. You want it to look flush and you also want to cover your nail holes before painting. You will want to sand over the caulk to get a smooth finish. Then you are in the home stretch you are ready to paint. Now I used the same paint I used on the cabinets, Deco Art satin enamel. Two coats and the crown molding is done! Since you have the paint out make sure you do any touch ups you need.

I love the way the molding makes the space seem taller. It also gives the impression of a custom kitchen but at a fraction of a budget. Do you guy remember what my kitchen looked like before? Check it out here.


What an improvement, Michelle! Your cupboards look like custom now. What a score to have found your guy at the hardware store. What a resource.
I can’t even with how these came out. OMG I do not go into home depot without looking for him. He is such a god send on almost every project.
omg what a beautiful difference that makes
Thank you <3
your examples picture is too good. and i like your perfection, its look awesome.
I just love the crown molding wow. I have the same coffee maker and I love it! Your kitchen looks amazing!
I absolutely love my ninja!
Where the heck are the pictures???
Sorry Adrienne. I was having issues with my site. Thank you for letting me know. All the images are back up.
Thank you for this awesome idea!!! I have the same problem with my cabinets. I have to wonder who designed my kitchen. It looks so odd this way! Now I just have to get my husband on board!